Once you’ve created a Vercel account, you can import any repository you have created on GitHub.
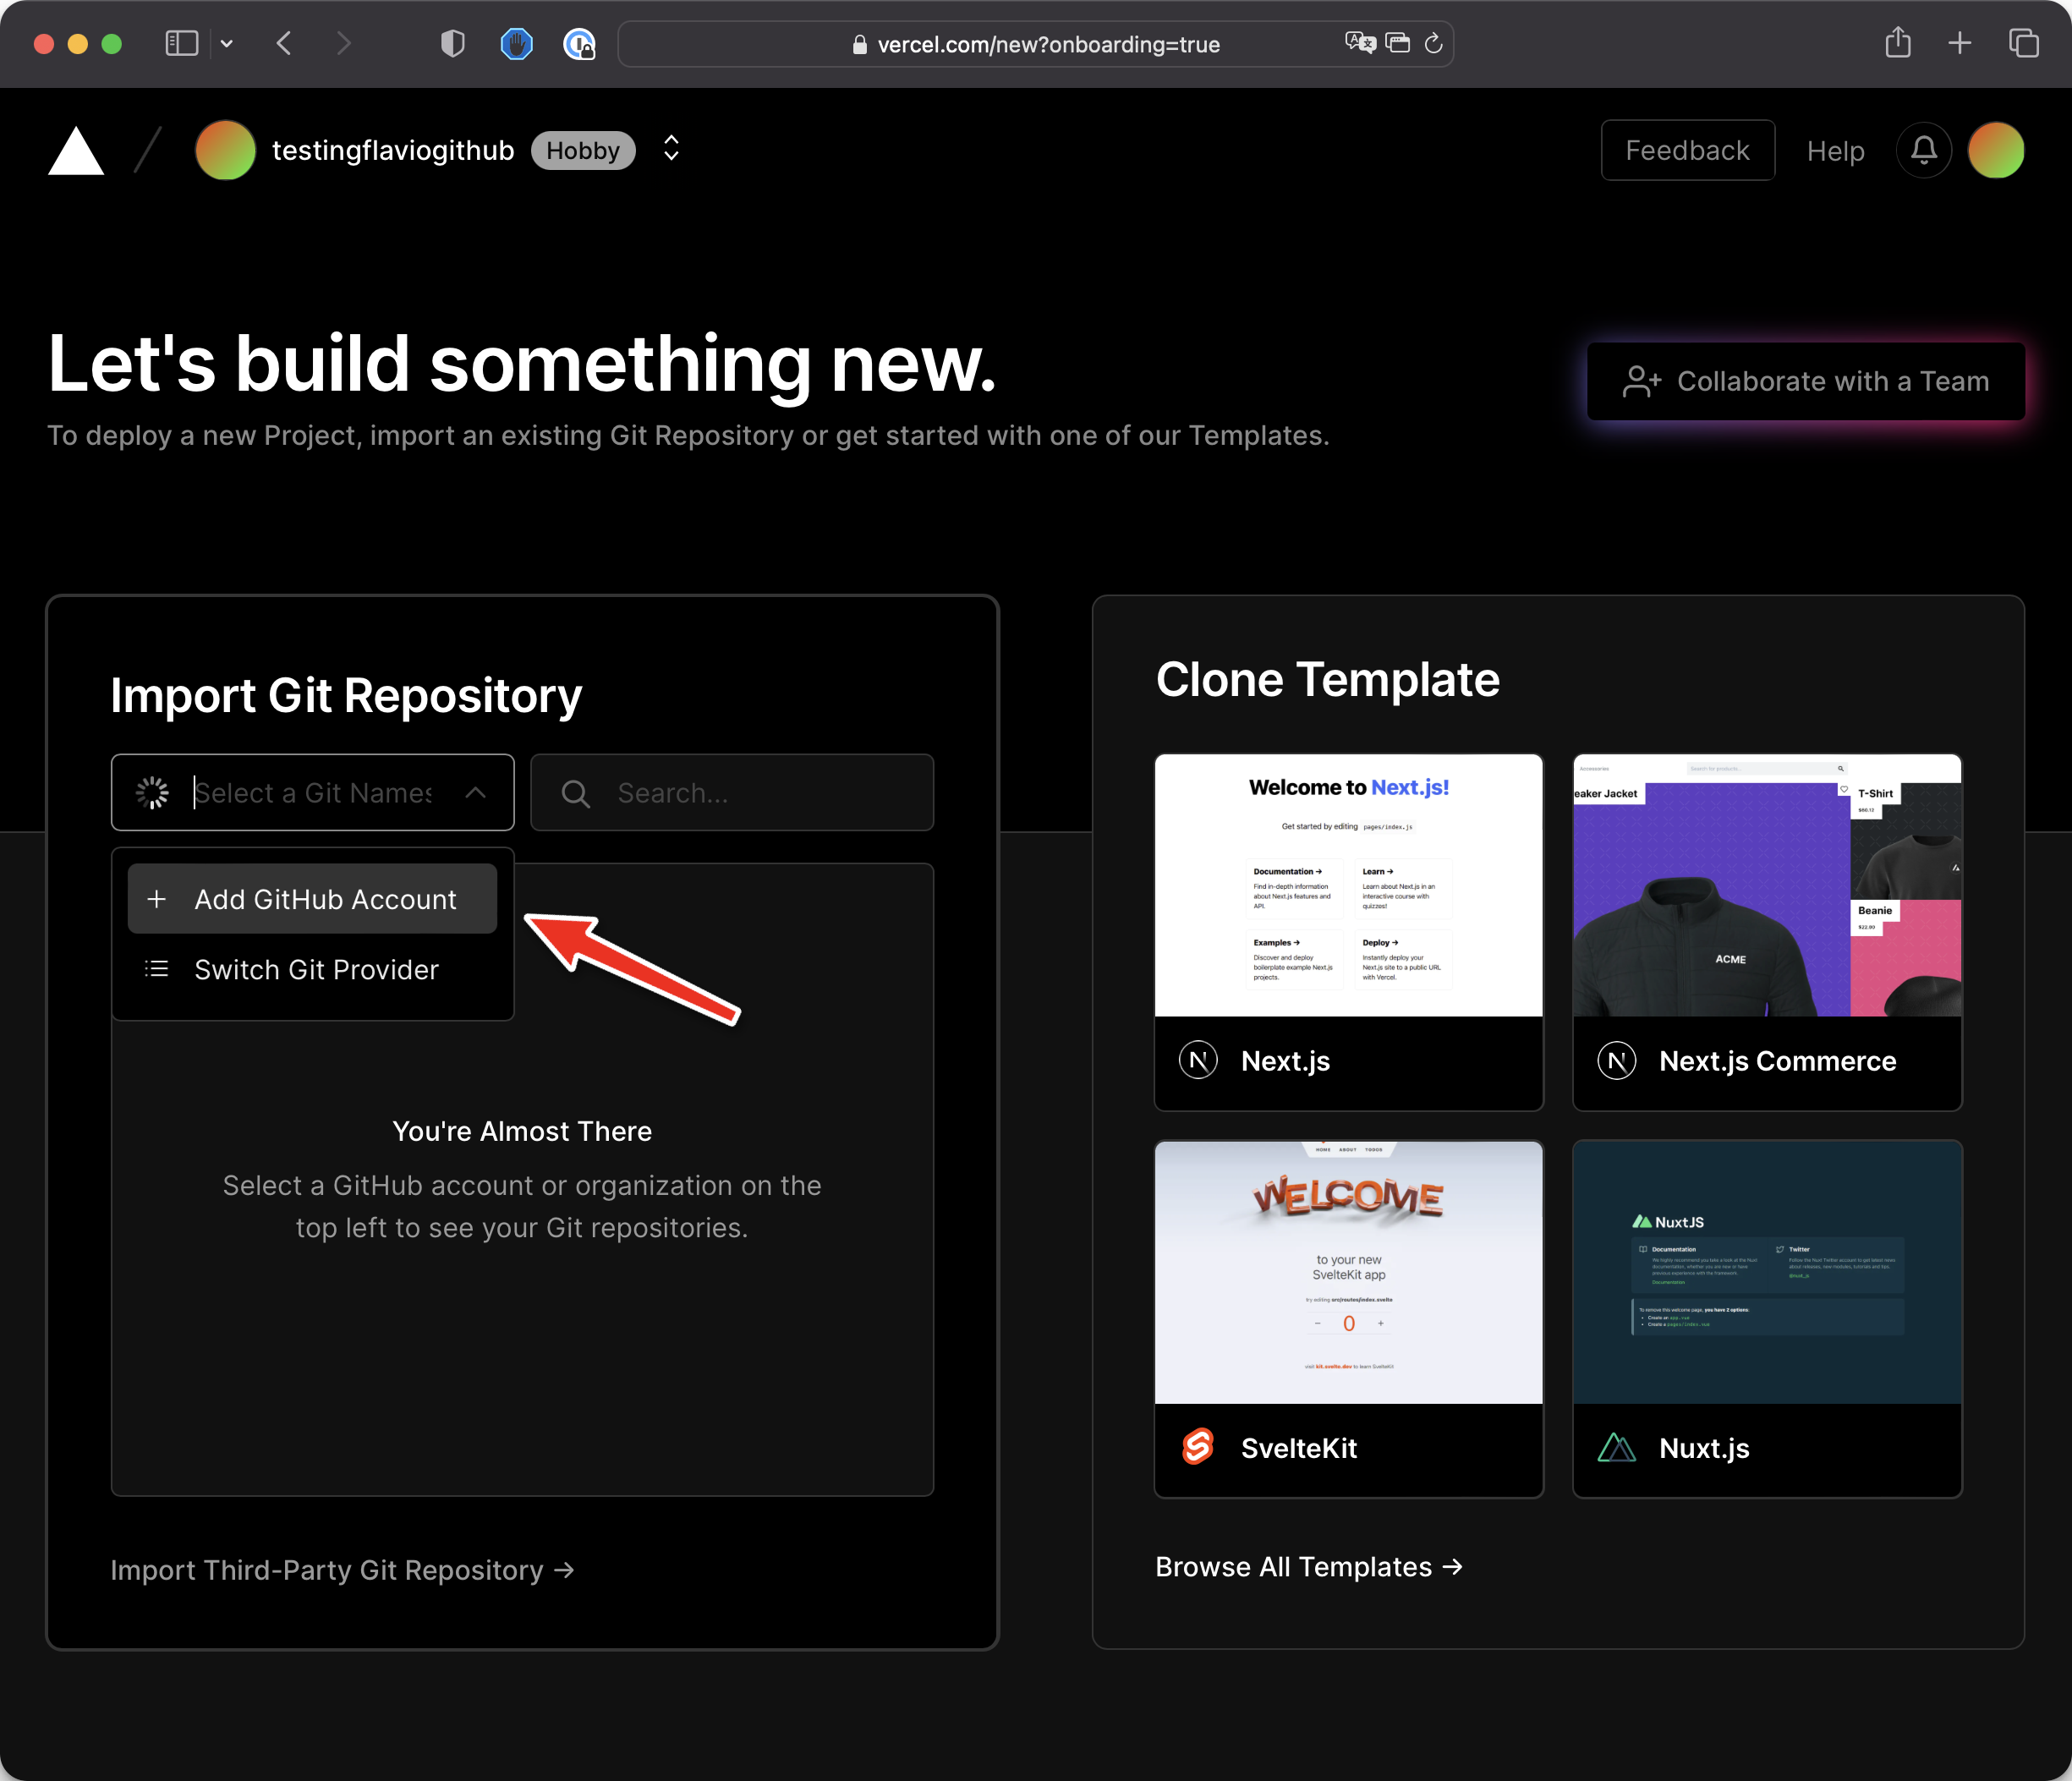
Click the “Select a Git Namespace” (confusing terminology) box and click “Add GitHub Account”:
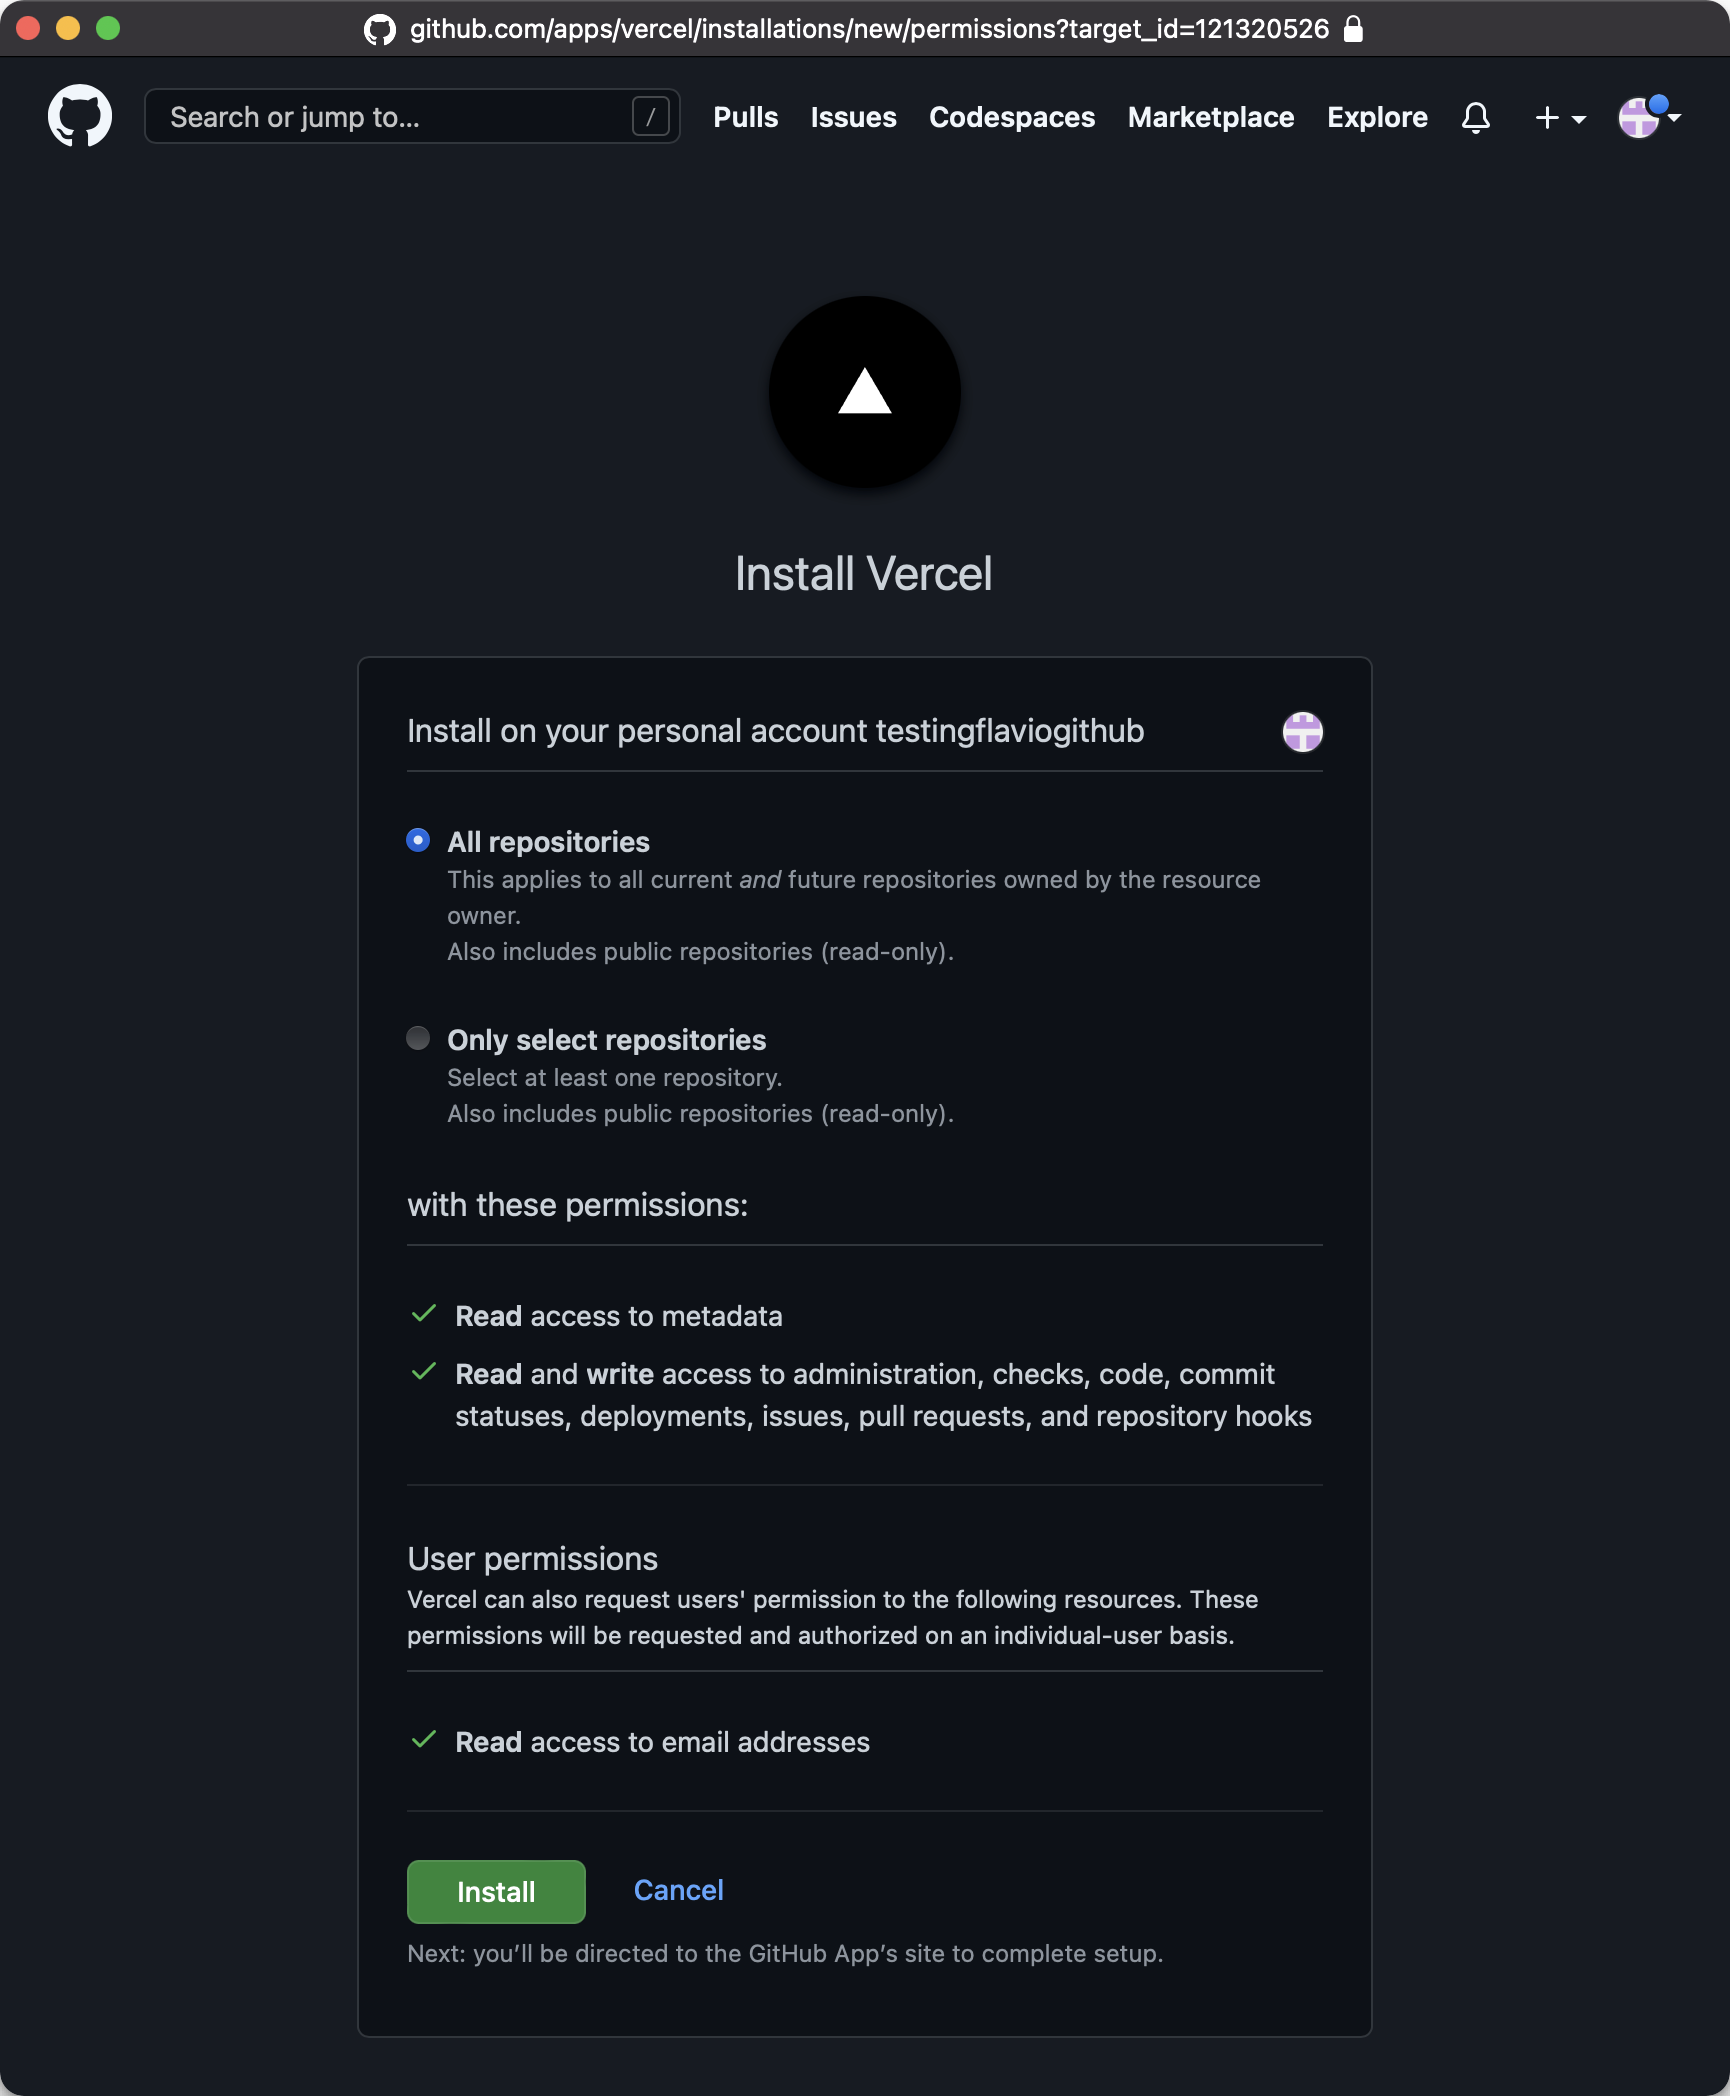
You need to install the Vercel app on GitHub, as we did for Netlify, choosing the “All repositories” option
Once you’re done, you’ll see your repositories list show up:
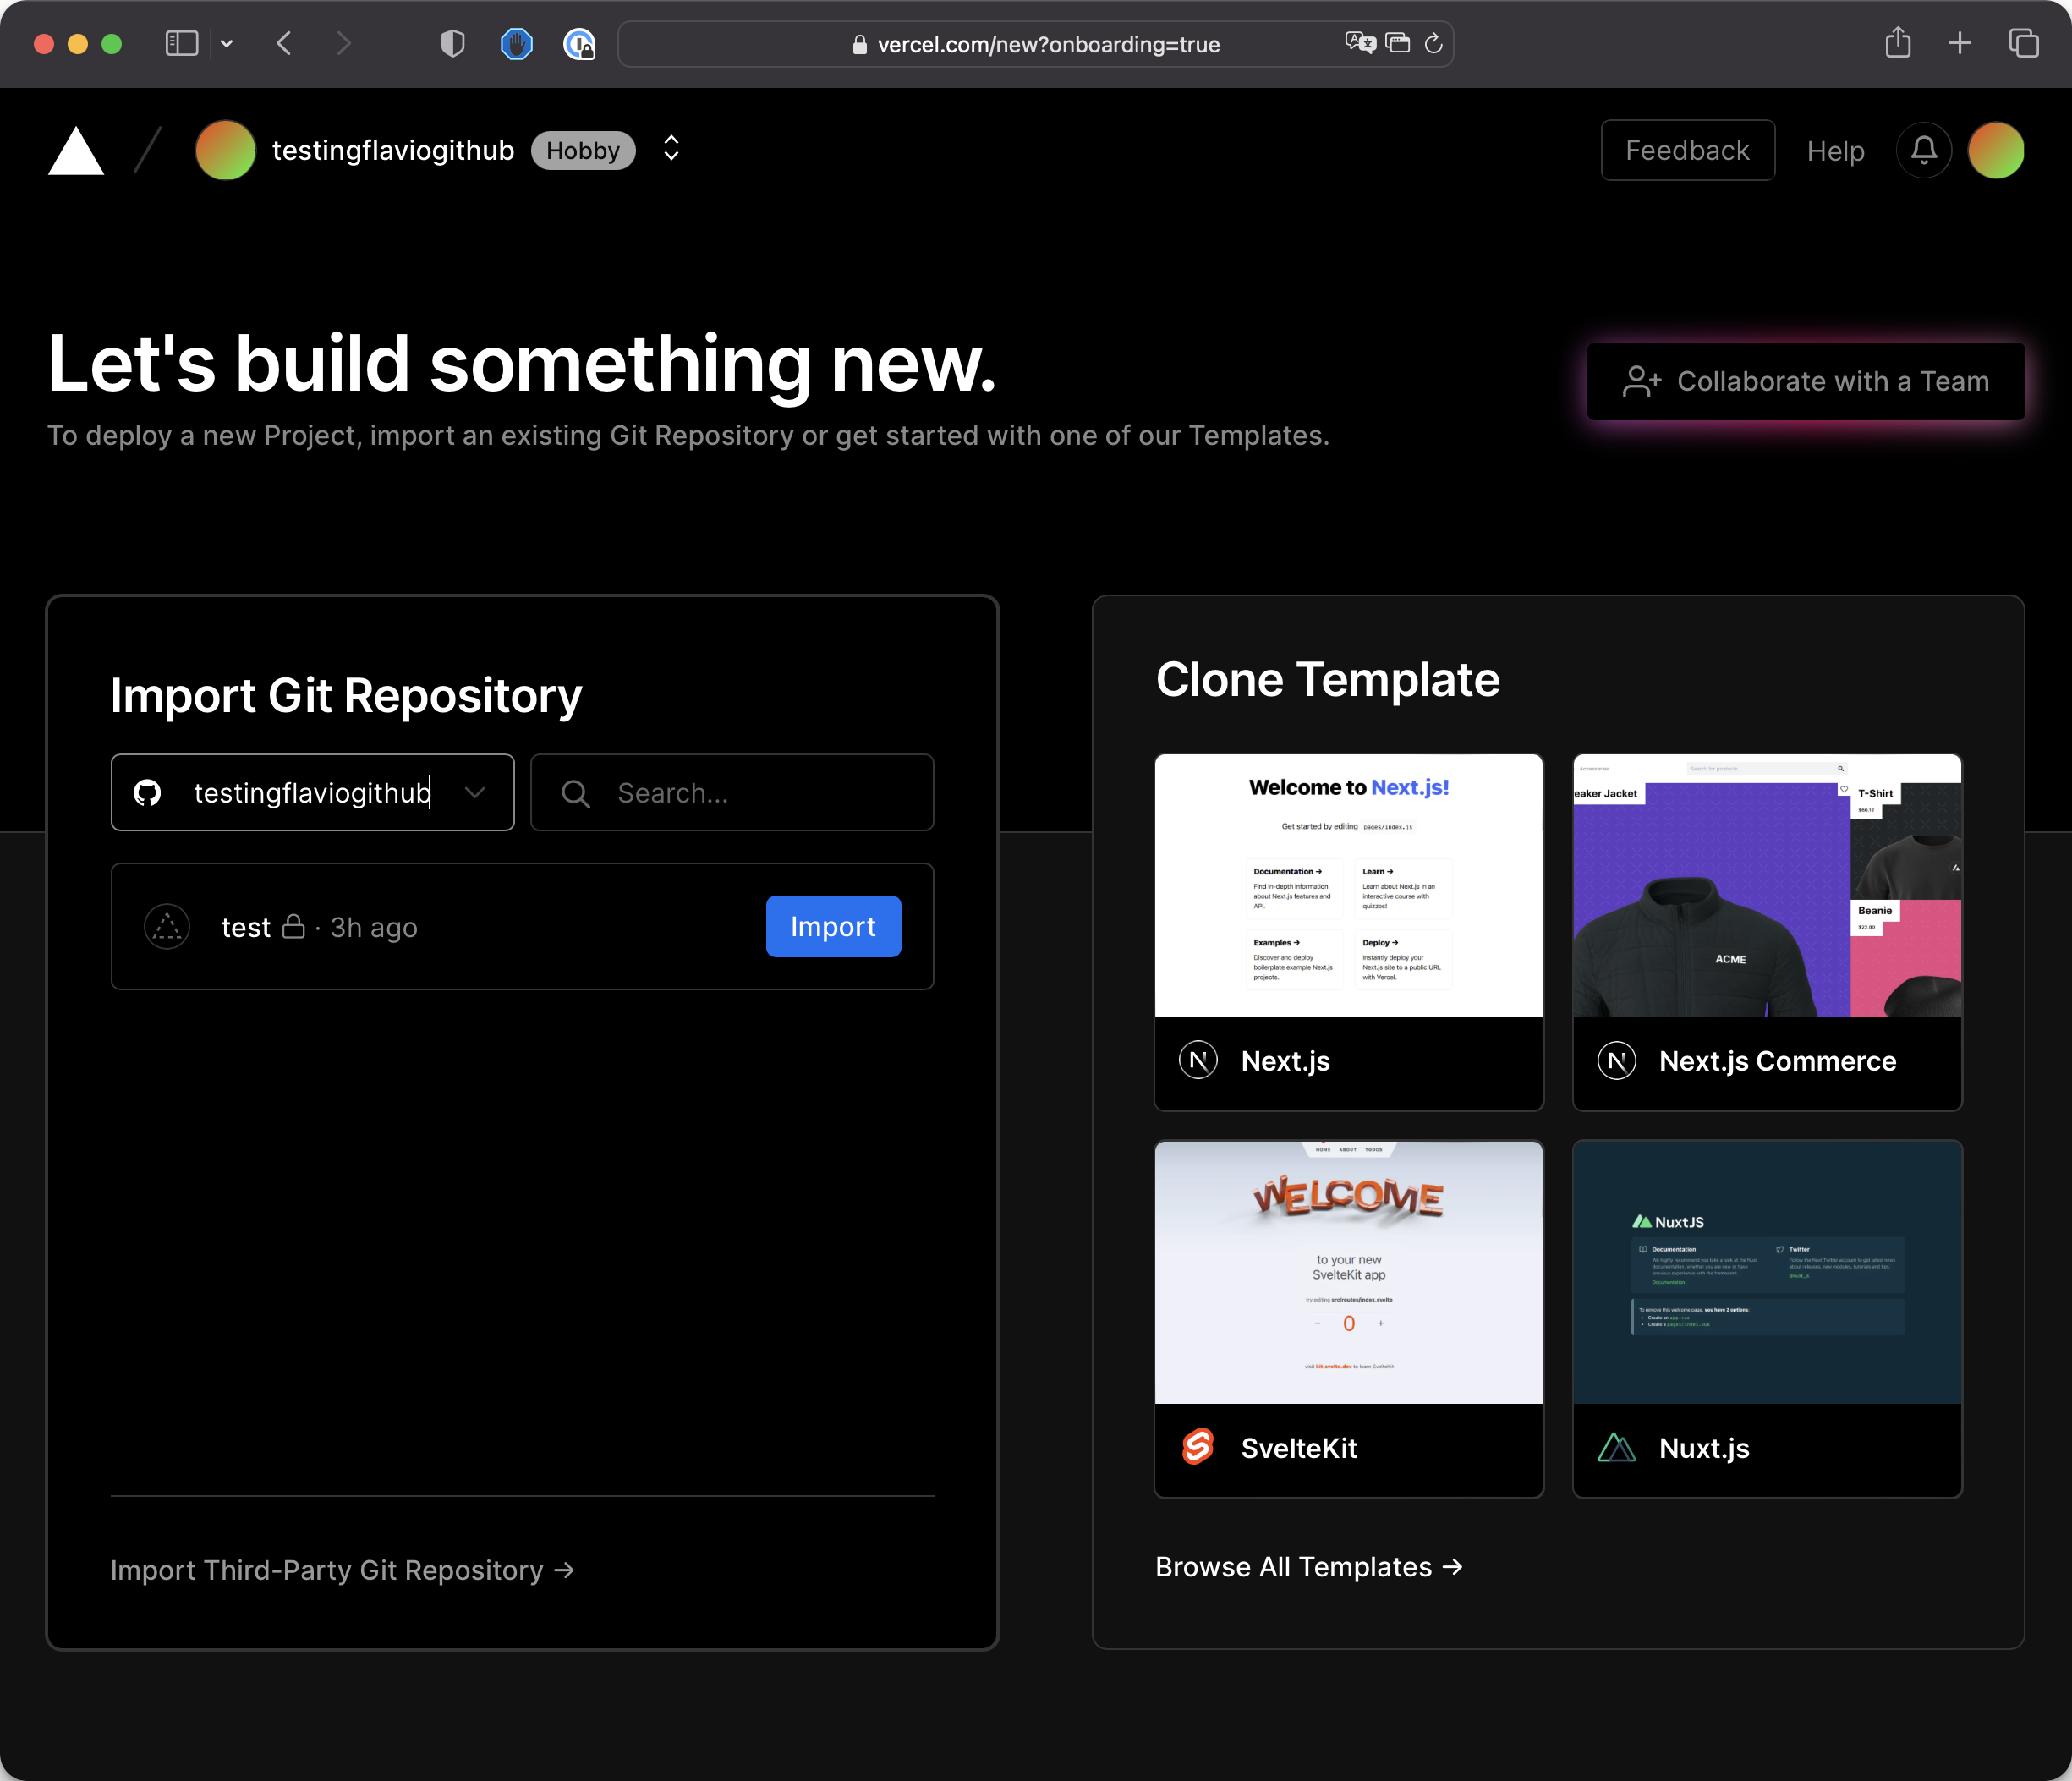
Click the “Import” button next to the test repository. You’ll be shown some options:
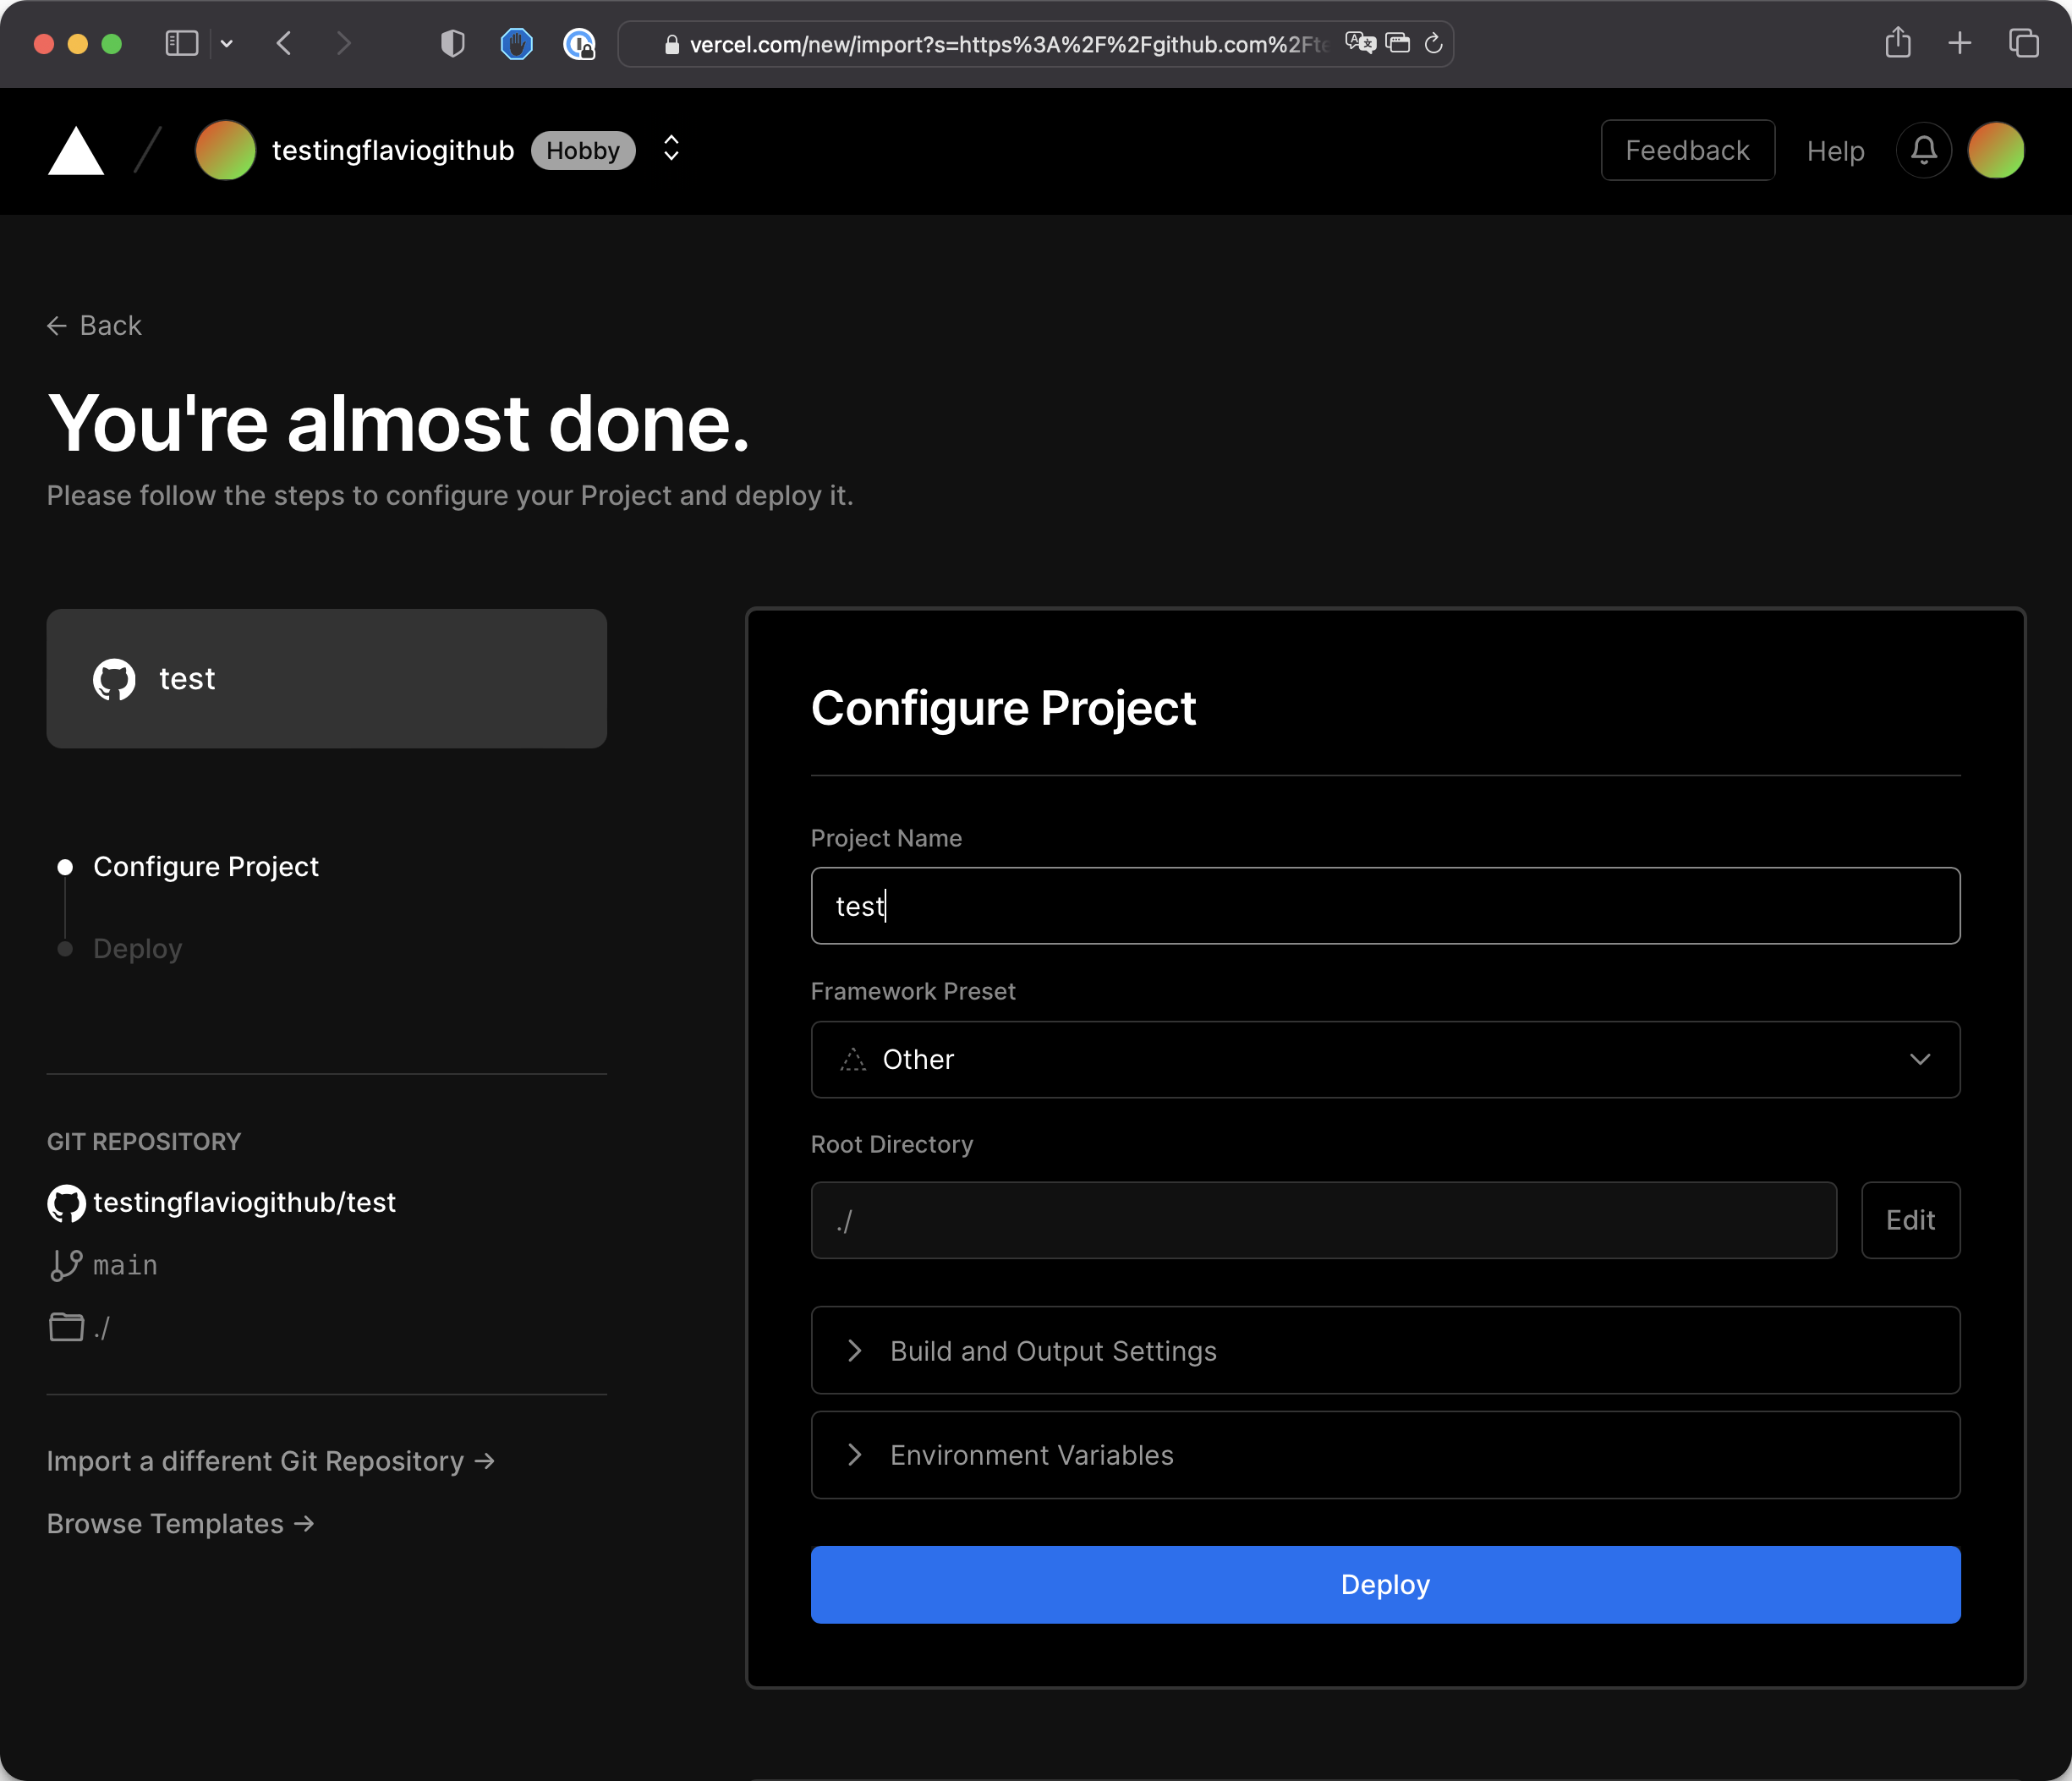
Click the “Deploy” button, and after some seconds you’ll see confetti:
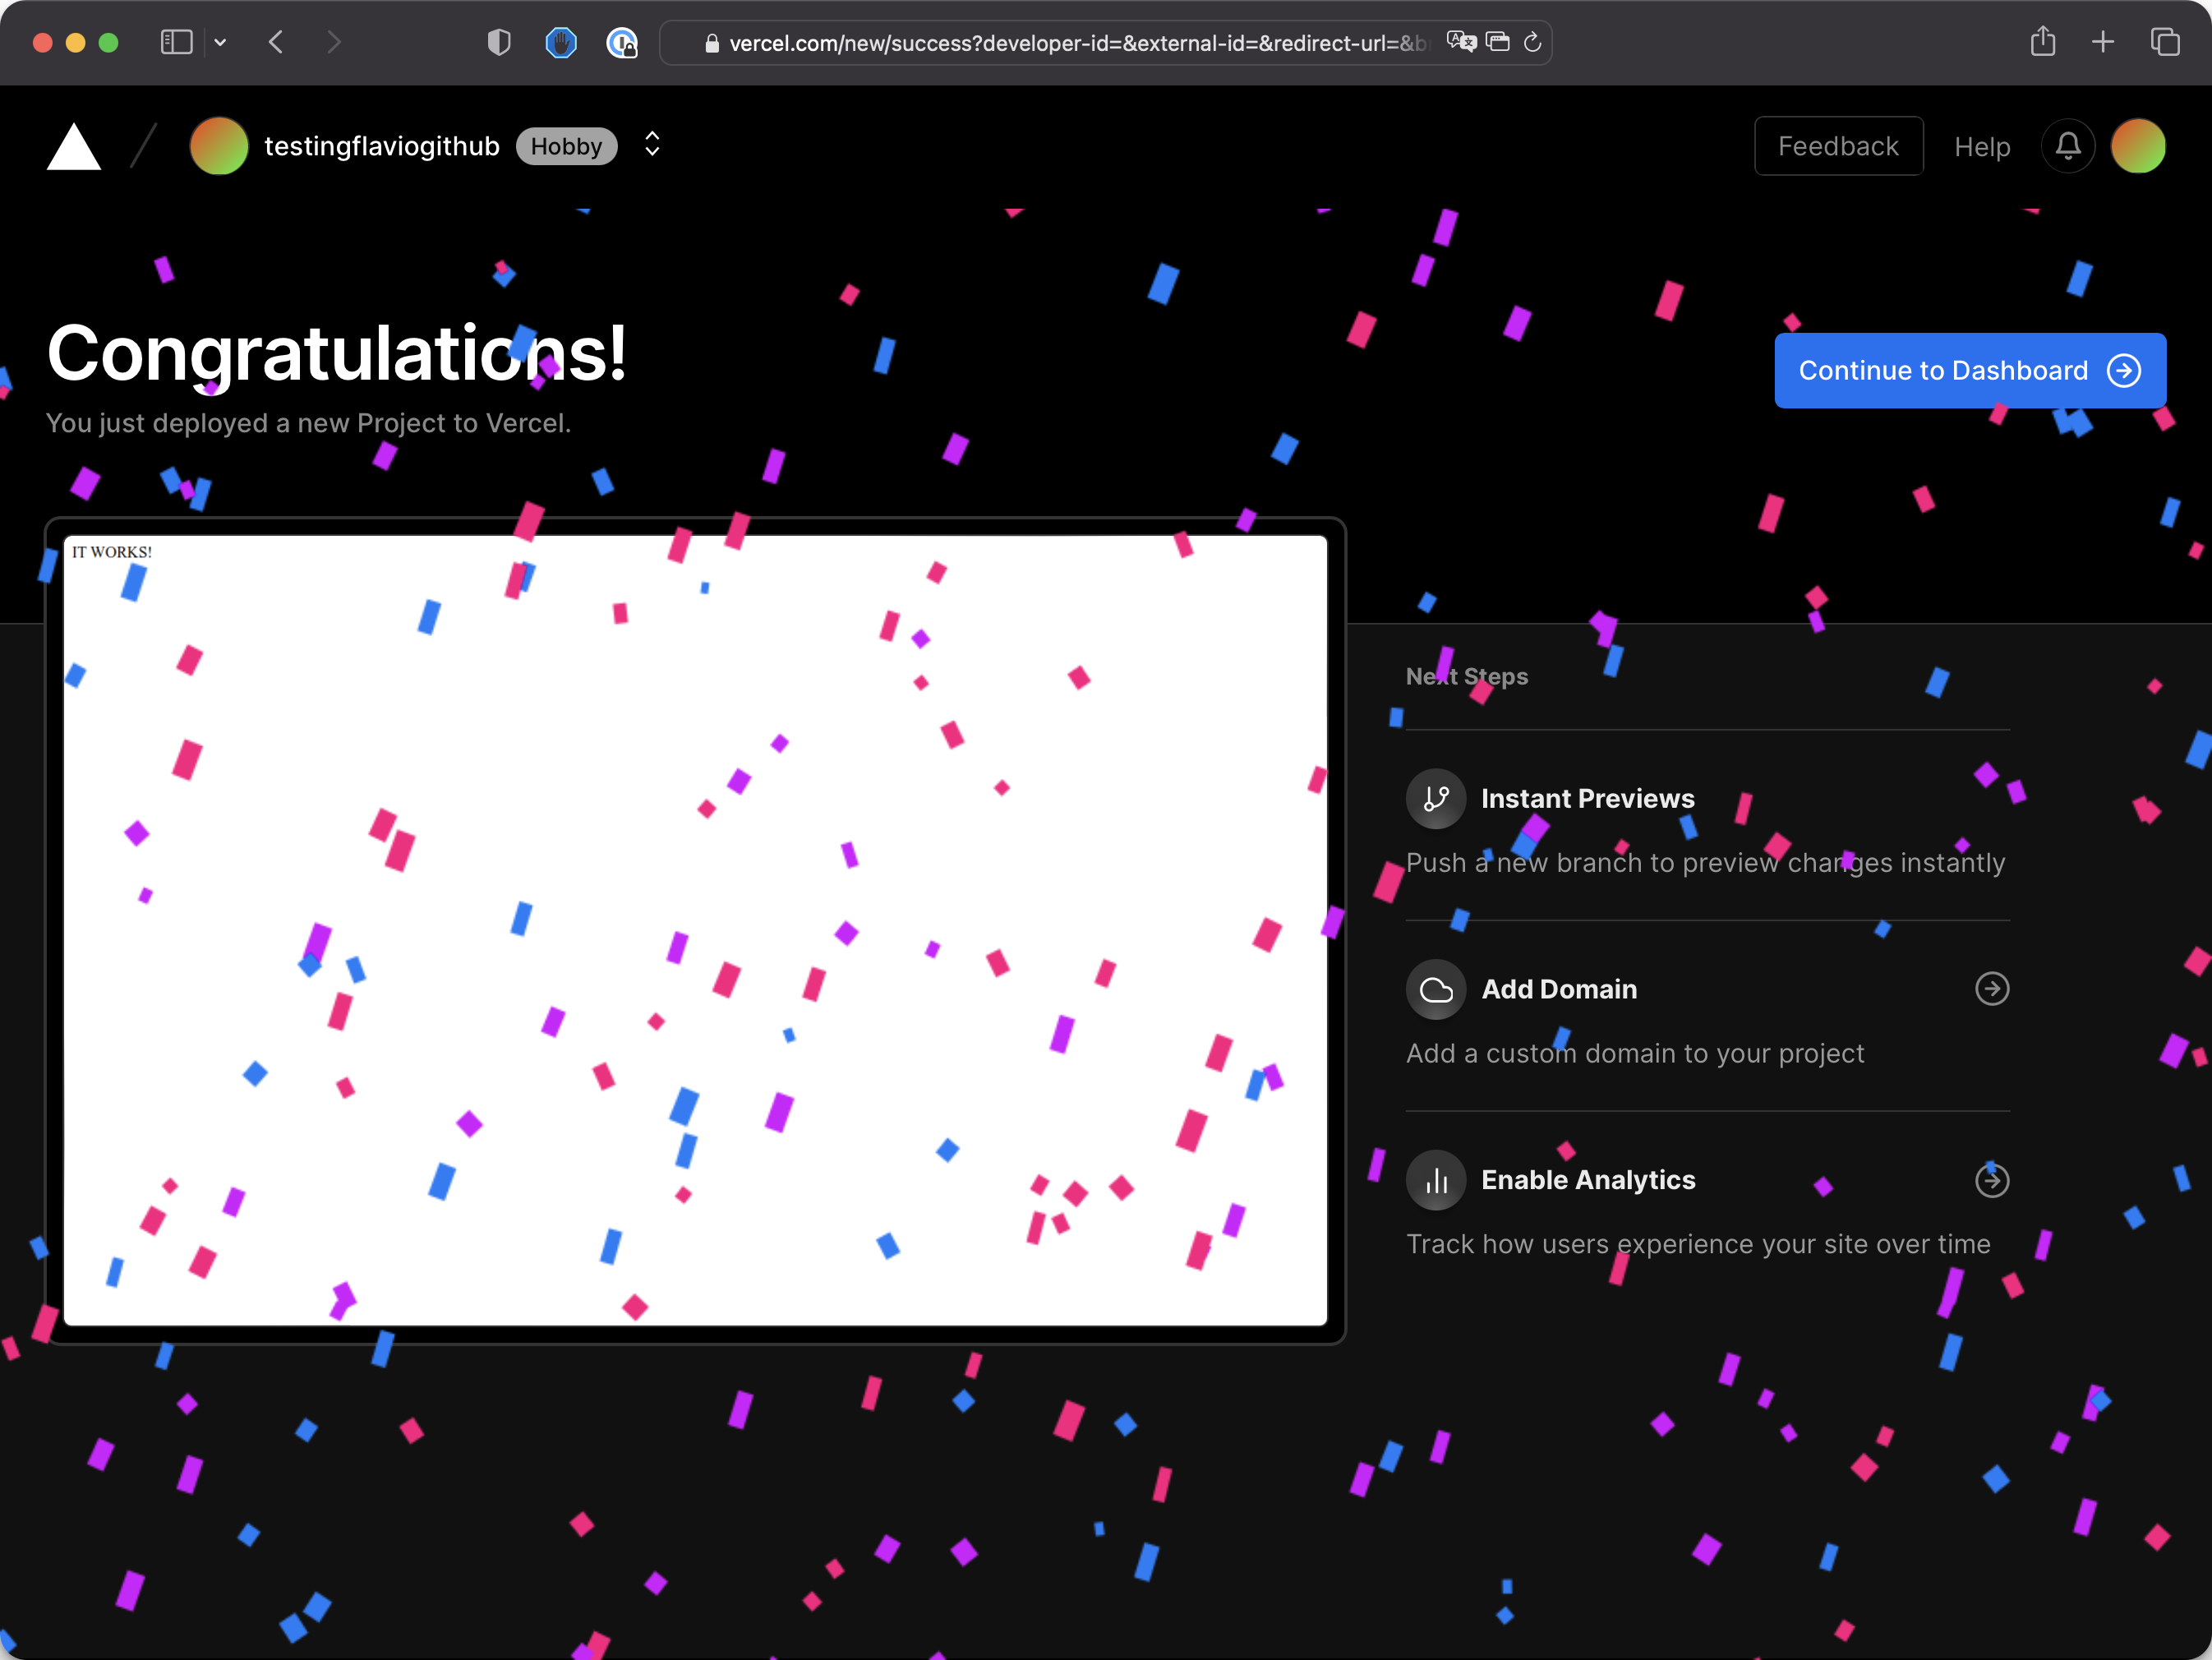
Now click the button “Continue to Dashboard”
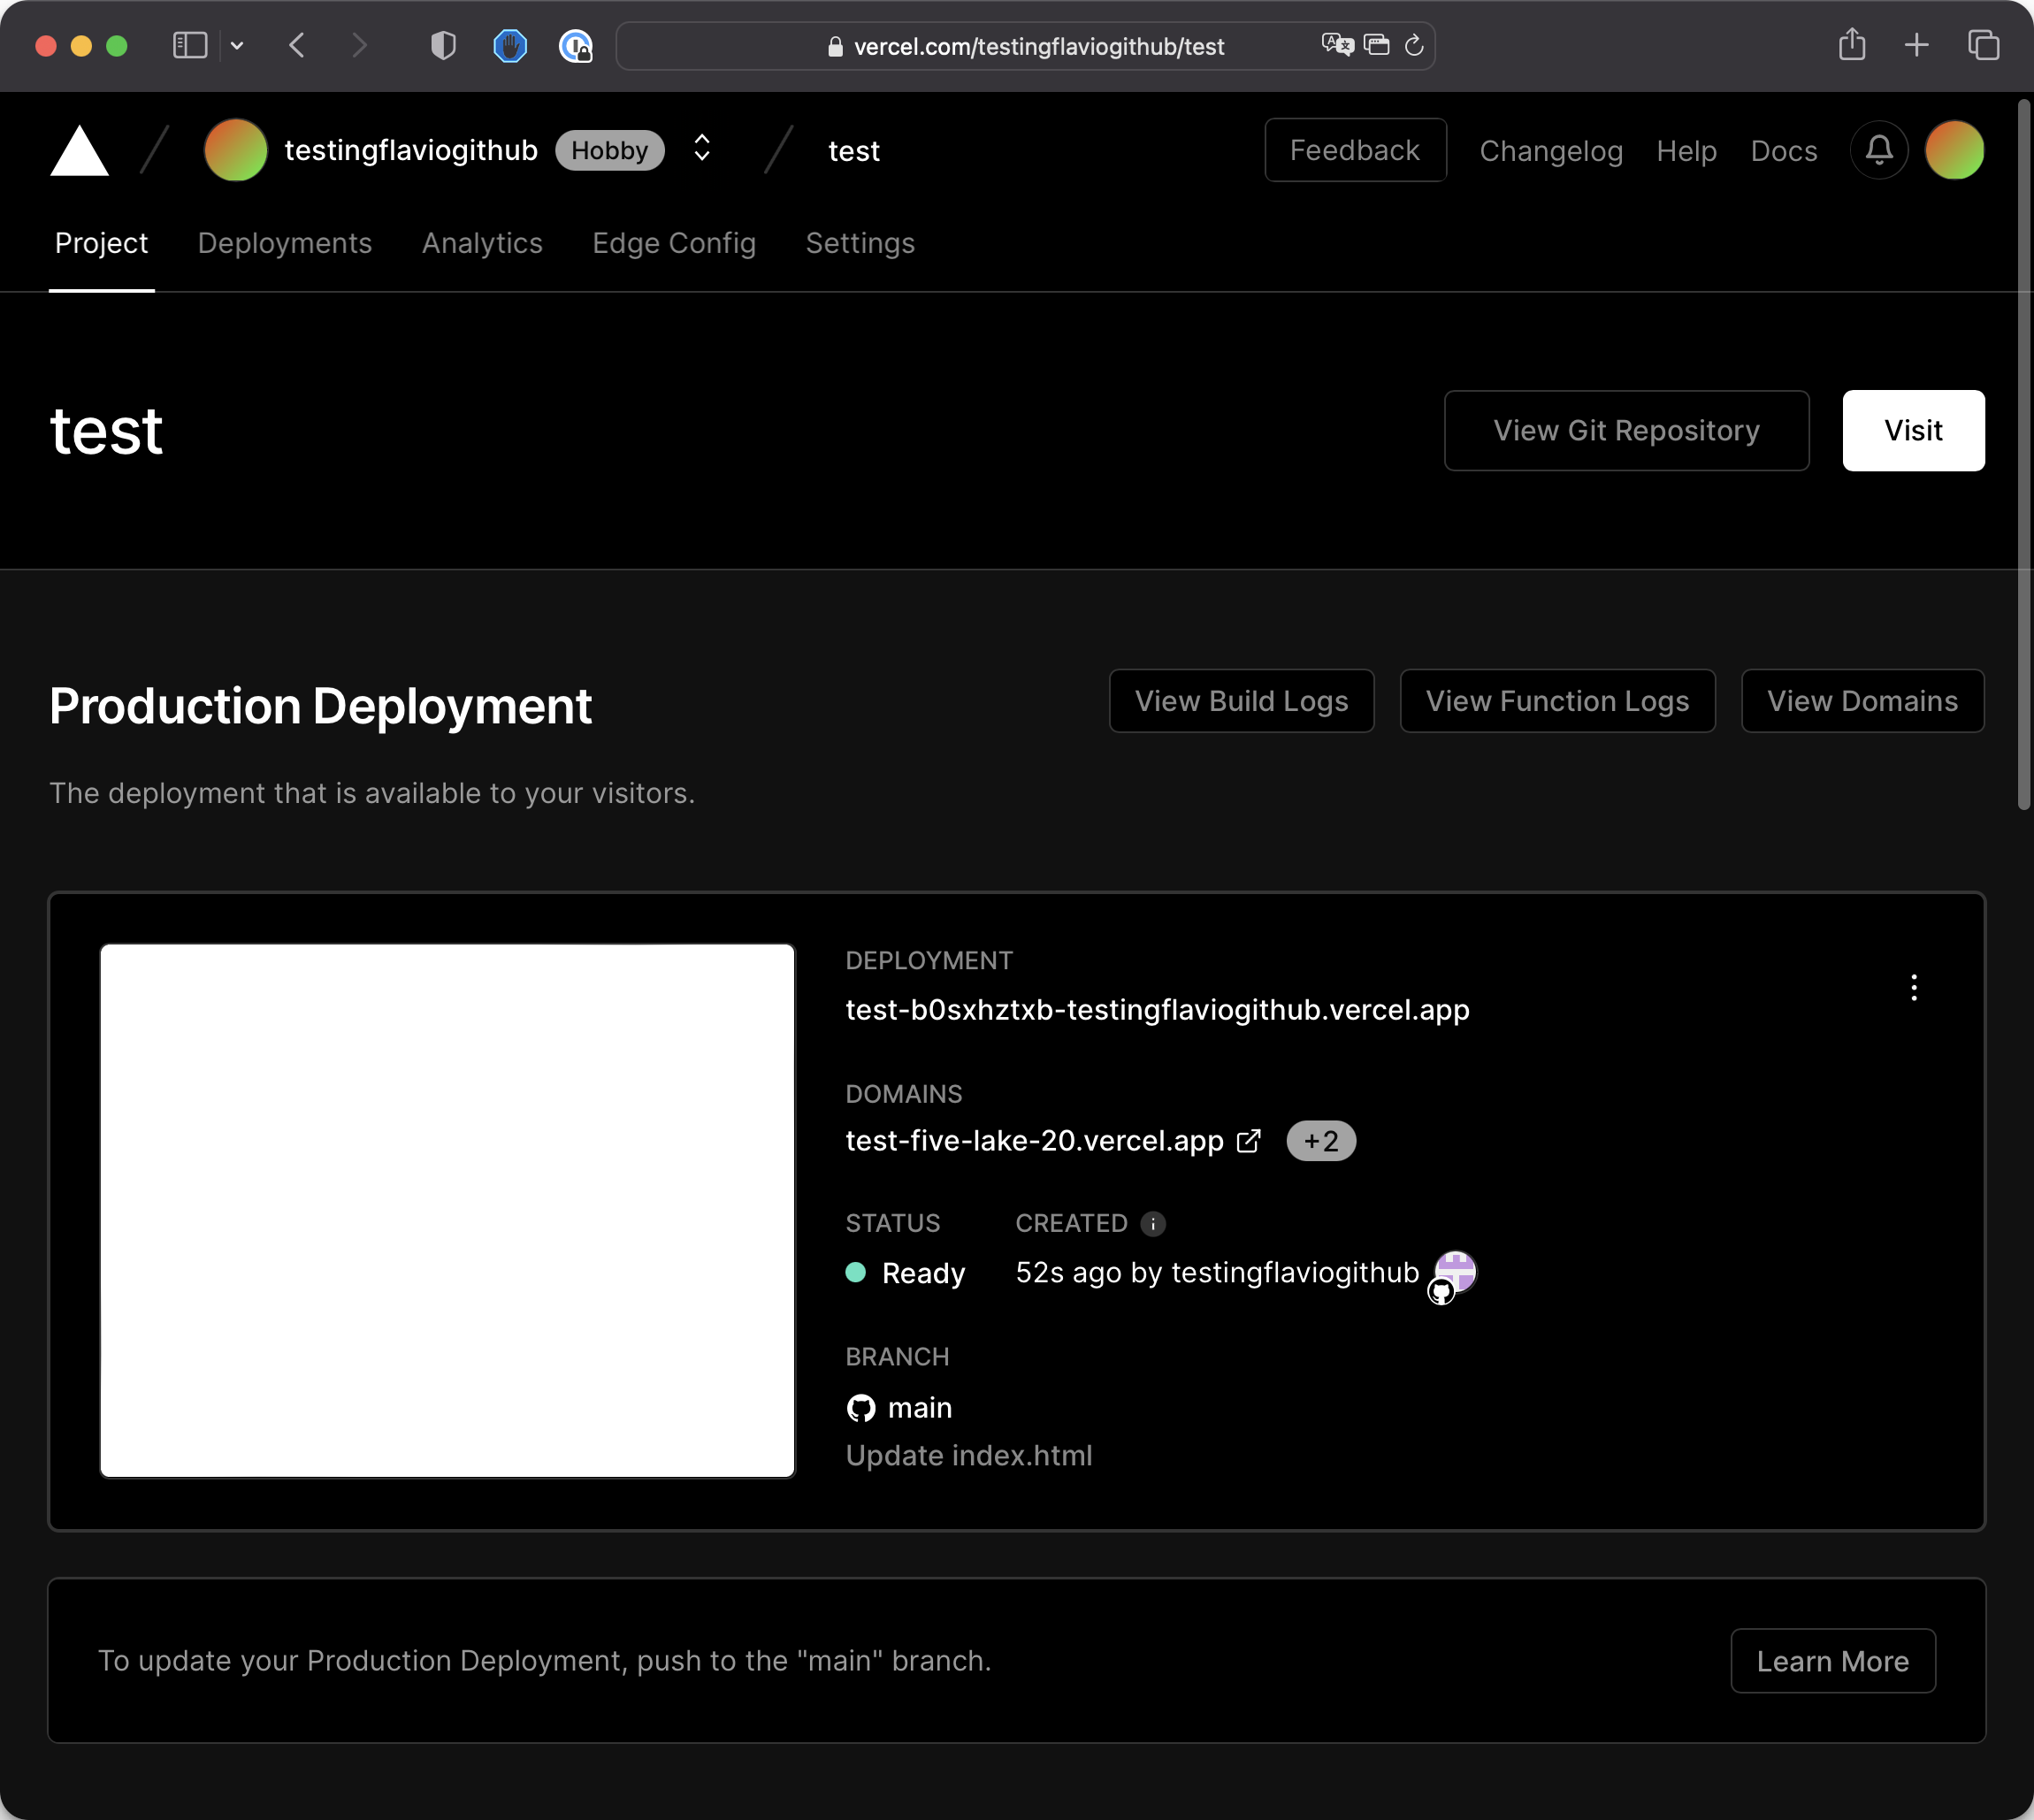
Here you see the domain assigned to this project, in my case https://test-five-lake-20.vercel.app
Now the site is live on the .vercel.app URL. You can add a custom domain if you want when you’ll be ready to launch this into the world.
But for the time being, this URL is fine.
Now every time you’ll push a new Git commit to the repository, Vercel will “listen” and re-build a new version of the website.
Just like we did with Netlify.
Try doing that now with Vercel.
If you’ve followed all the steps I did the repository is the same on both Netlify and Vercel, so your changes should be displayed on both services.
Lessons in this unit:
| 0: | Introduction |
| 1: | Create a Vercel account |
| 2: | ▶︎ DEMO Deploy to Vercel |