You’ve learned how to use VS Code in a previous unit.
You can also use Git within VS Code, if you prefer.
Let’s see how!
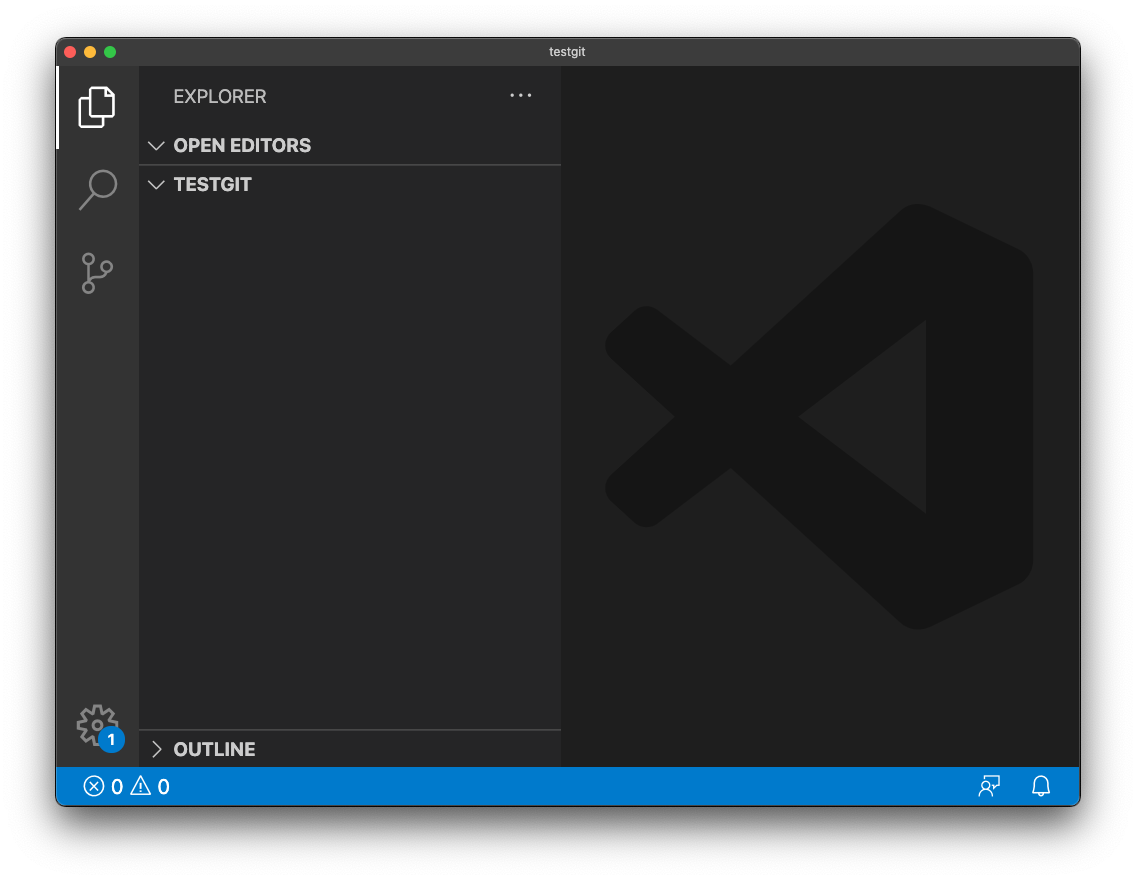
Create a folder dev in your user home folder on your computer. That’s where you’ll store all your projects.
Inside it, create a testgit folder.
Now drag this folder into the VS Code icon to open it in VS Code, or use the File → Open Folder... menu.
Create a test.js file by clicking the File → New File menu, or by right-clicking the in the left sidebar (under you see the TESTGIT line). Add some content to it, like alert('test'):
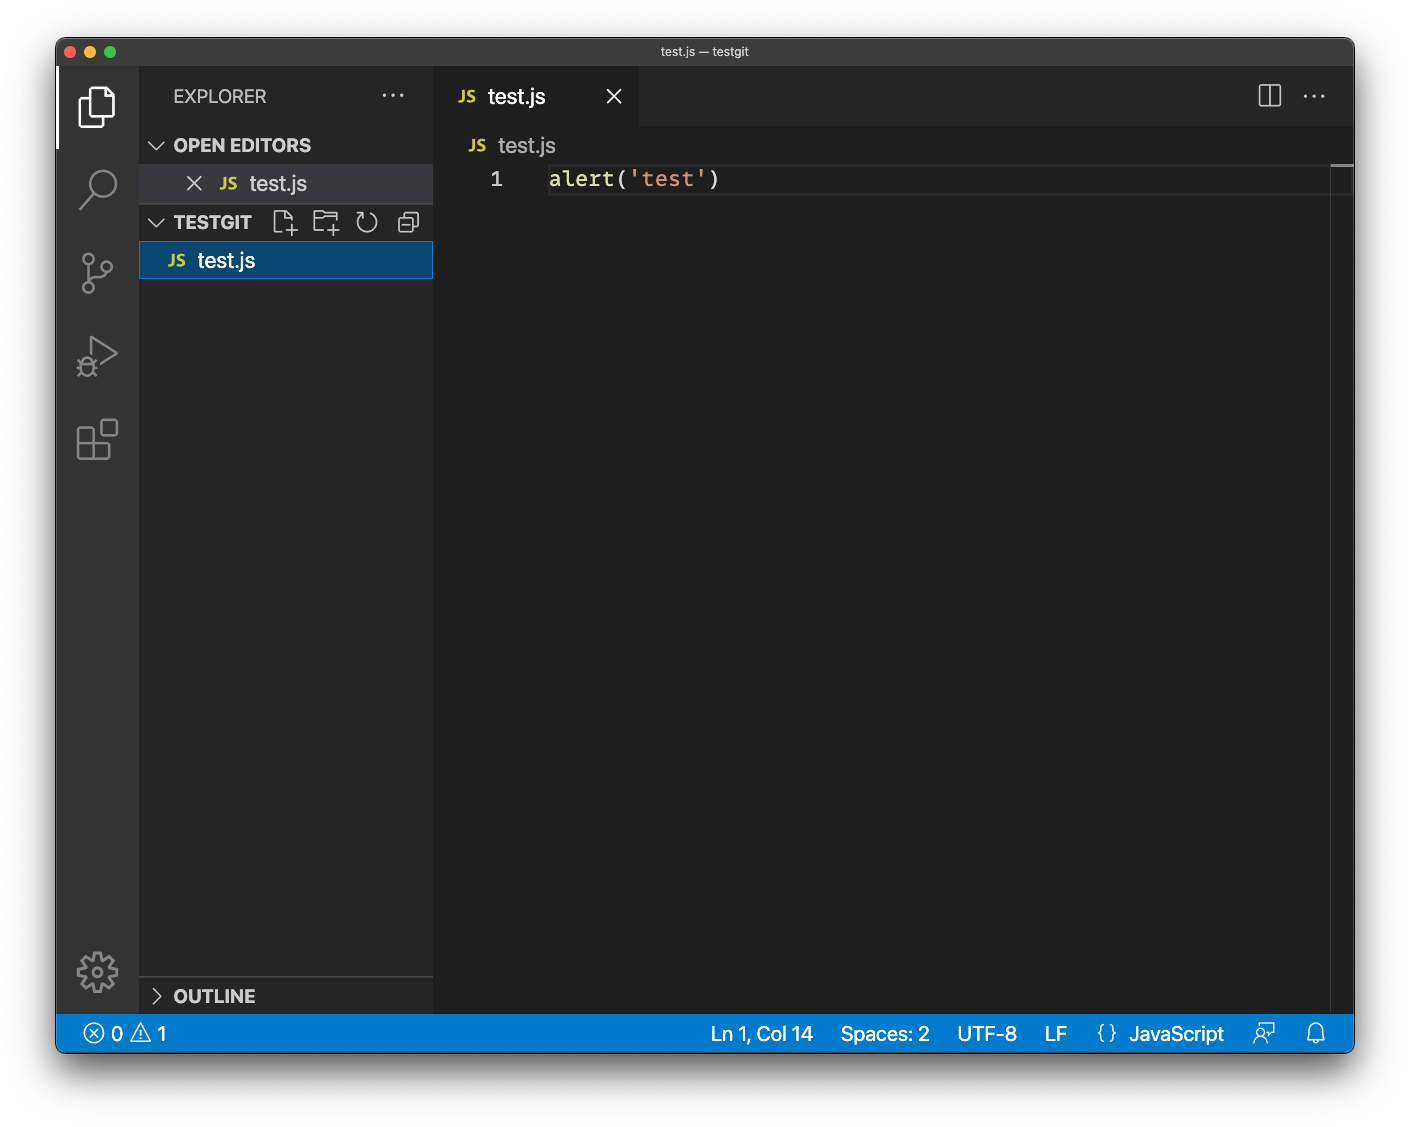
Press cmd-S or ctrl-S or use the File -> Save menu to save.
Now click the Source Control icon in the toolbar:
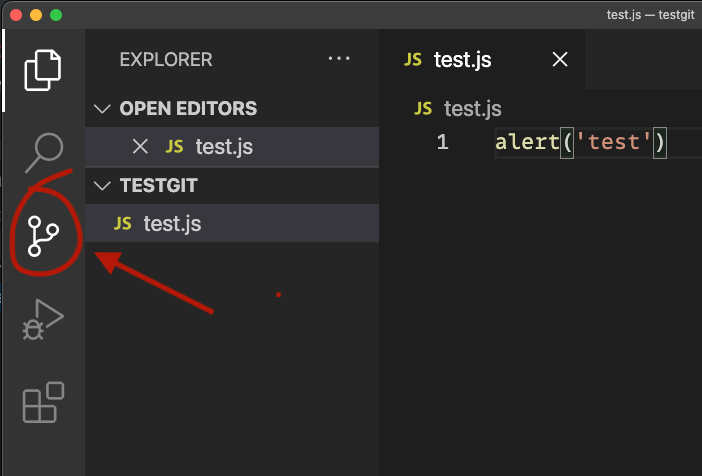
and you’ll see something like this:

This is because we don’t have Git set up on the project yet. Git must be set up for every different project you have.
We must first initialize a repository.
Click Initialize Repository and you’ll see this:
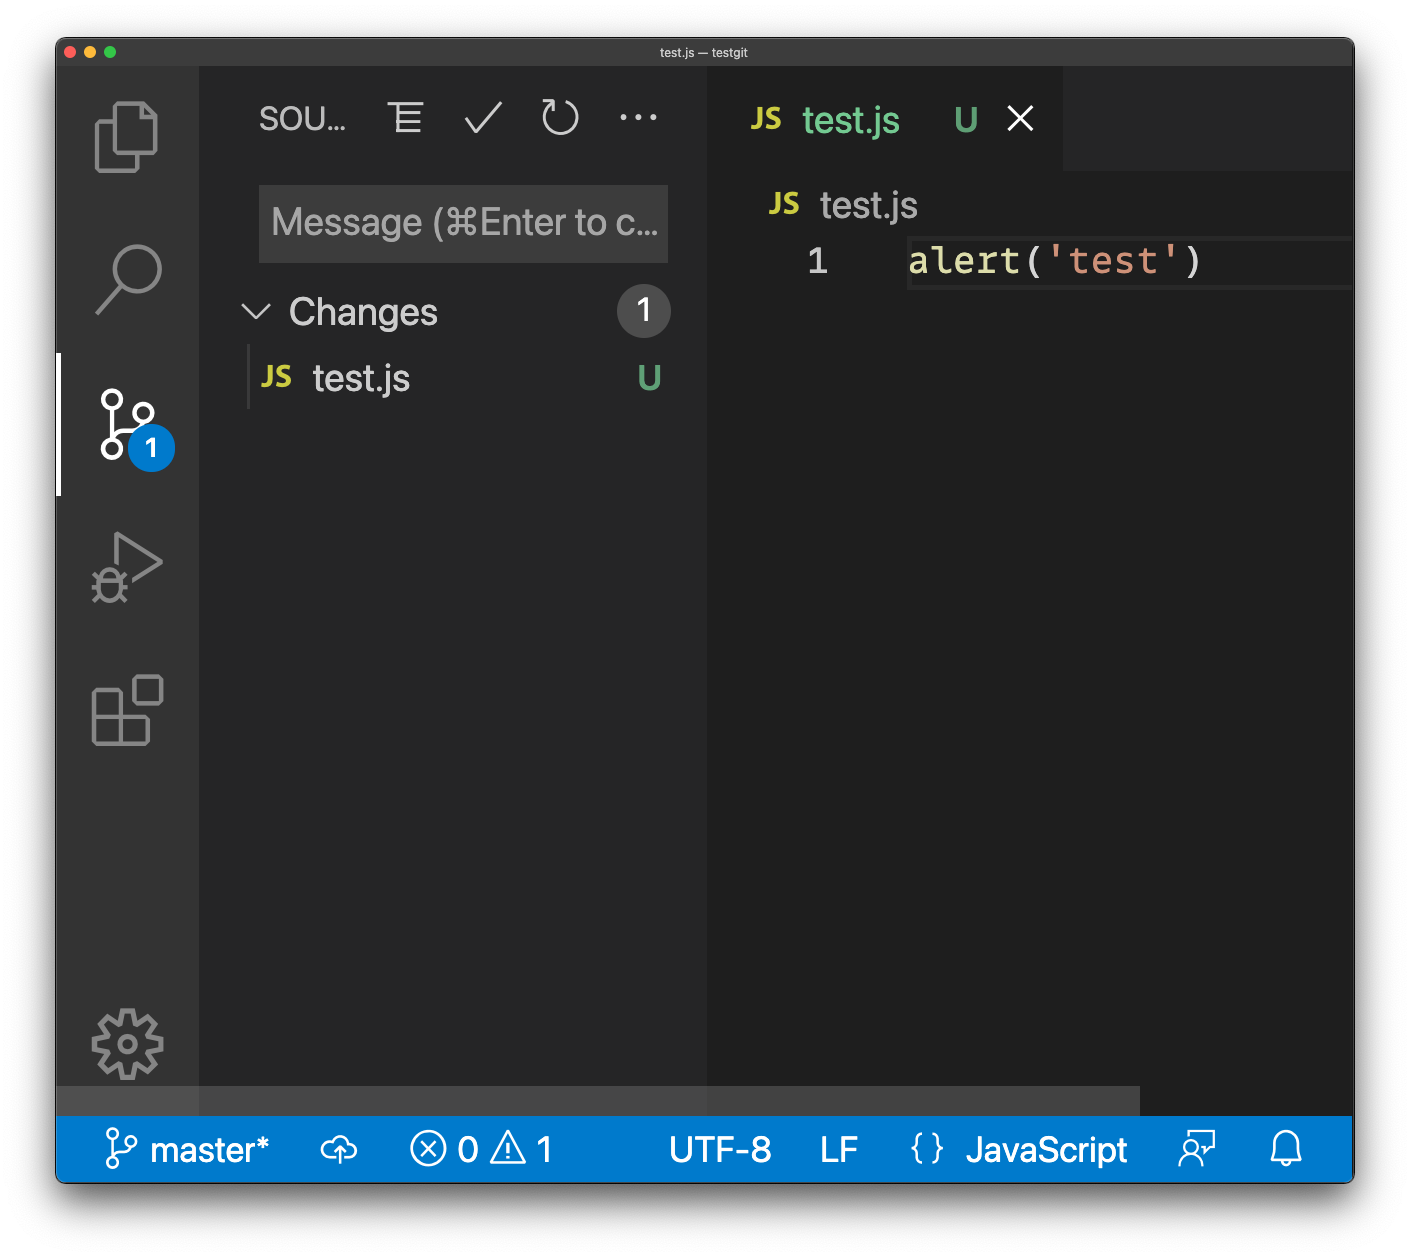
The file on the right is still the same, but the left sidebar changed to show the list of files changed in your repository.
Now the repository is ready for your first commit.
What’s a commit? It’s a set of changes you made to the codebase that you can wrap under a single, atomic change.
Try it: write “My first commit” to the “Message” box, and press cmd-Enter / ctrl-Enter, or press the ✔ icon:
You will get a pop up saying “There are no staged changes to commit. Would you like to stage all your changes and commit them directly?”
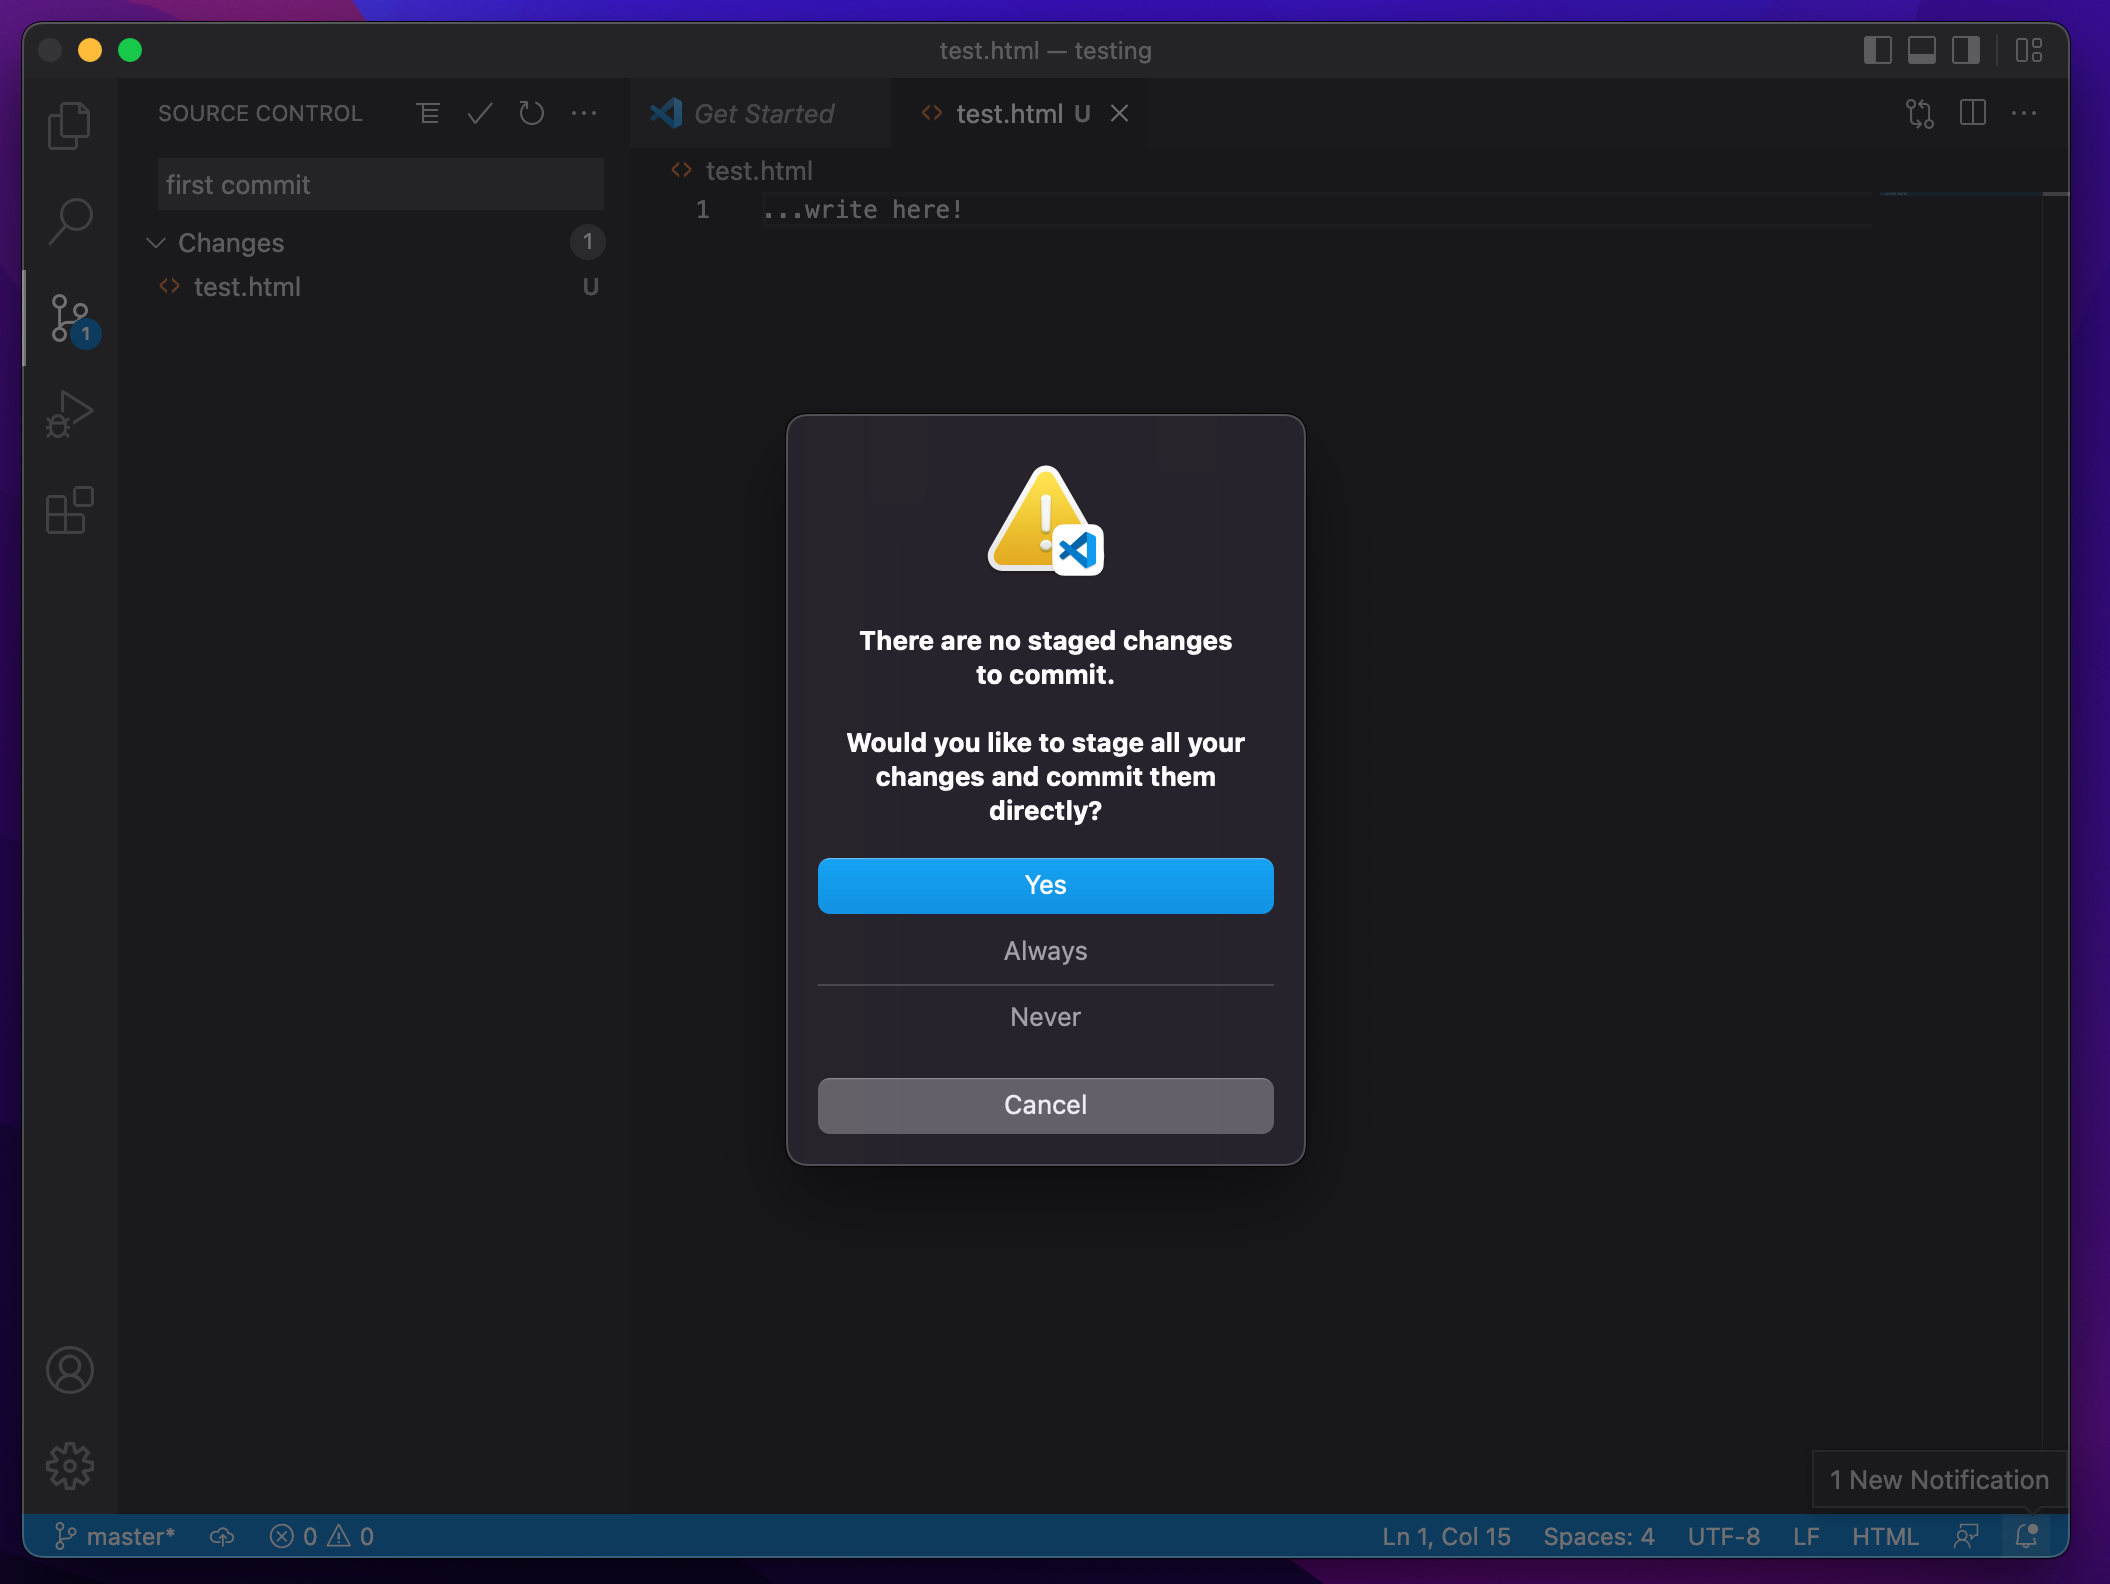
I suggest you click “Always” here.
If this is the first time you use Git, you might get this error message:
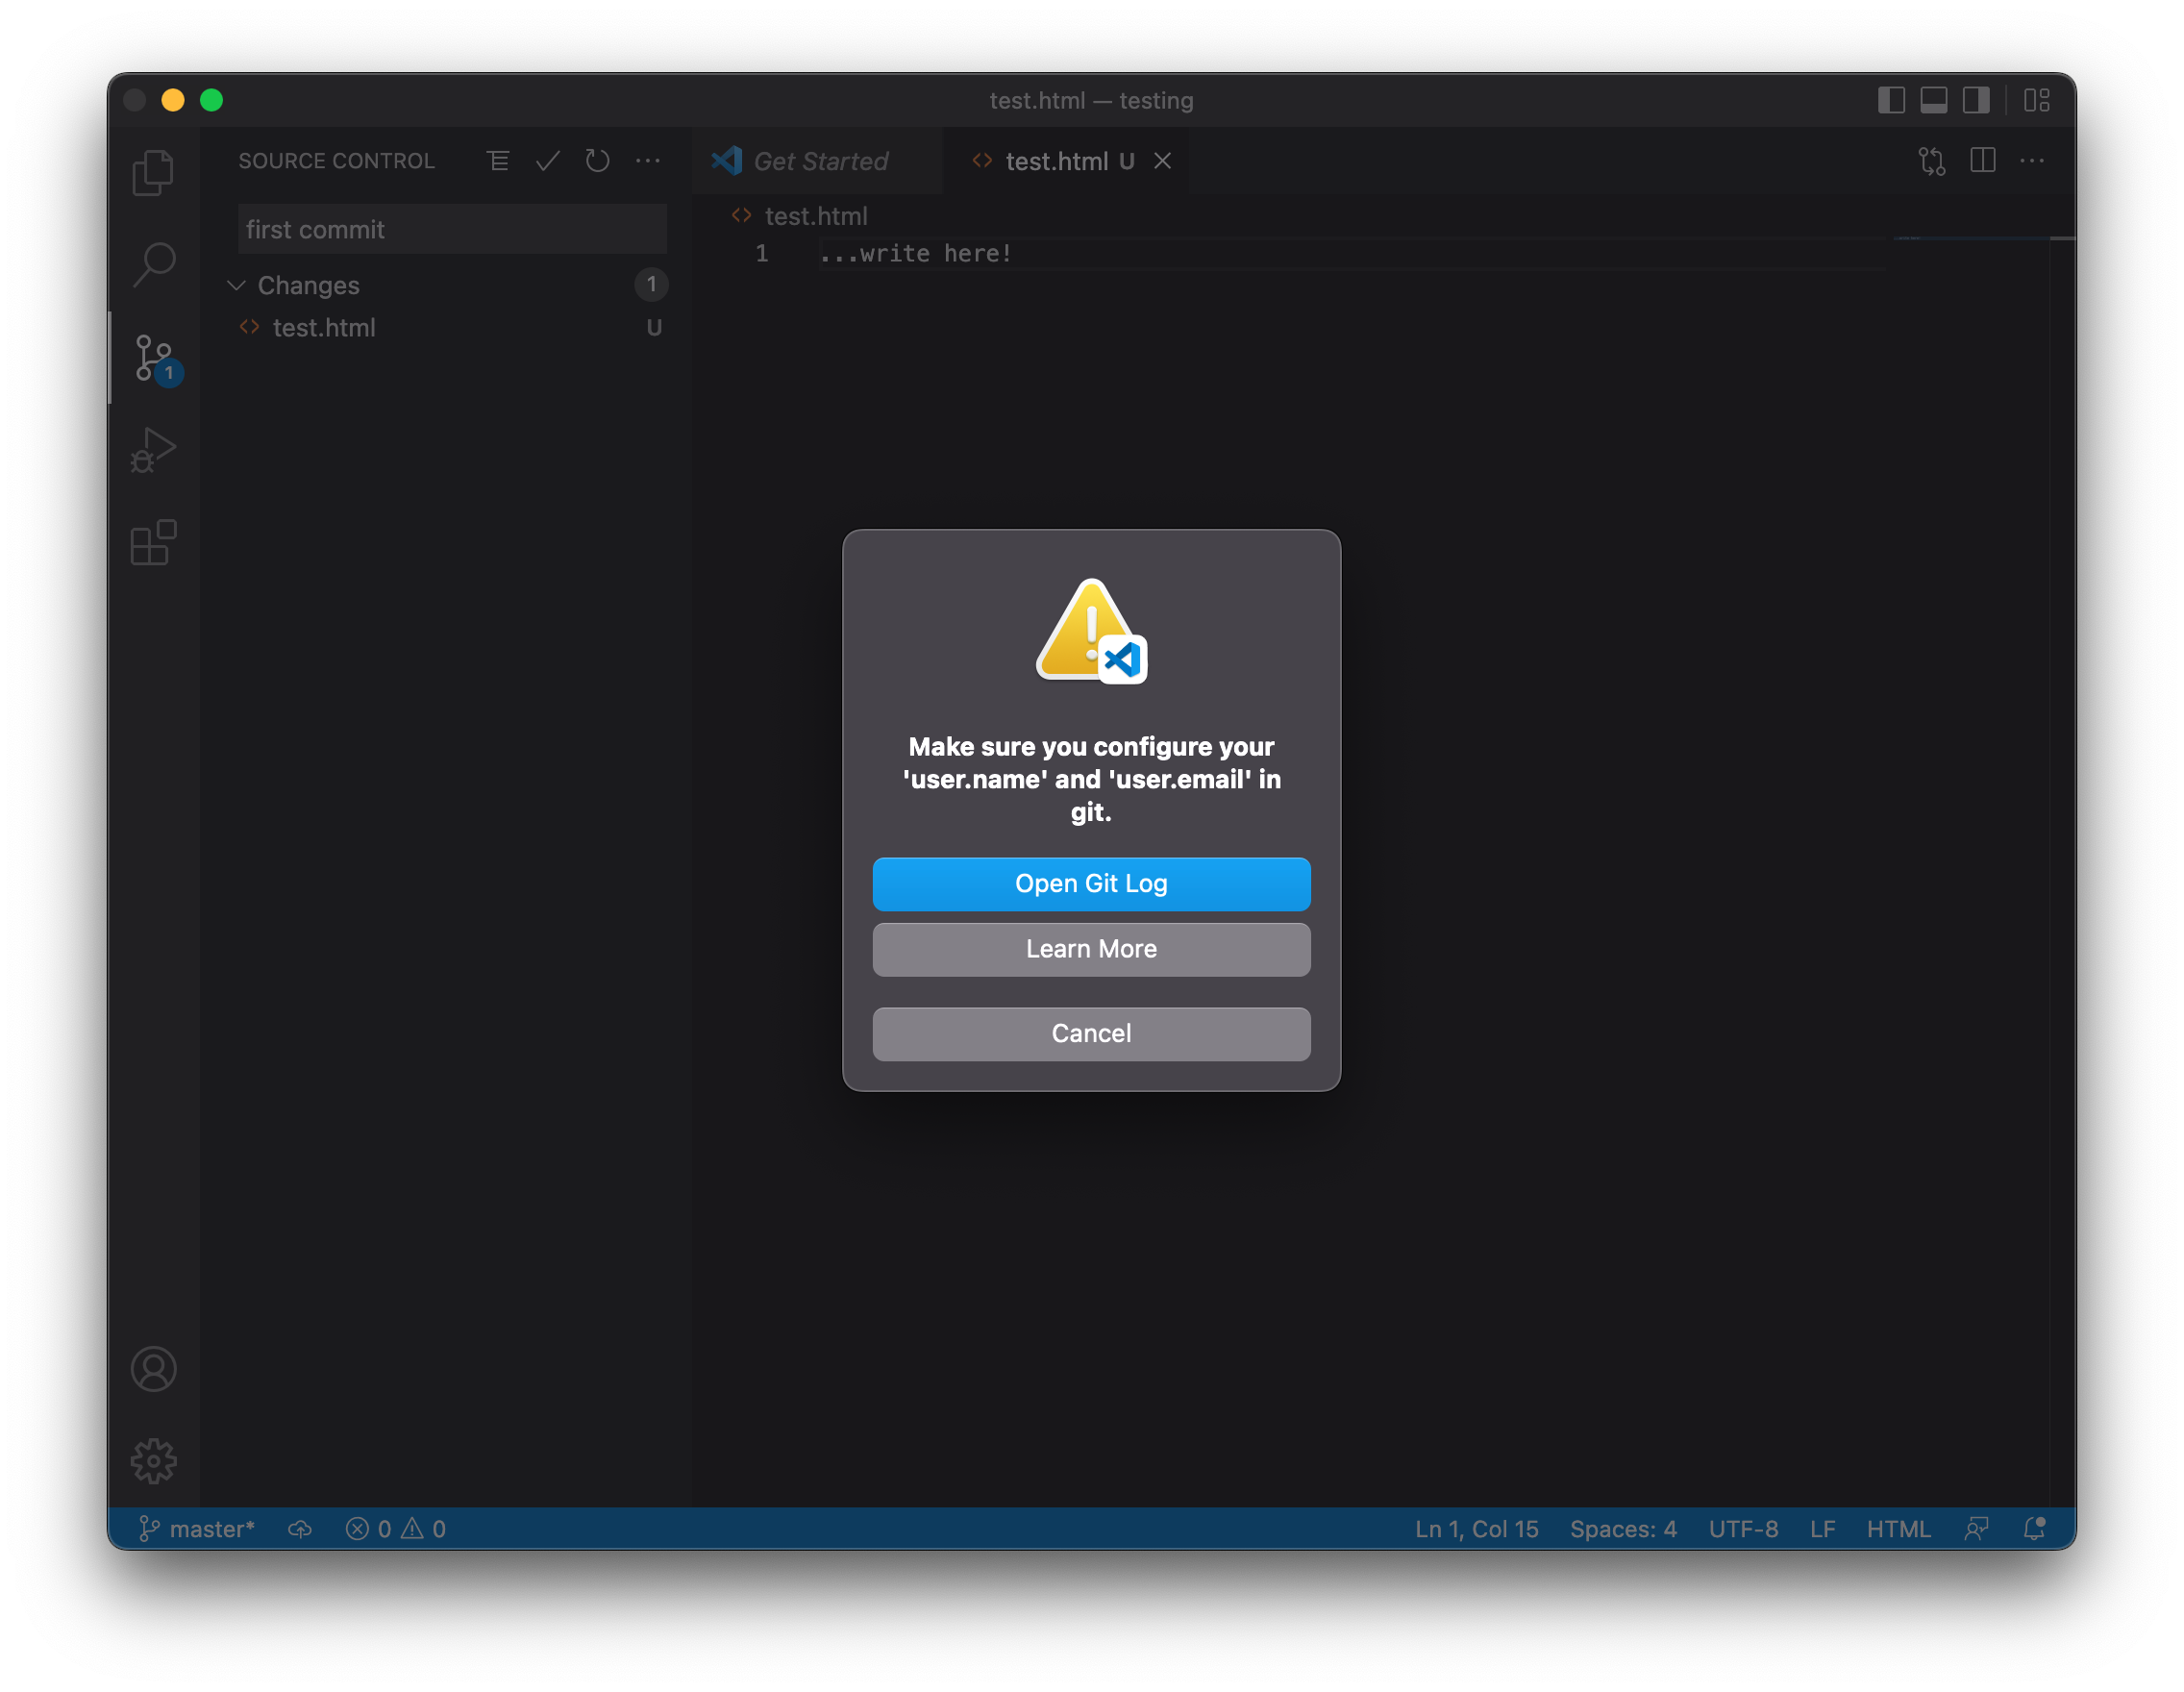
Click the “Cancel” button here and complete the step described here (or install and configure GitHub Desktop as I explained in the beginning of this lesson). Then repeat this step.
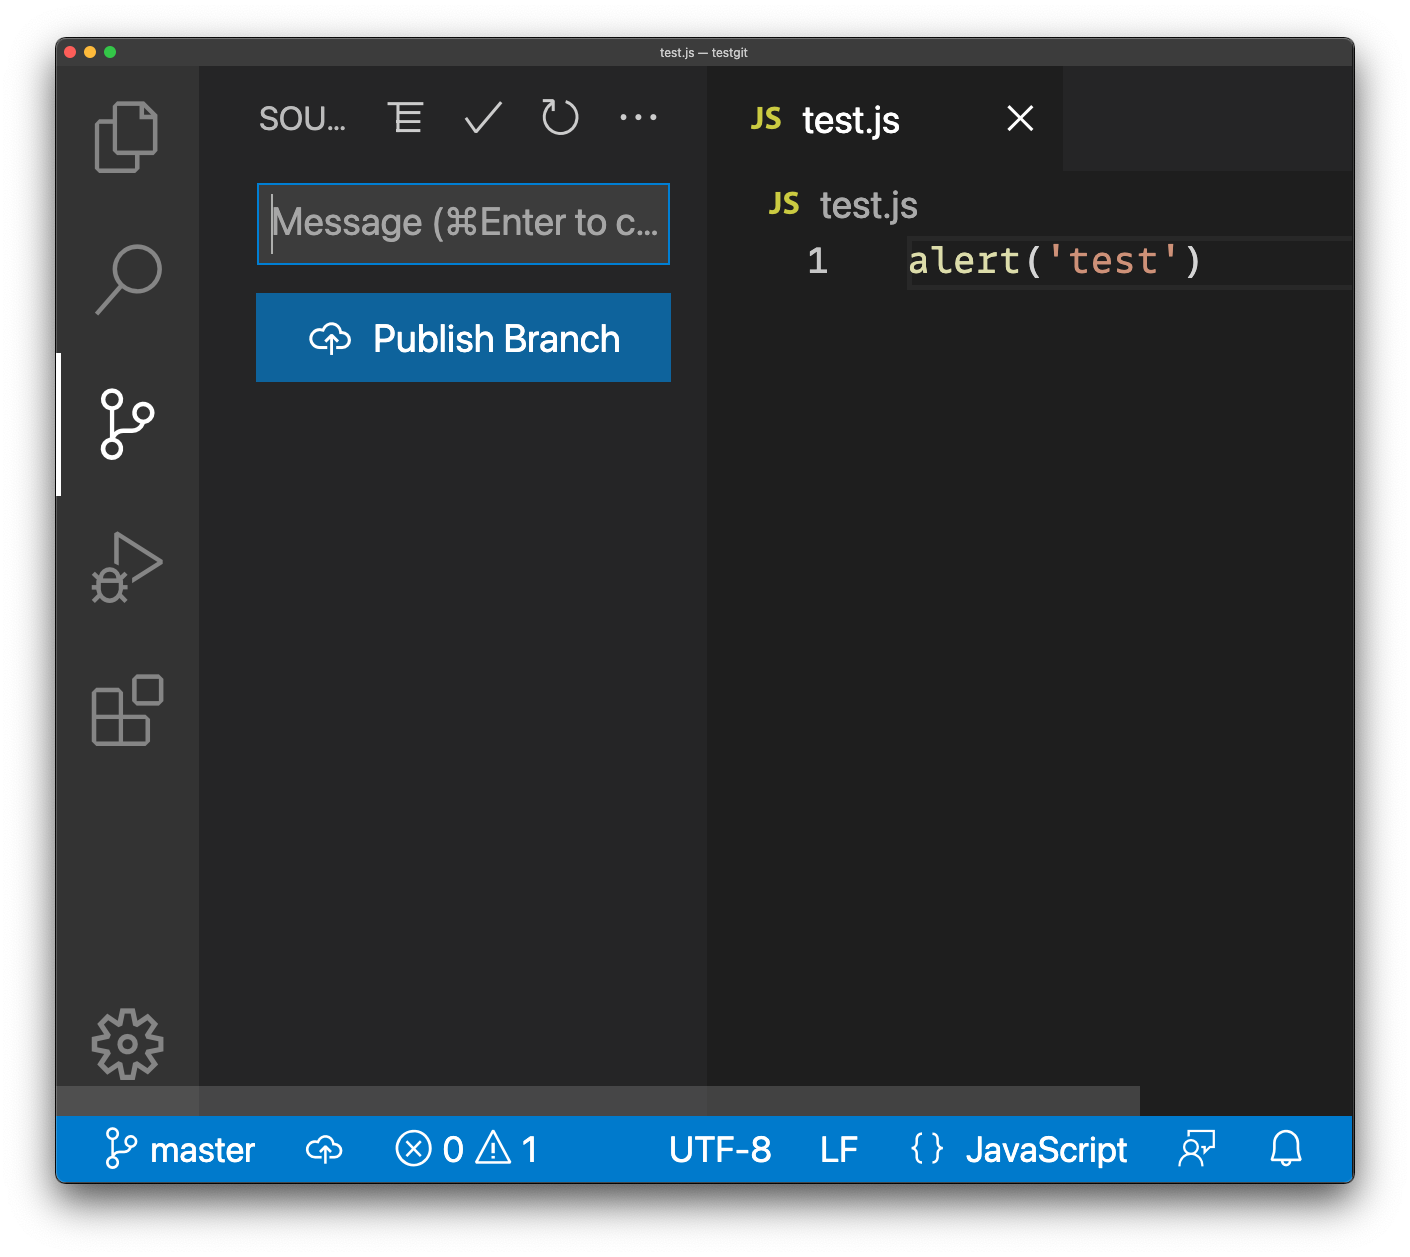
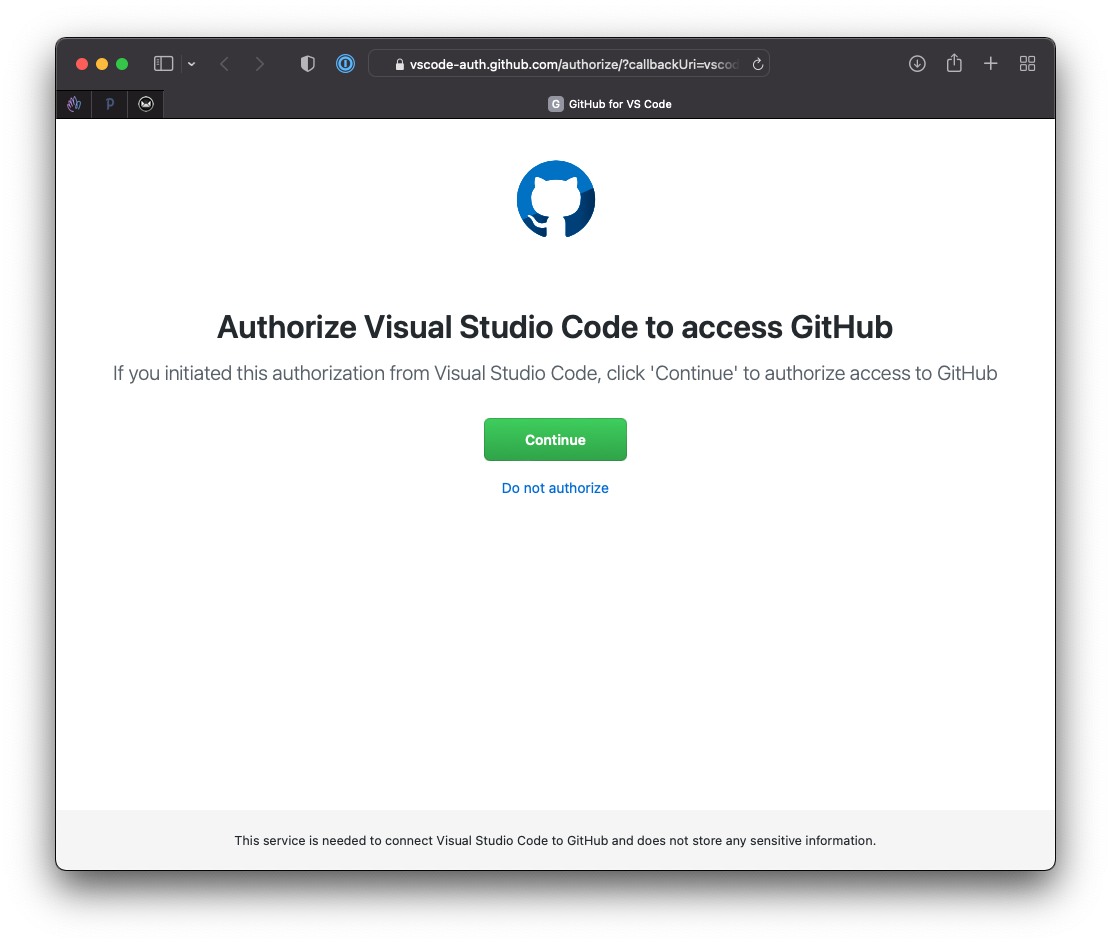
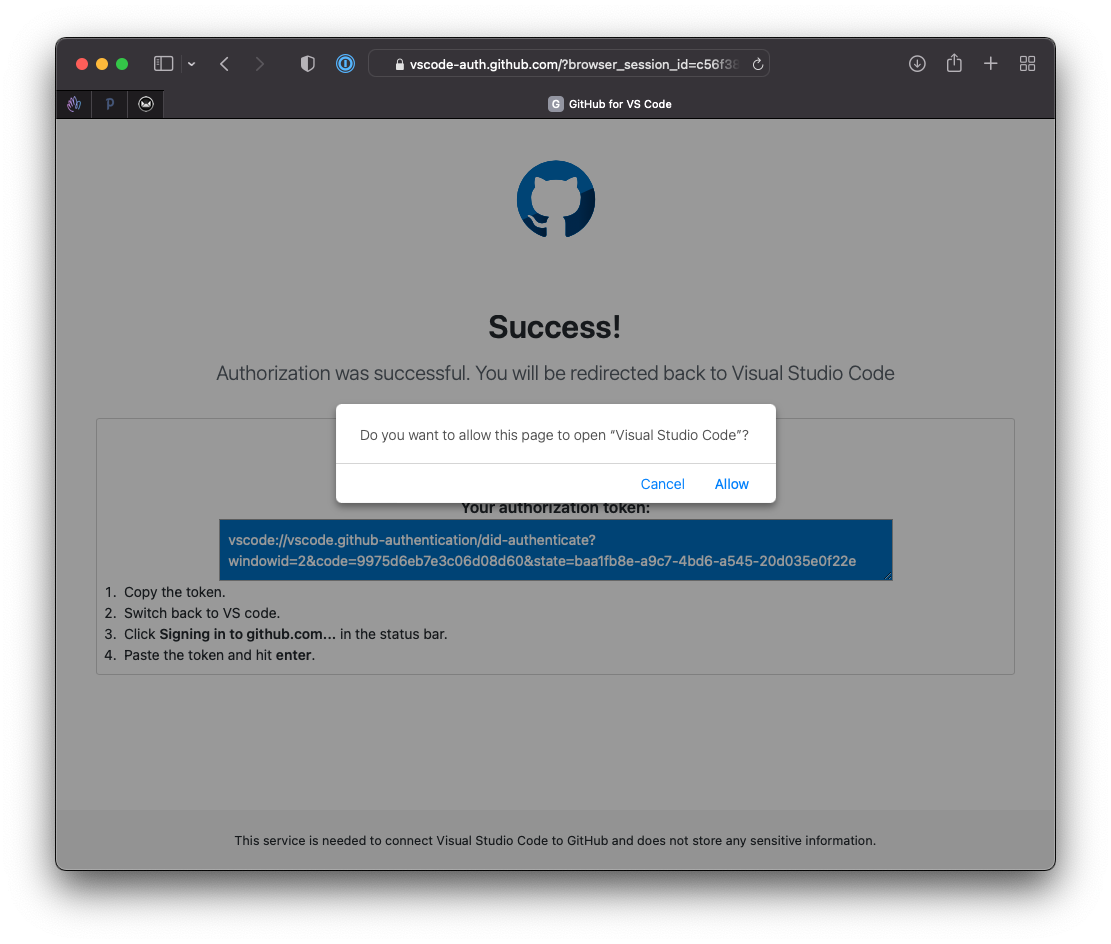
Now we’re going to publish this repository to GitHub.
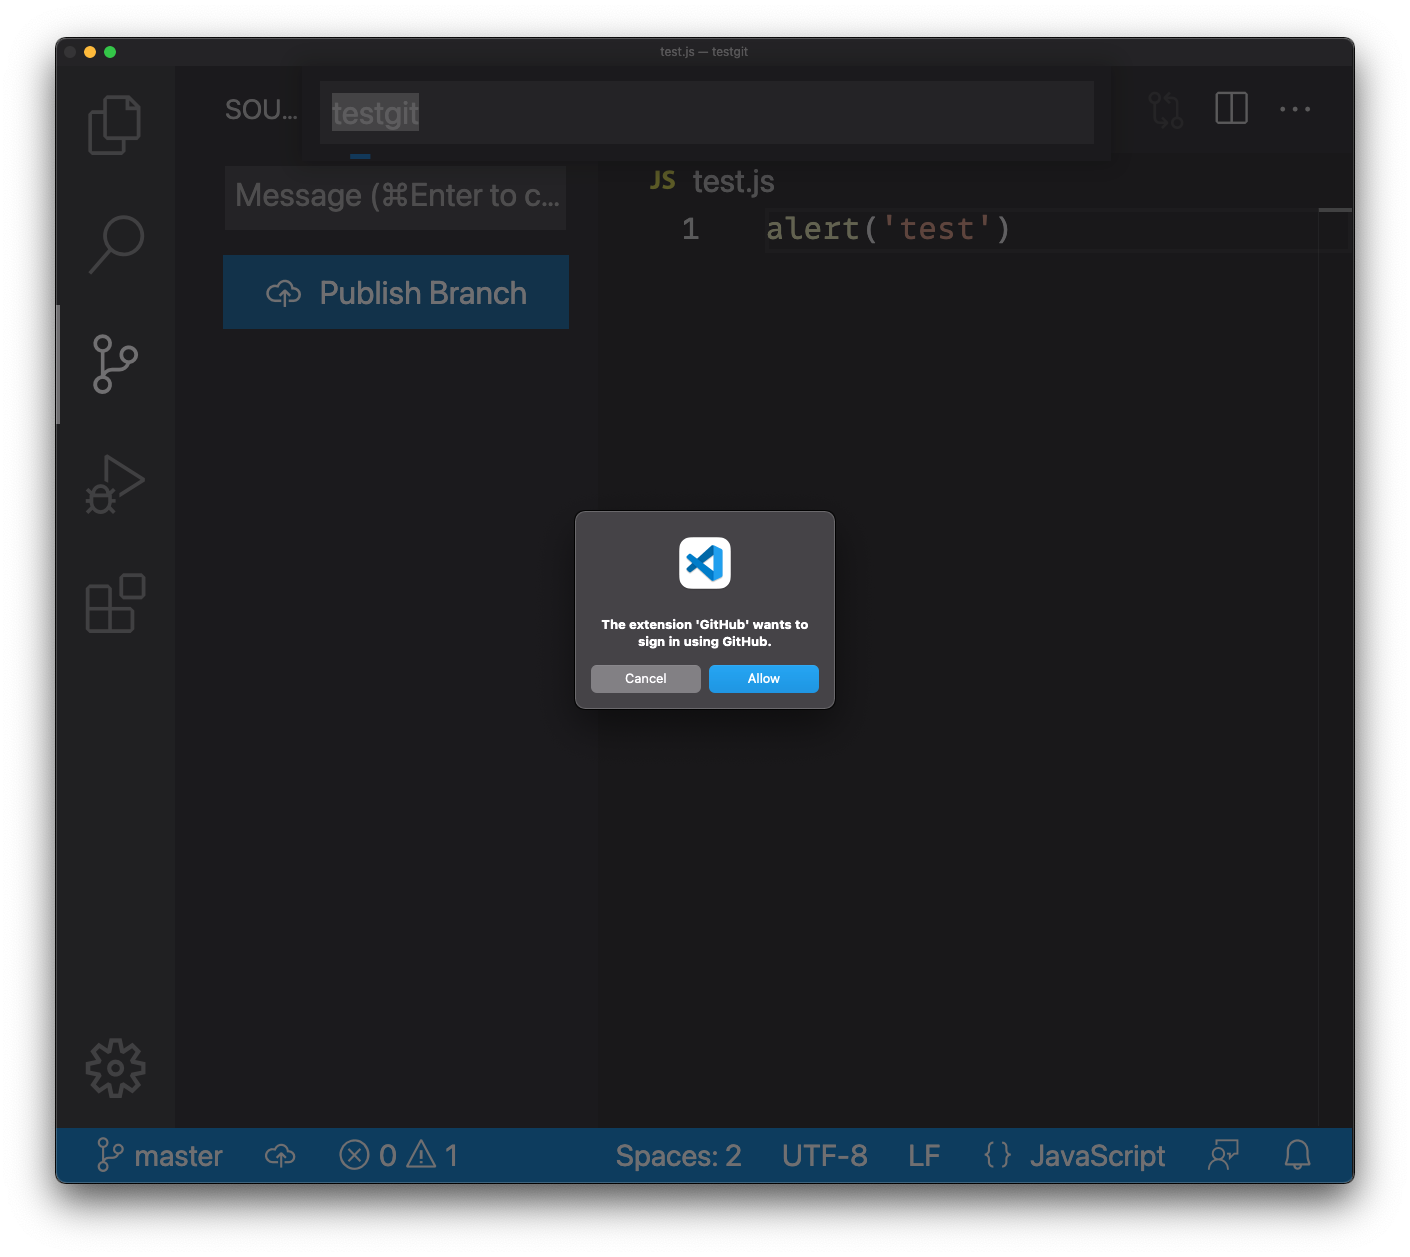
Click the “Publish Branch” blue button. We’ll go through the procedure of connecting VS Code to GitHub, which you only need to do once:
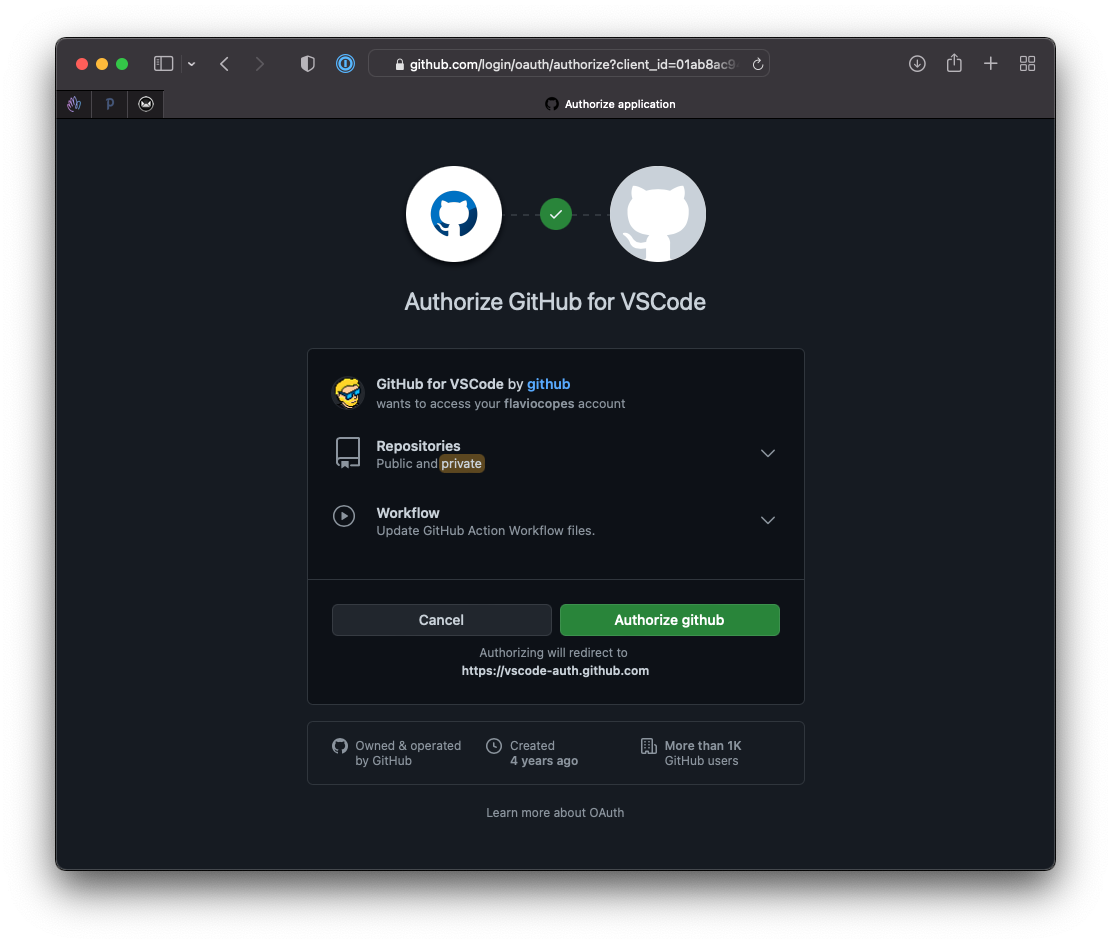

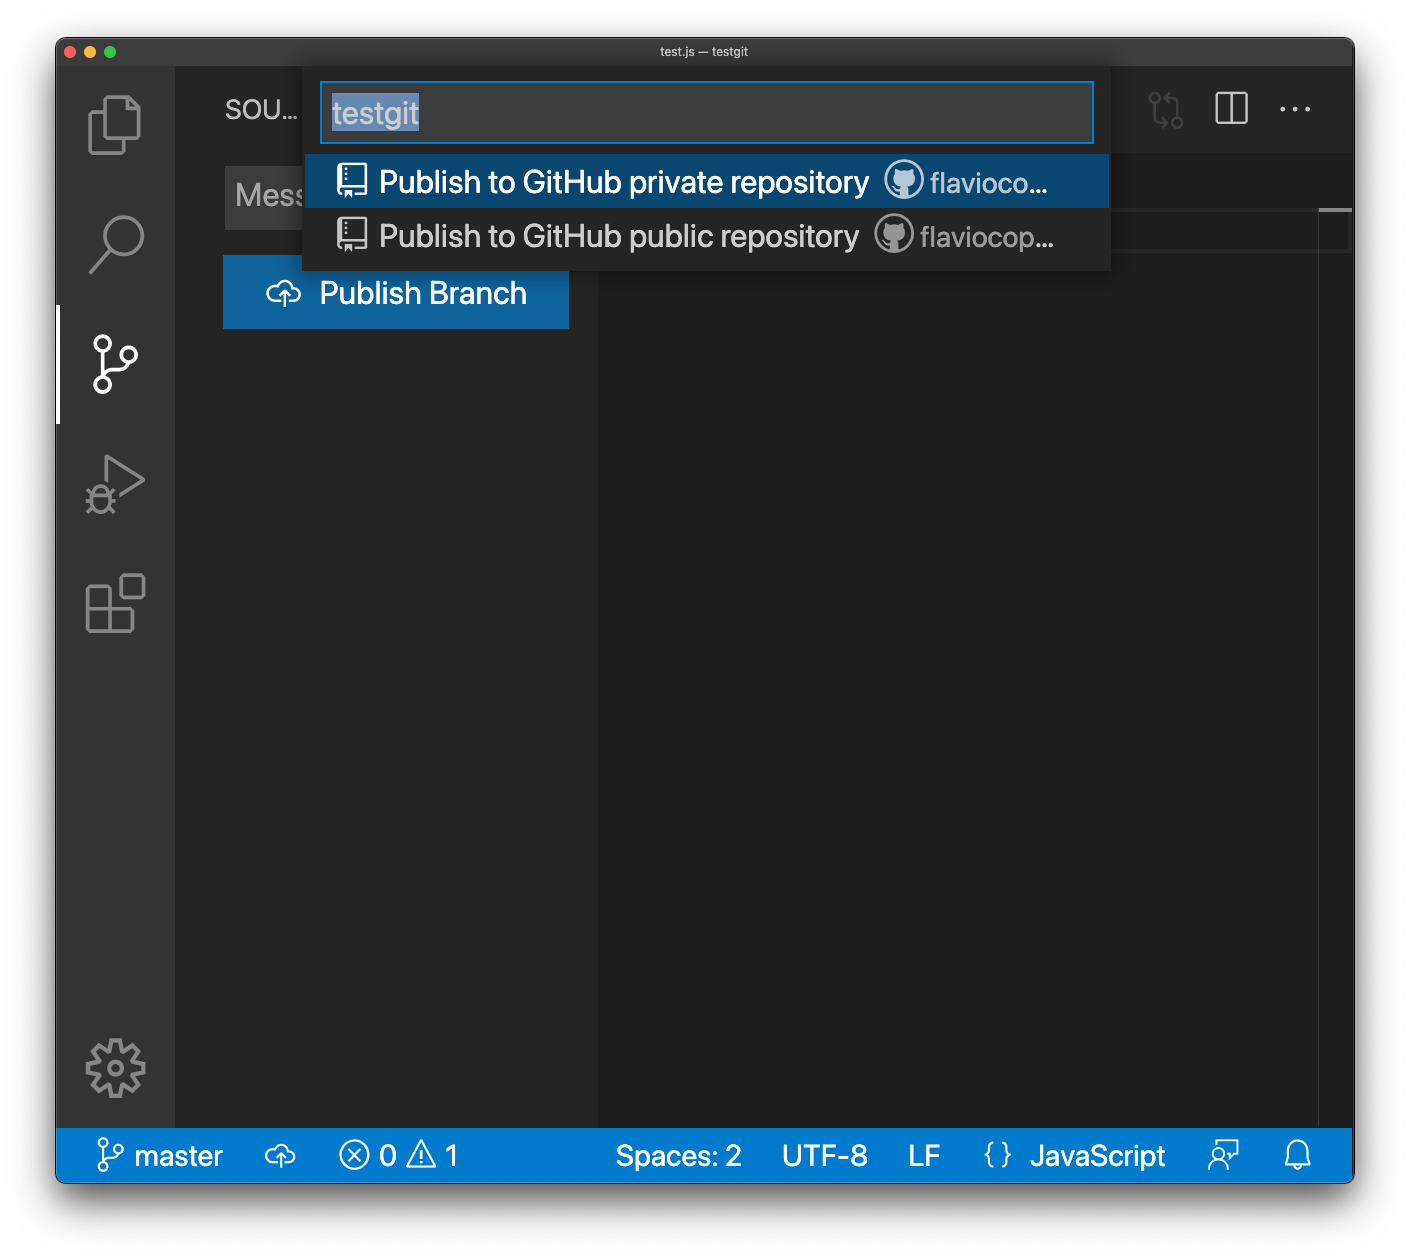
Now you can choose whether to post the project publicly, or privately.
I usually go private for all my projects, unless I want to share them when I feel they’re ok for public visibility. You can always change this later.
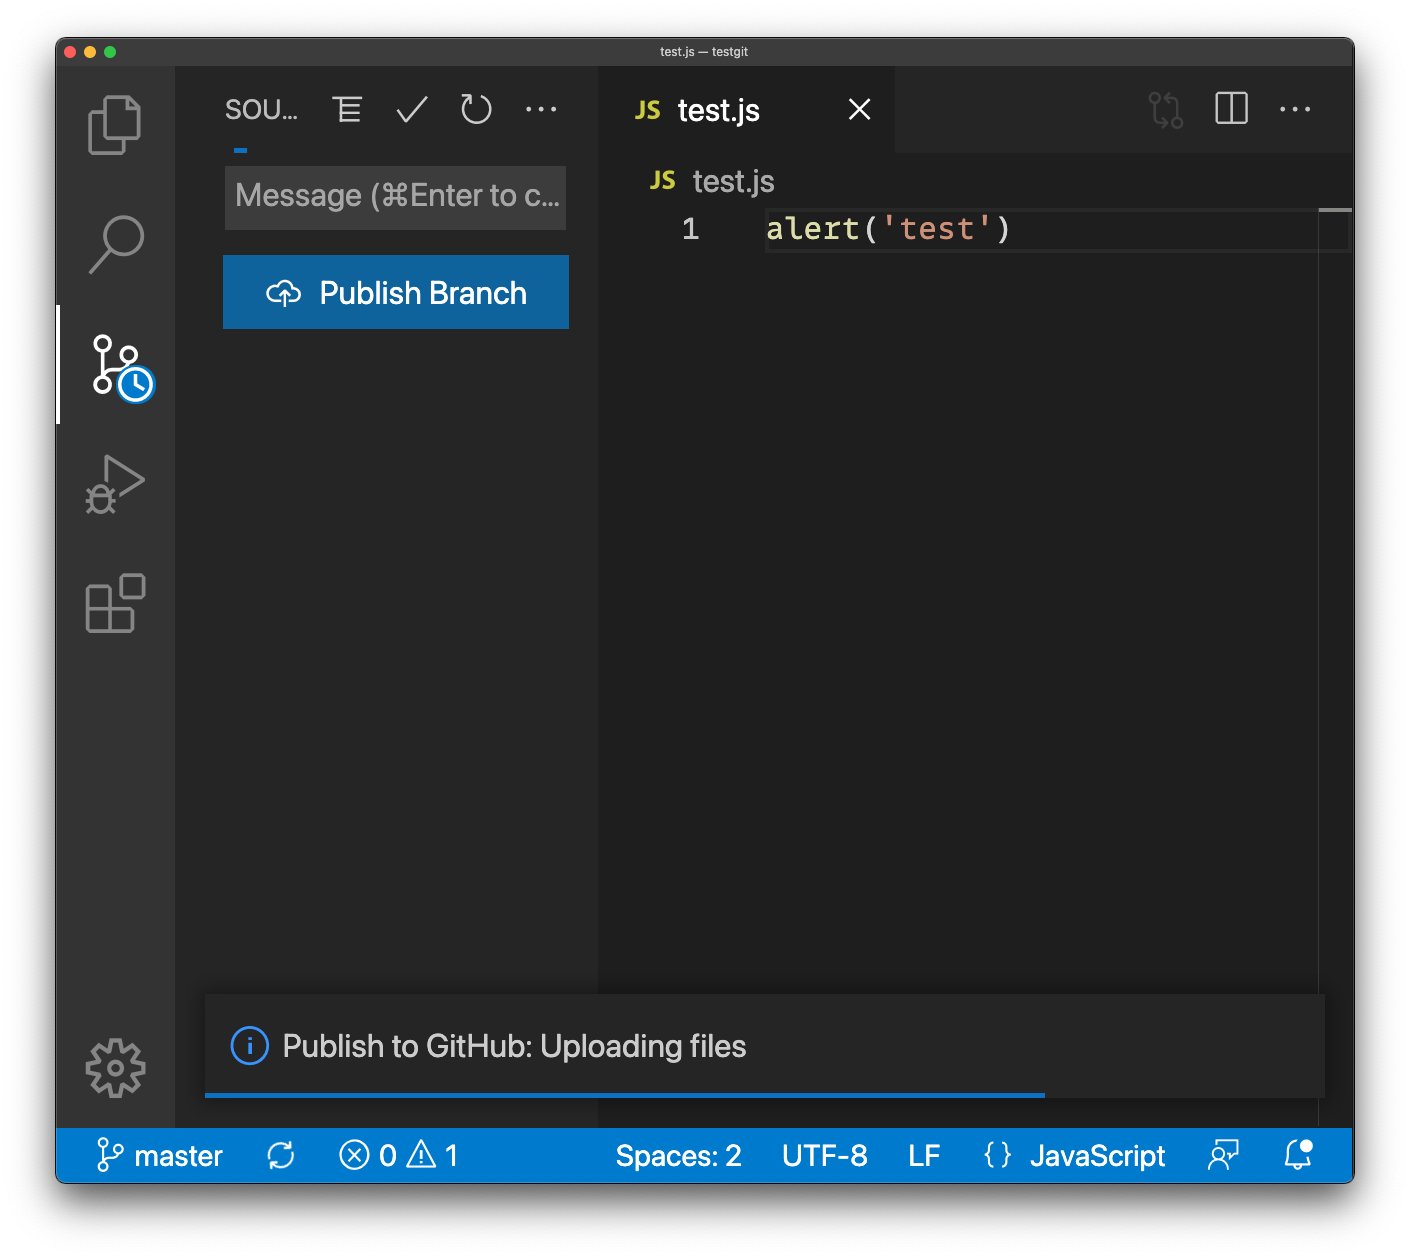
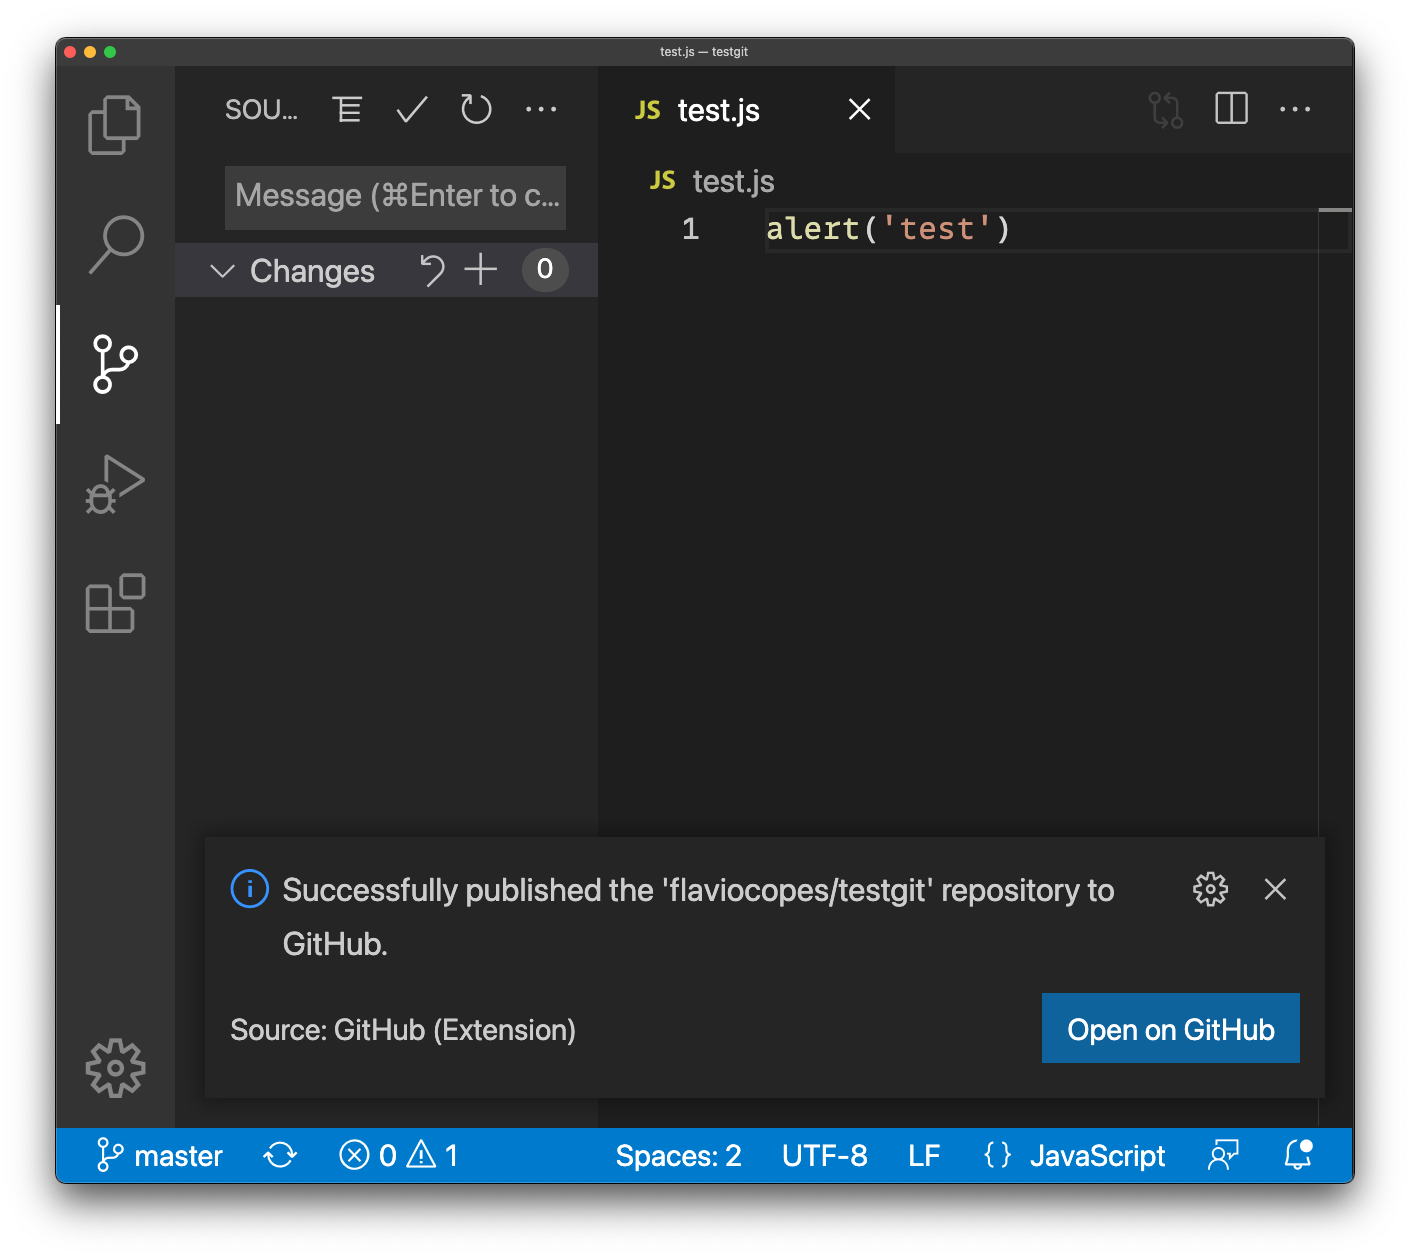
This process pushed your commits to GitHub.
Lessons in this unit:
| 0: | Introduction |
| 1: | GitHub issues |
| 2: | Social coding |
| 3: | Pull requests |
| 4: | Project management |
| 5: | Comparing changes |
| 6: | Webhooks and integrations |
| 7: | What happens after pushing |
| 8: | DEMO Create a GitHub account |
| 9: | DEMO Using GitHub desktop |
| 10: | ▶︎ DEMO Using Git in VS Code |