Now let’s create a GitHub account.
Go to GitHub.com
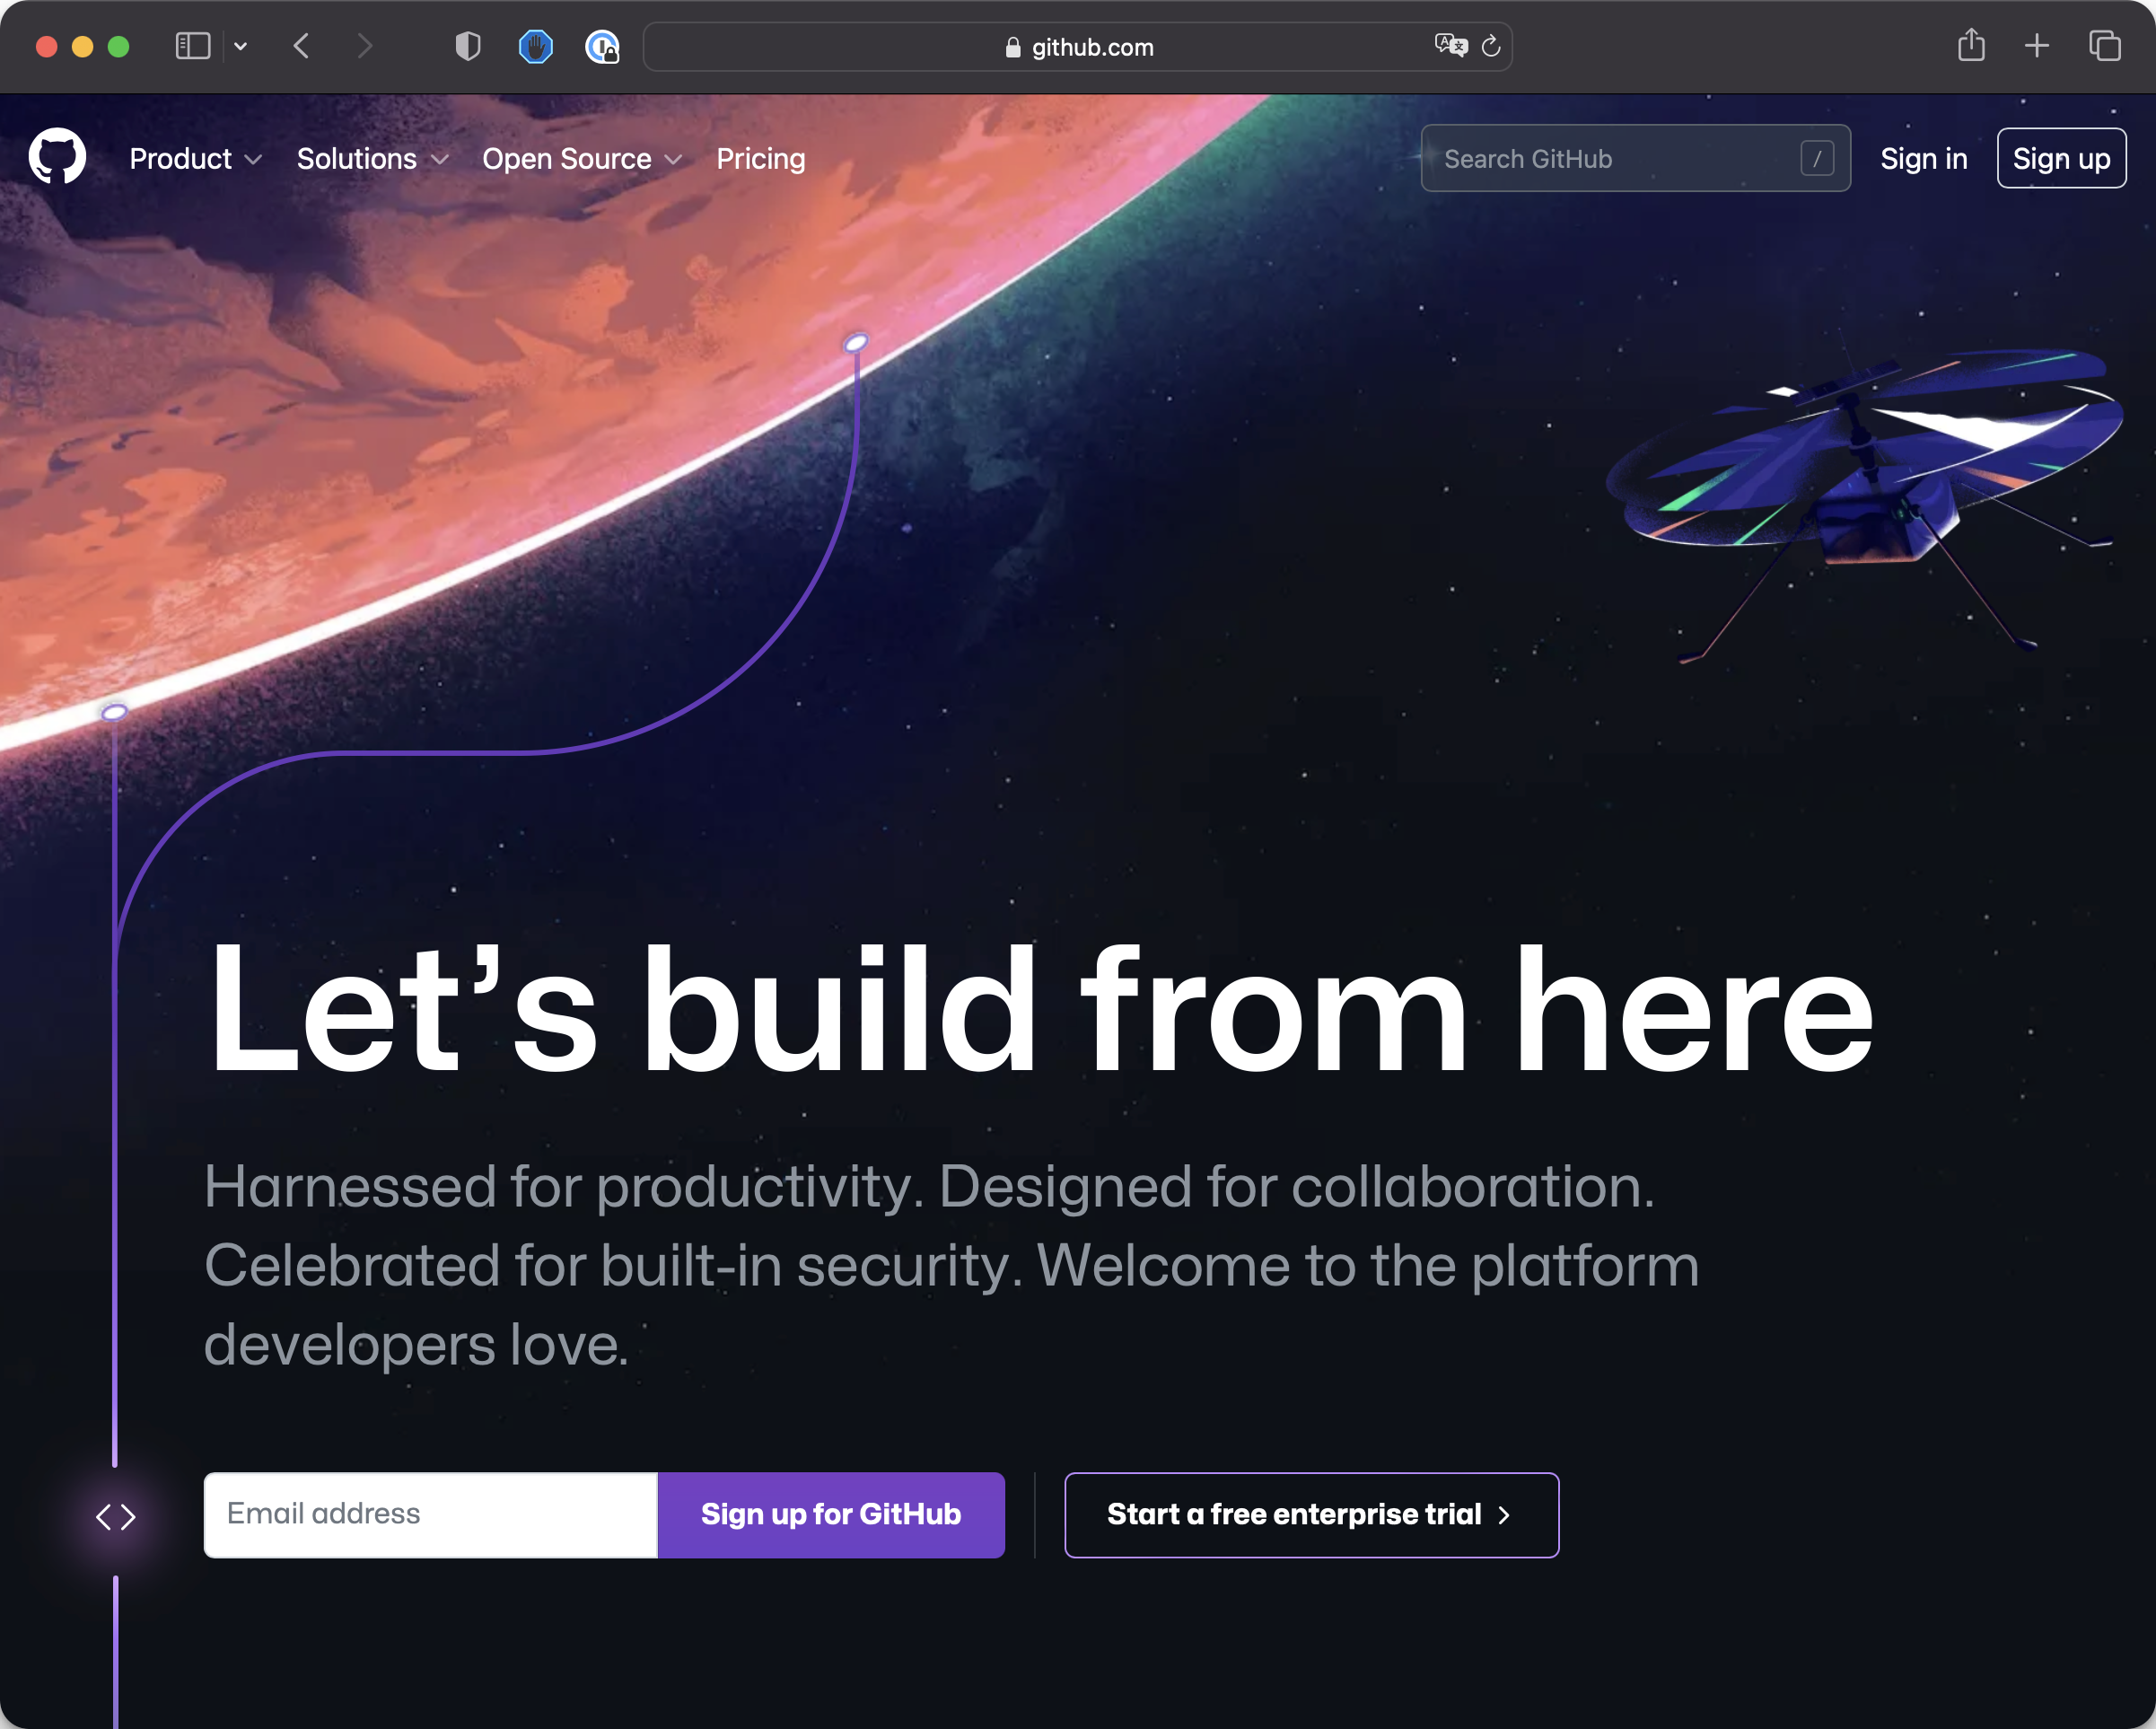
Click the “Sign up” button at the top-right.
You’ll be sent to GitHub to create an account:
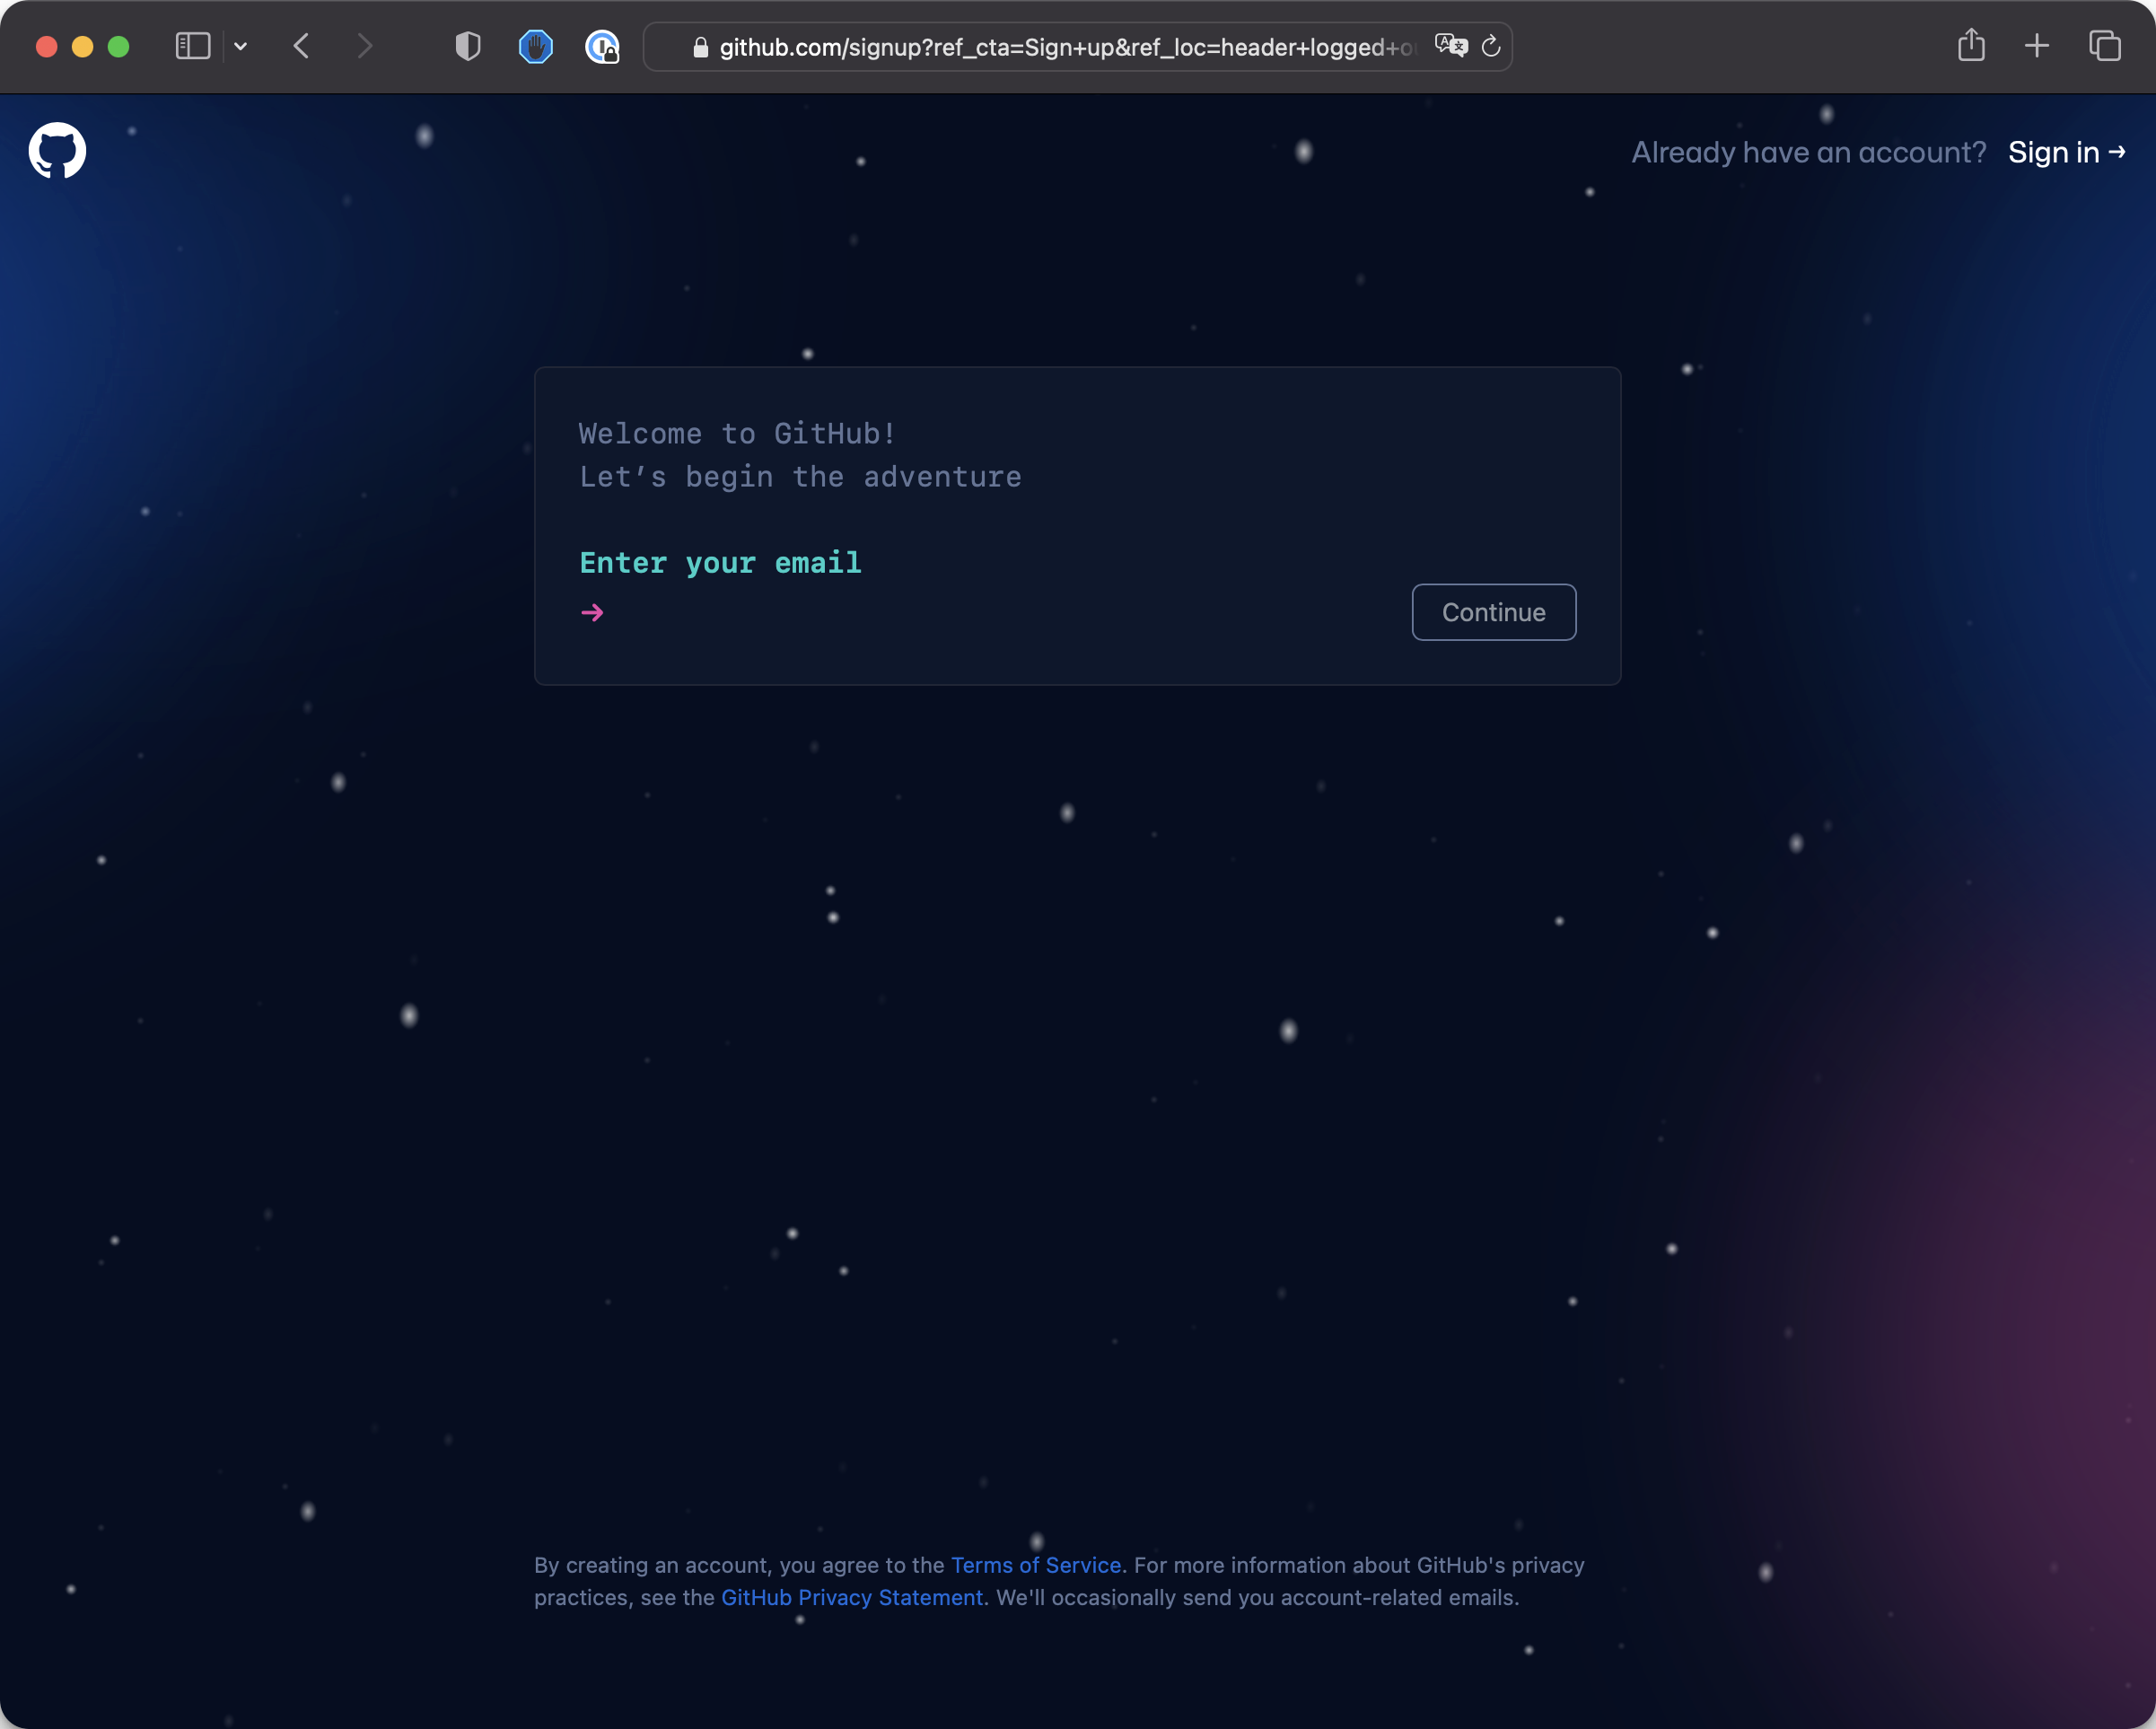
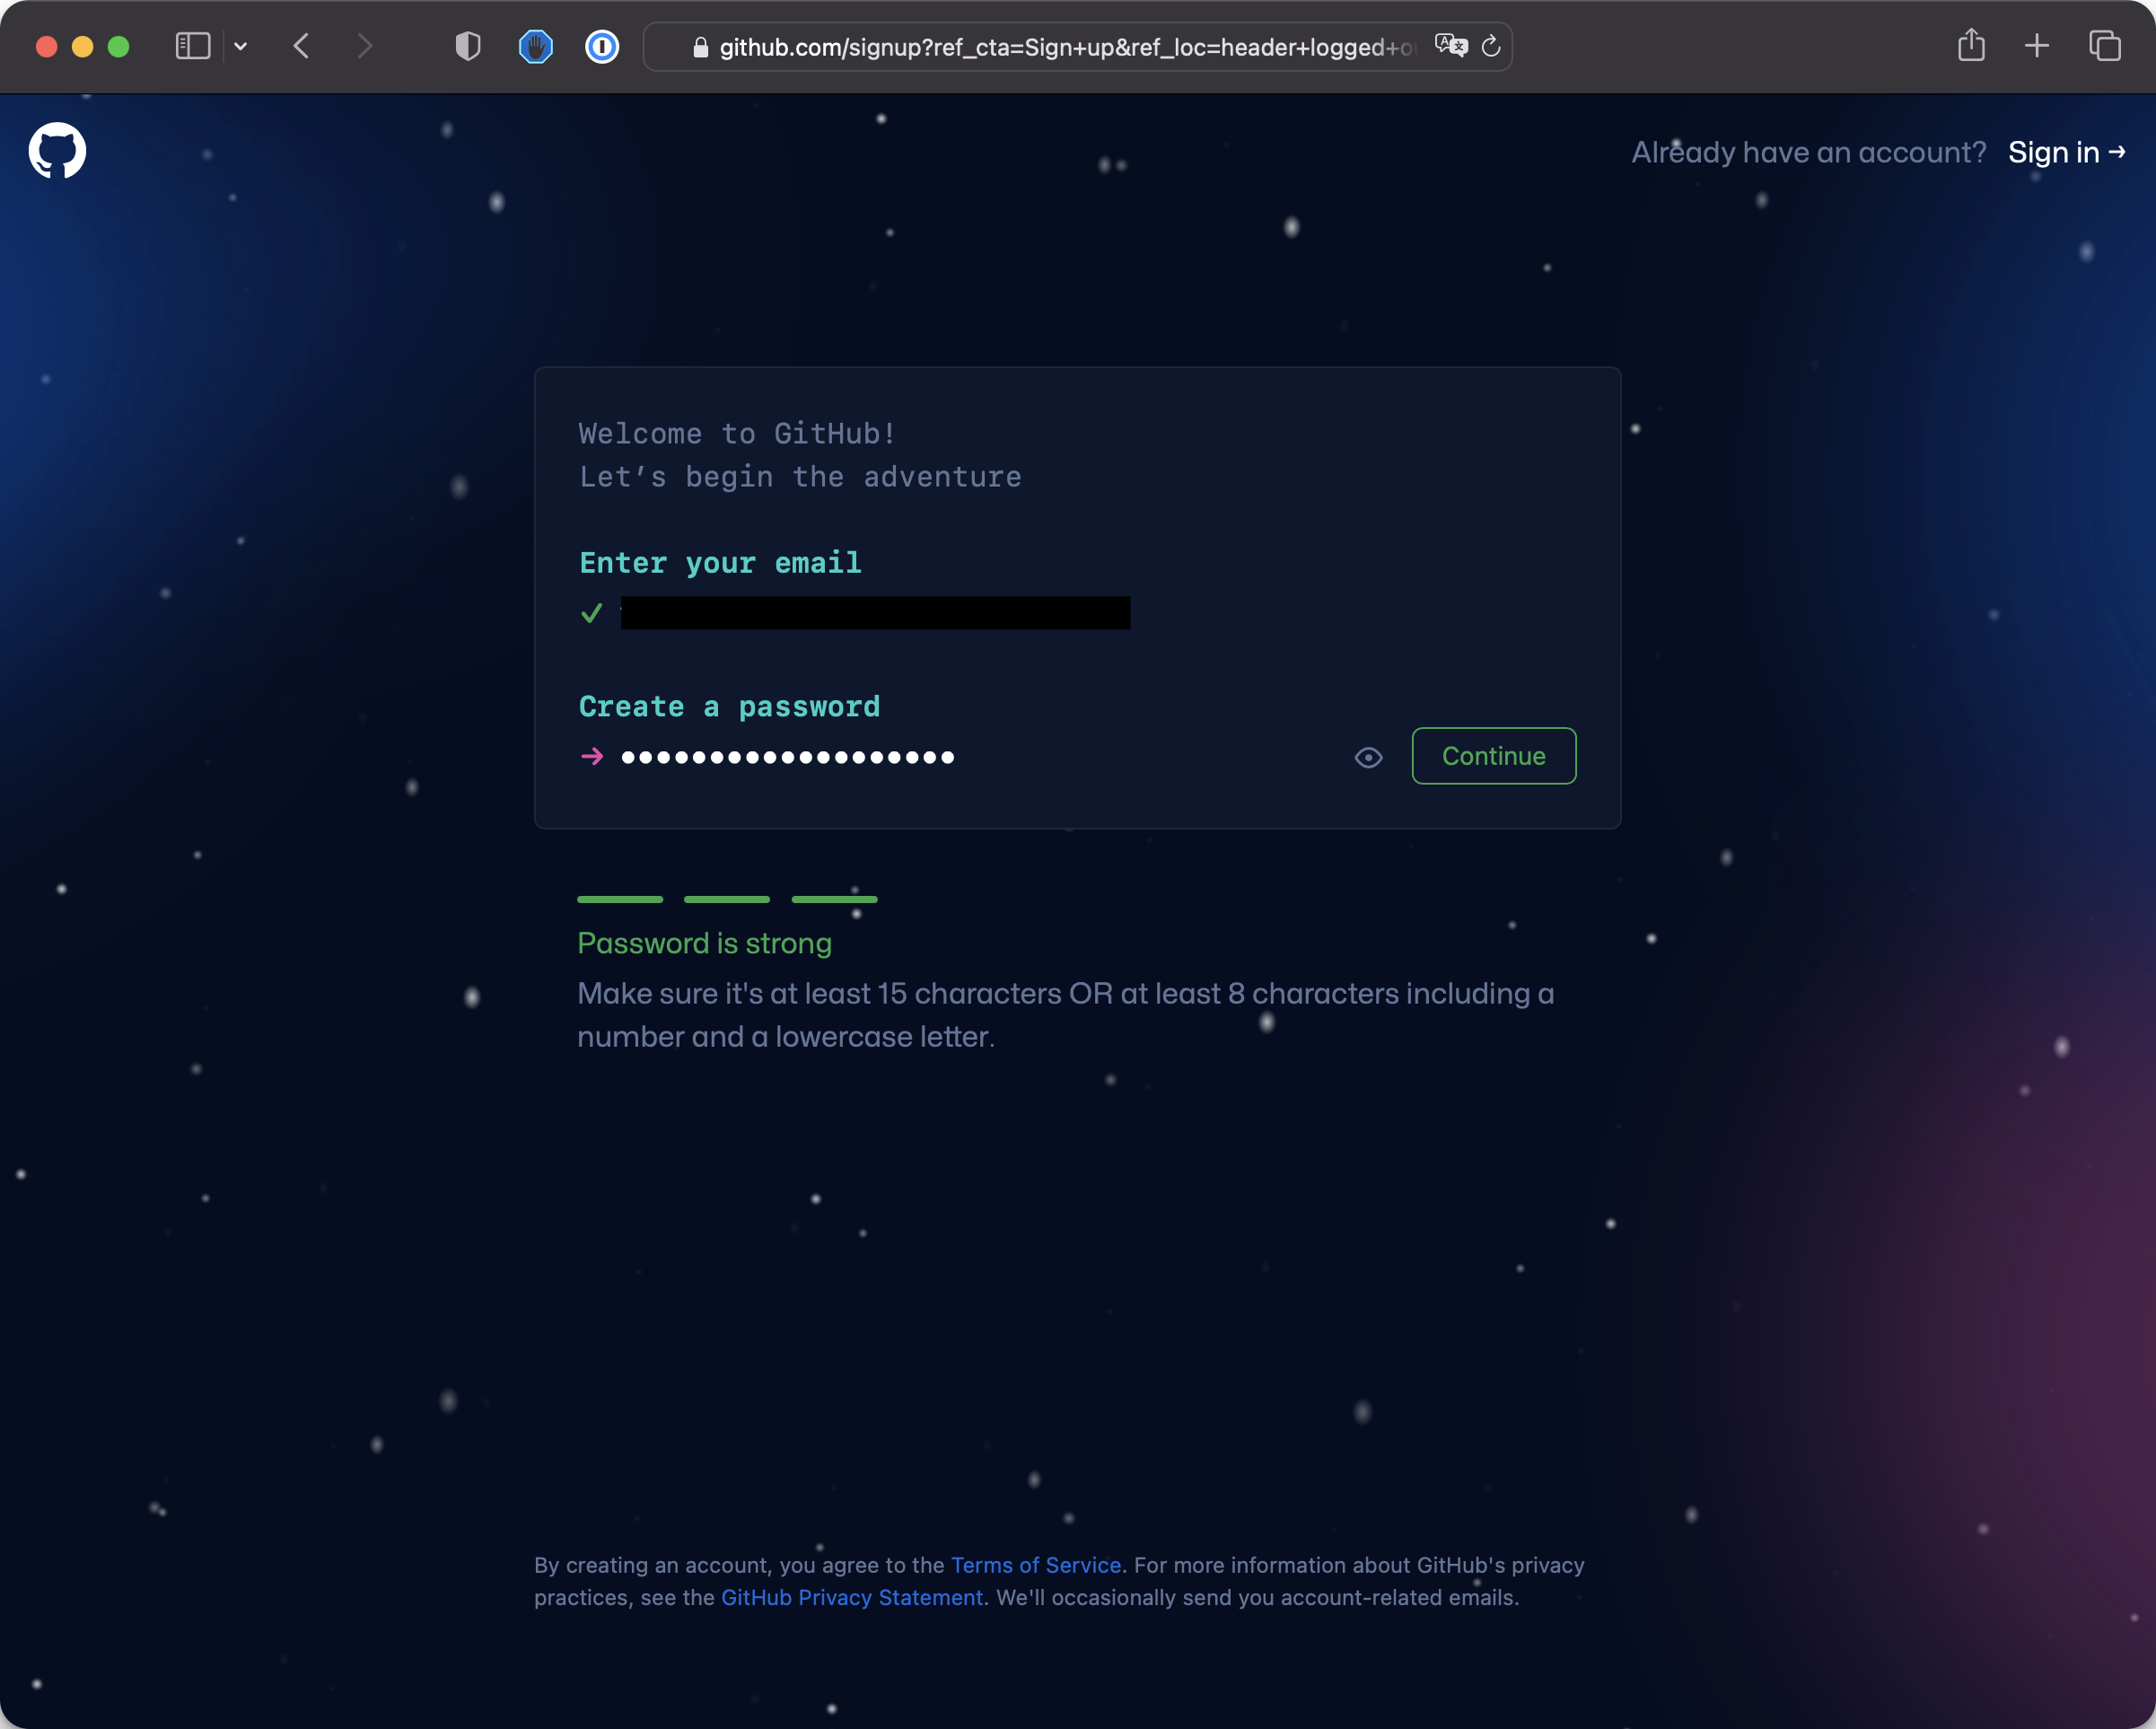
Pick the username wisely, you’ll have a public GitHub profile like I do here: https://github.com/flaviocopes

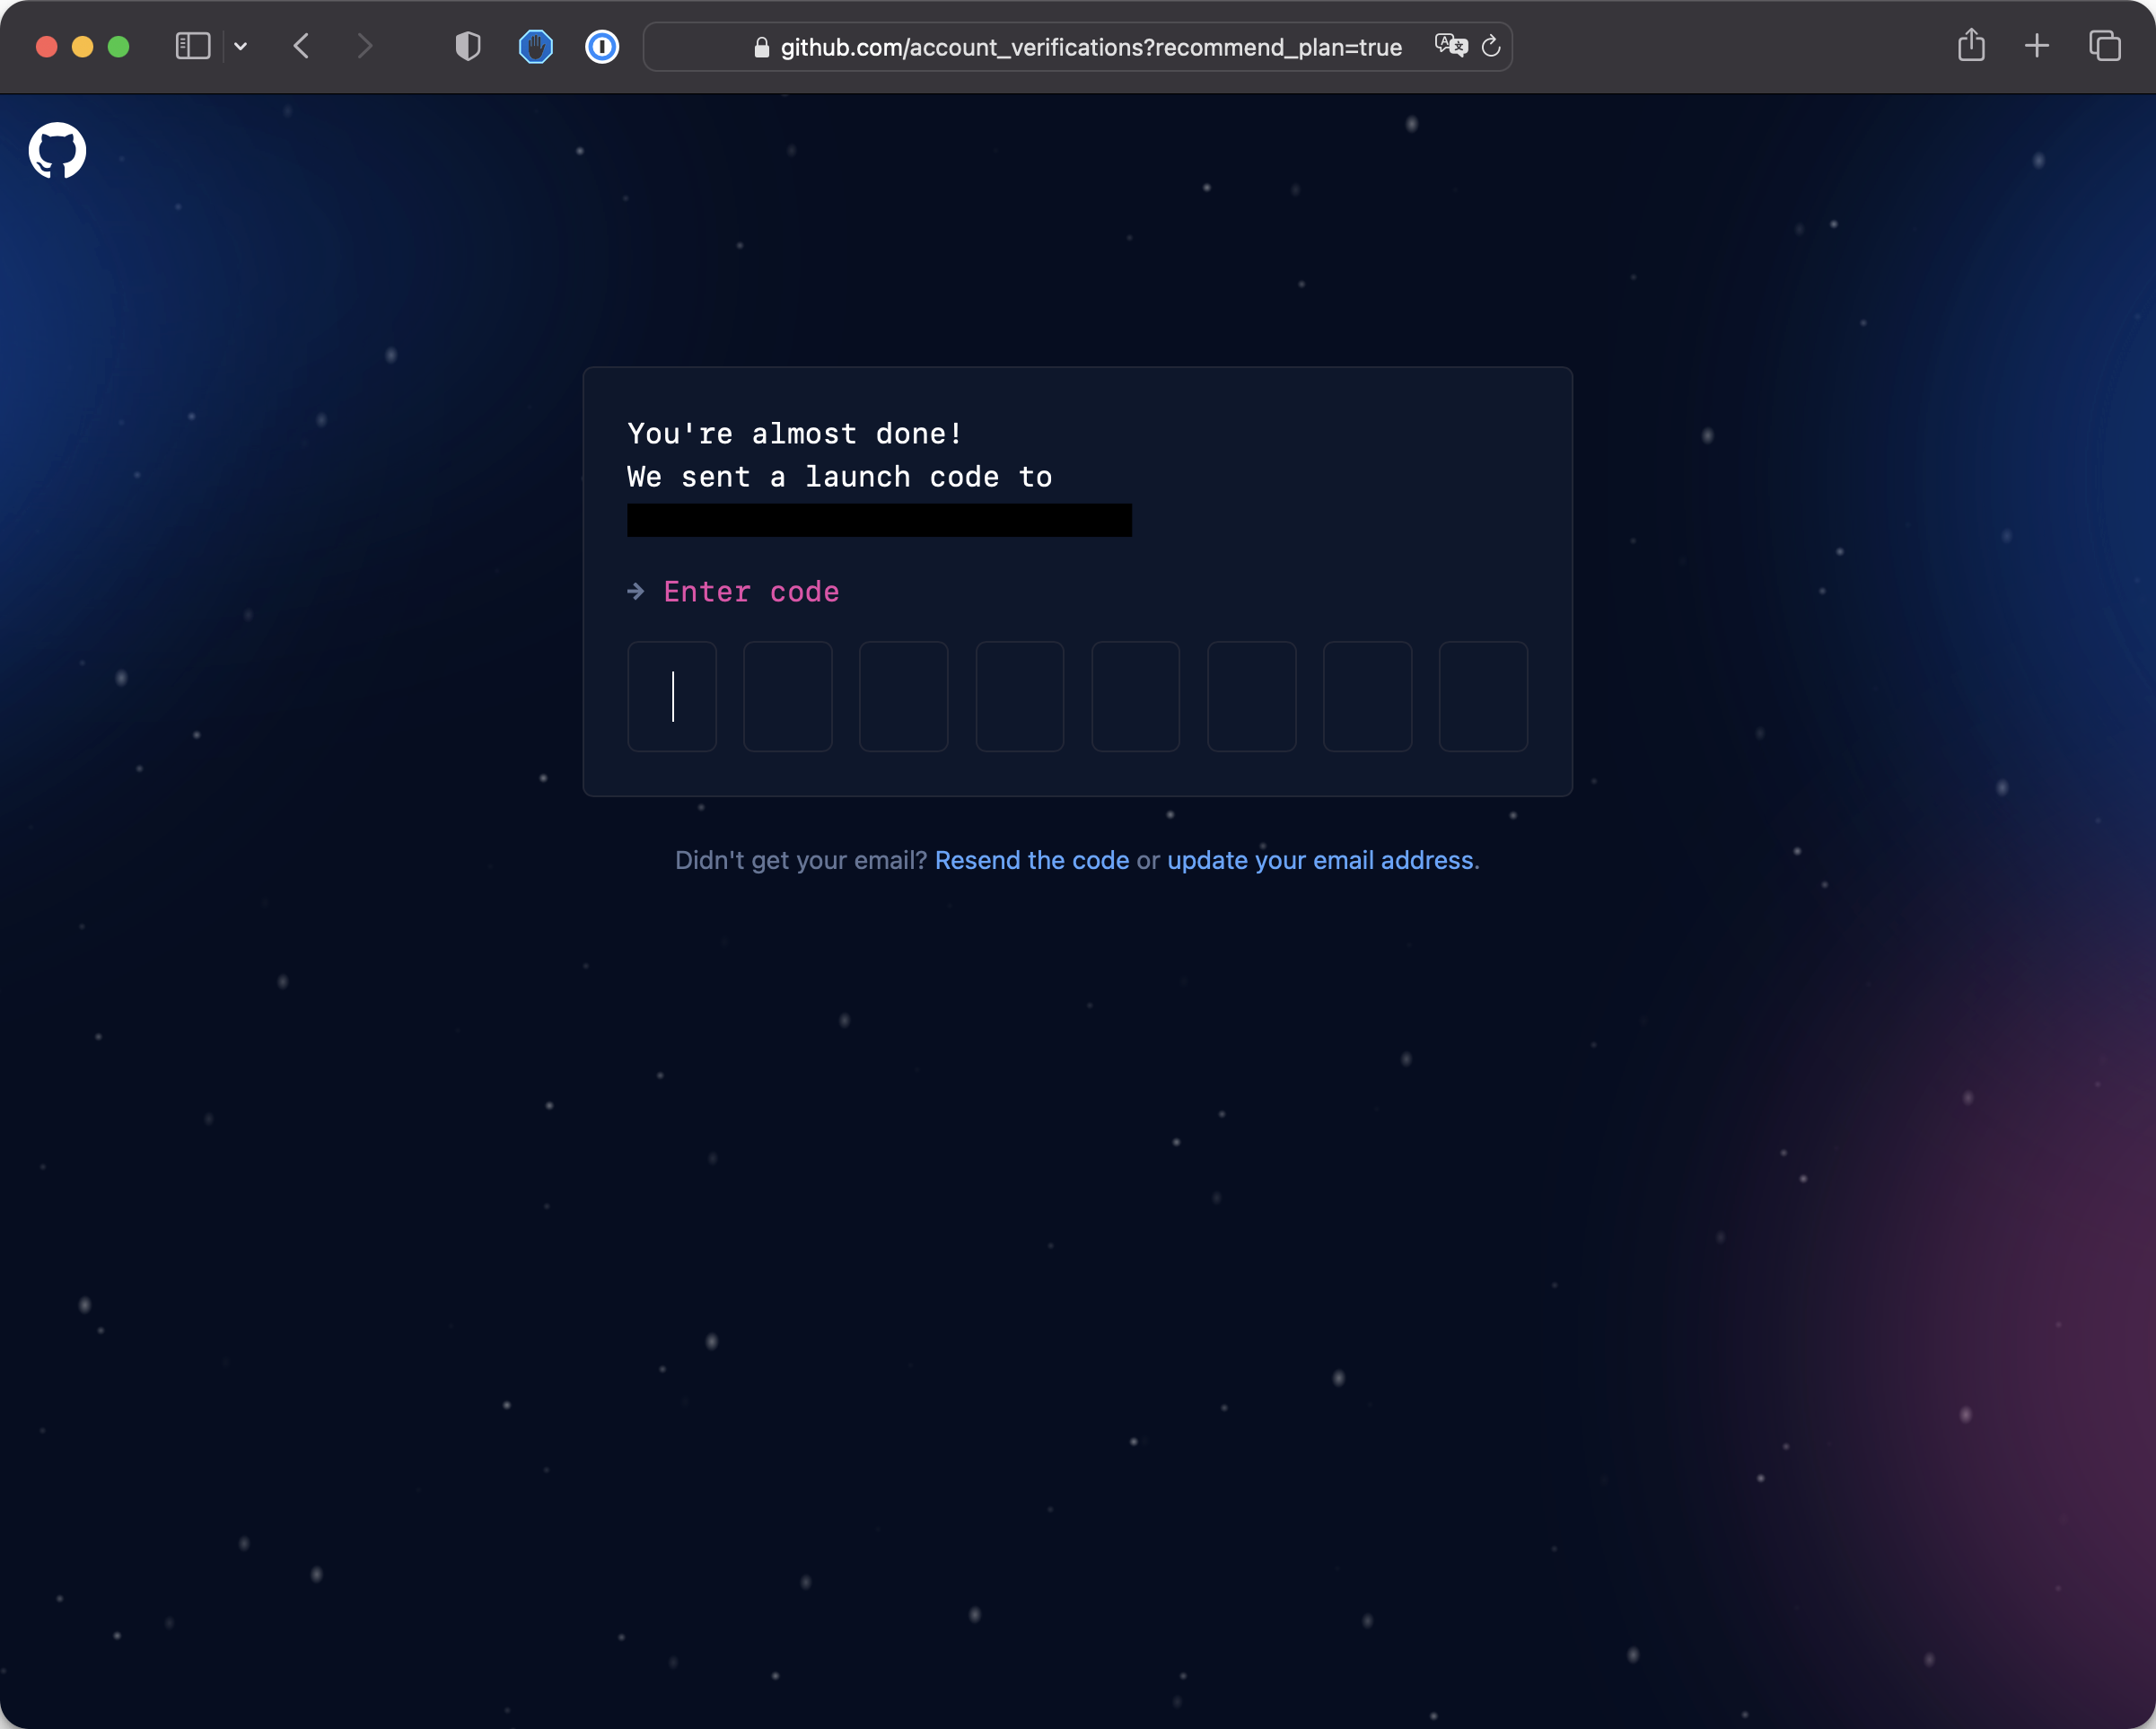
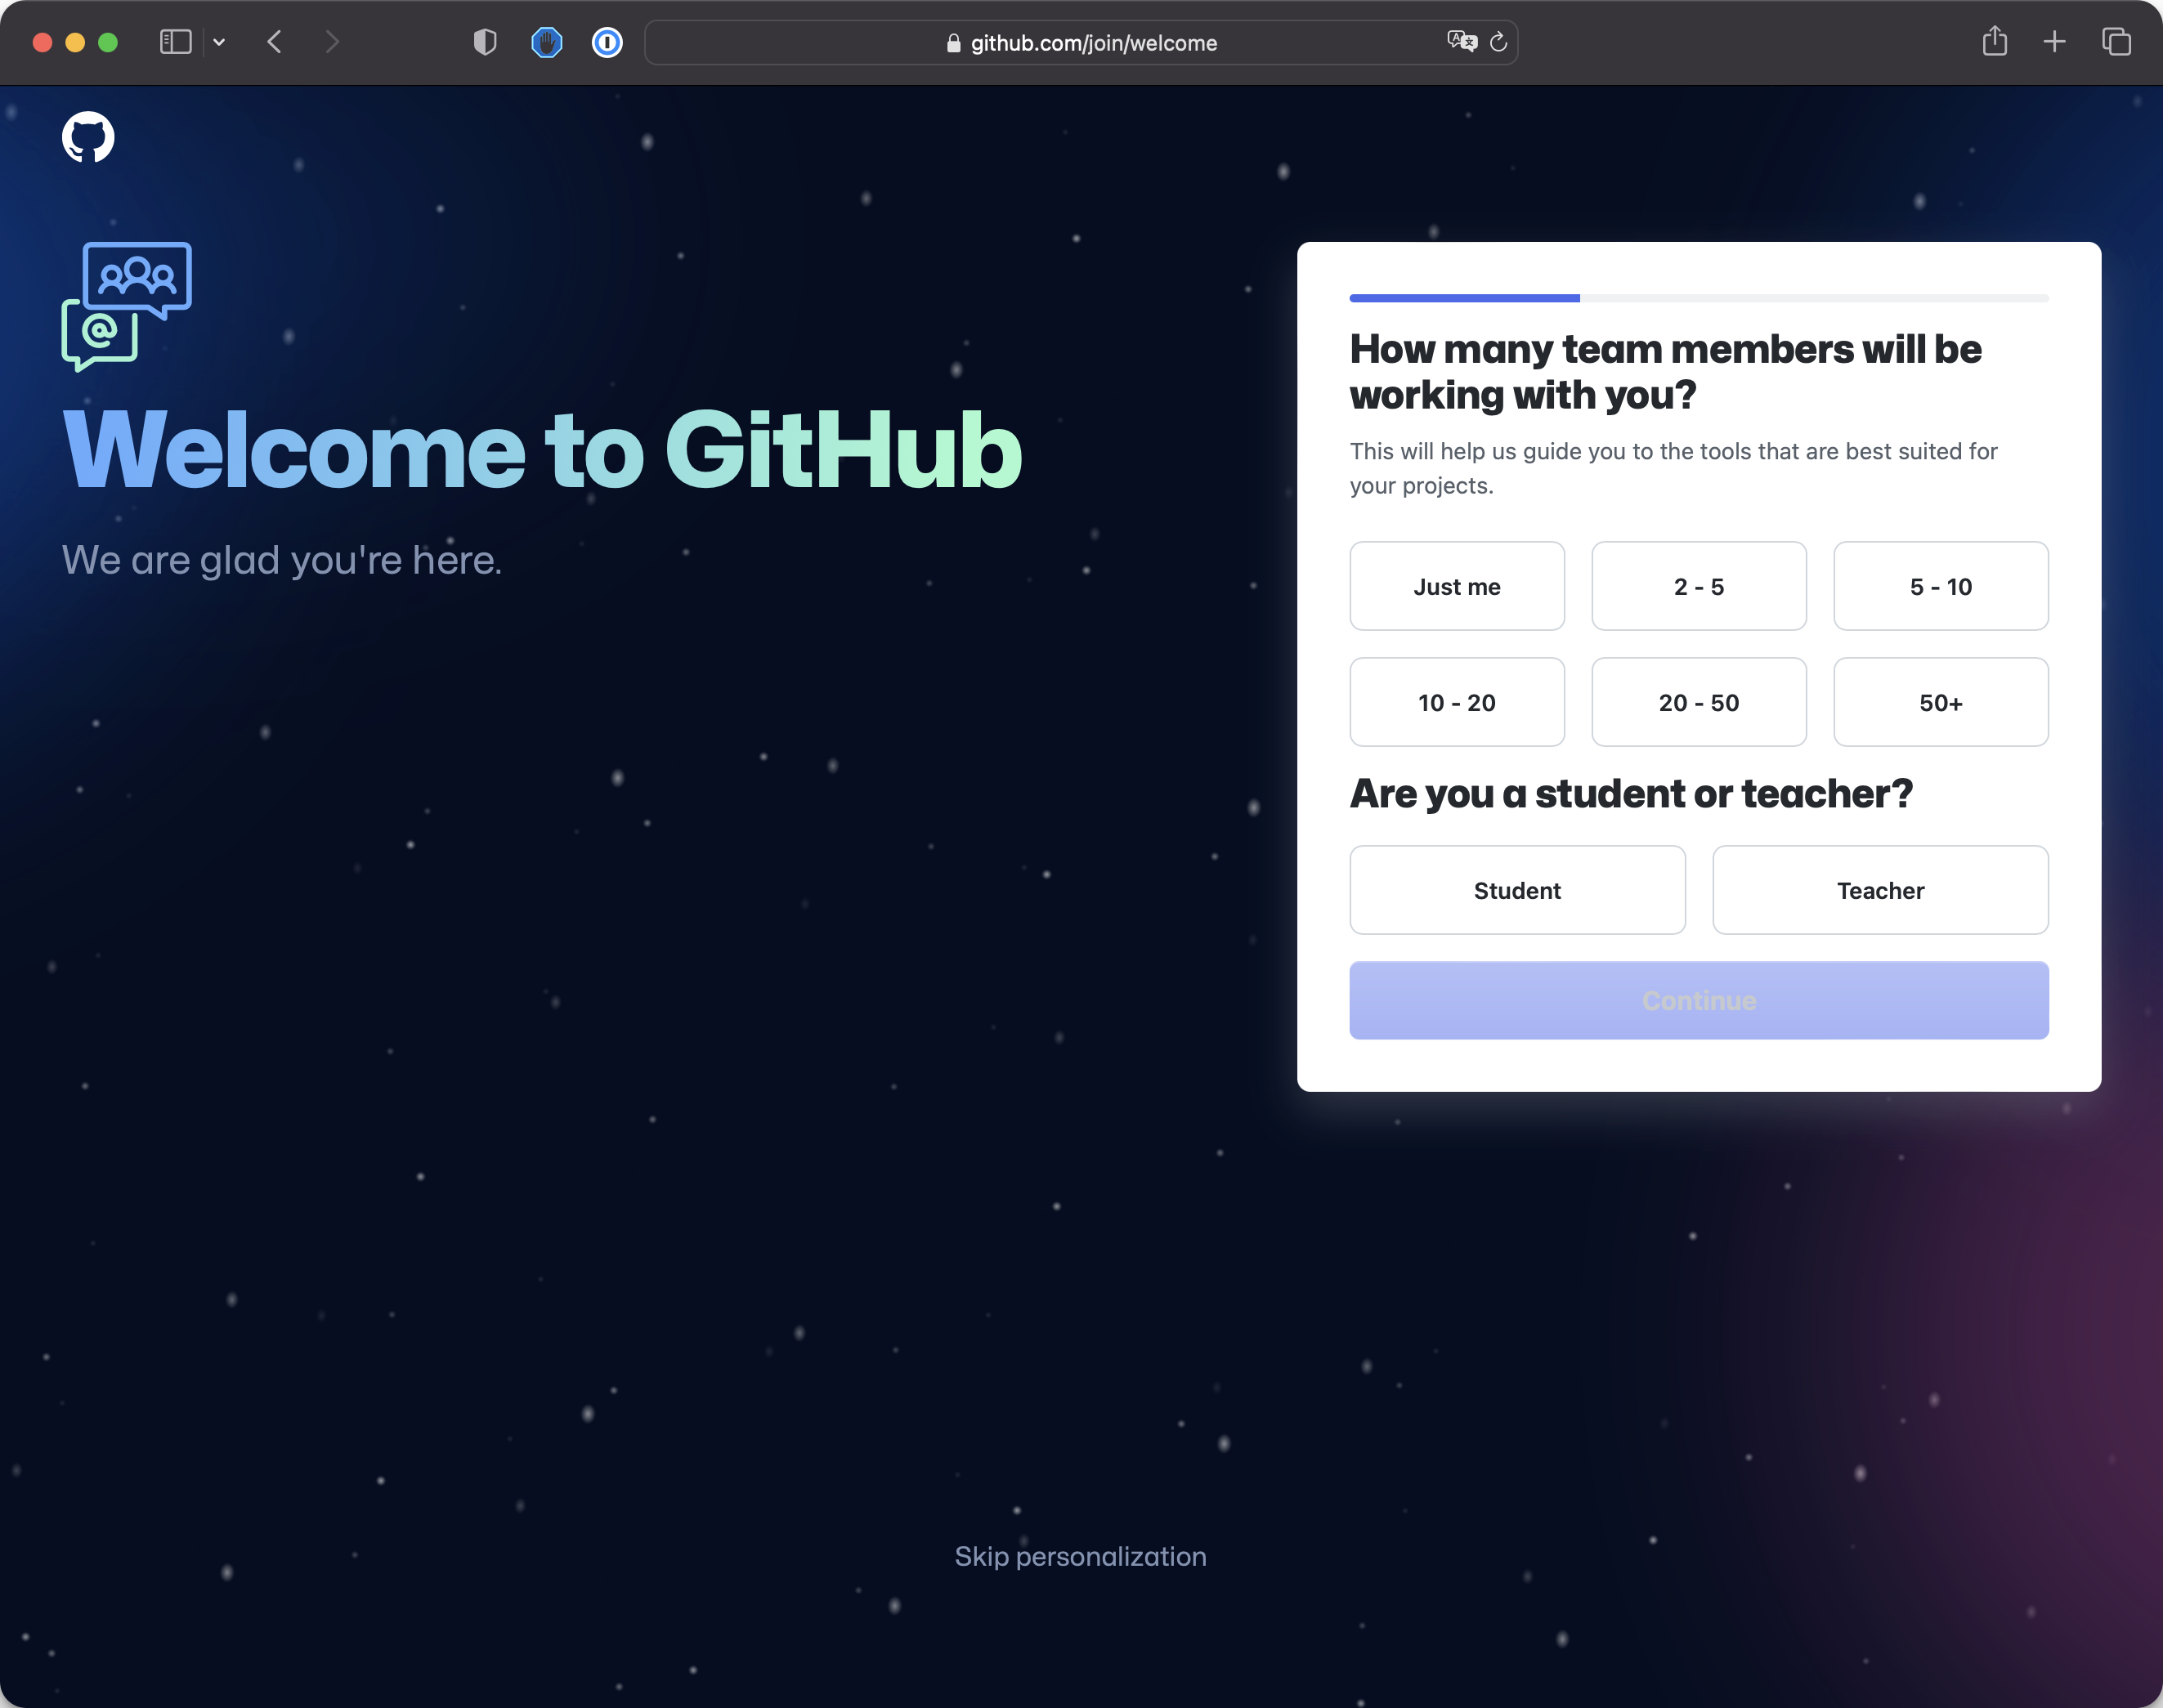
After confirming your email
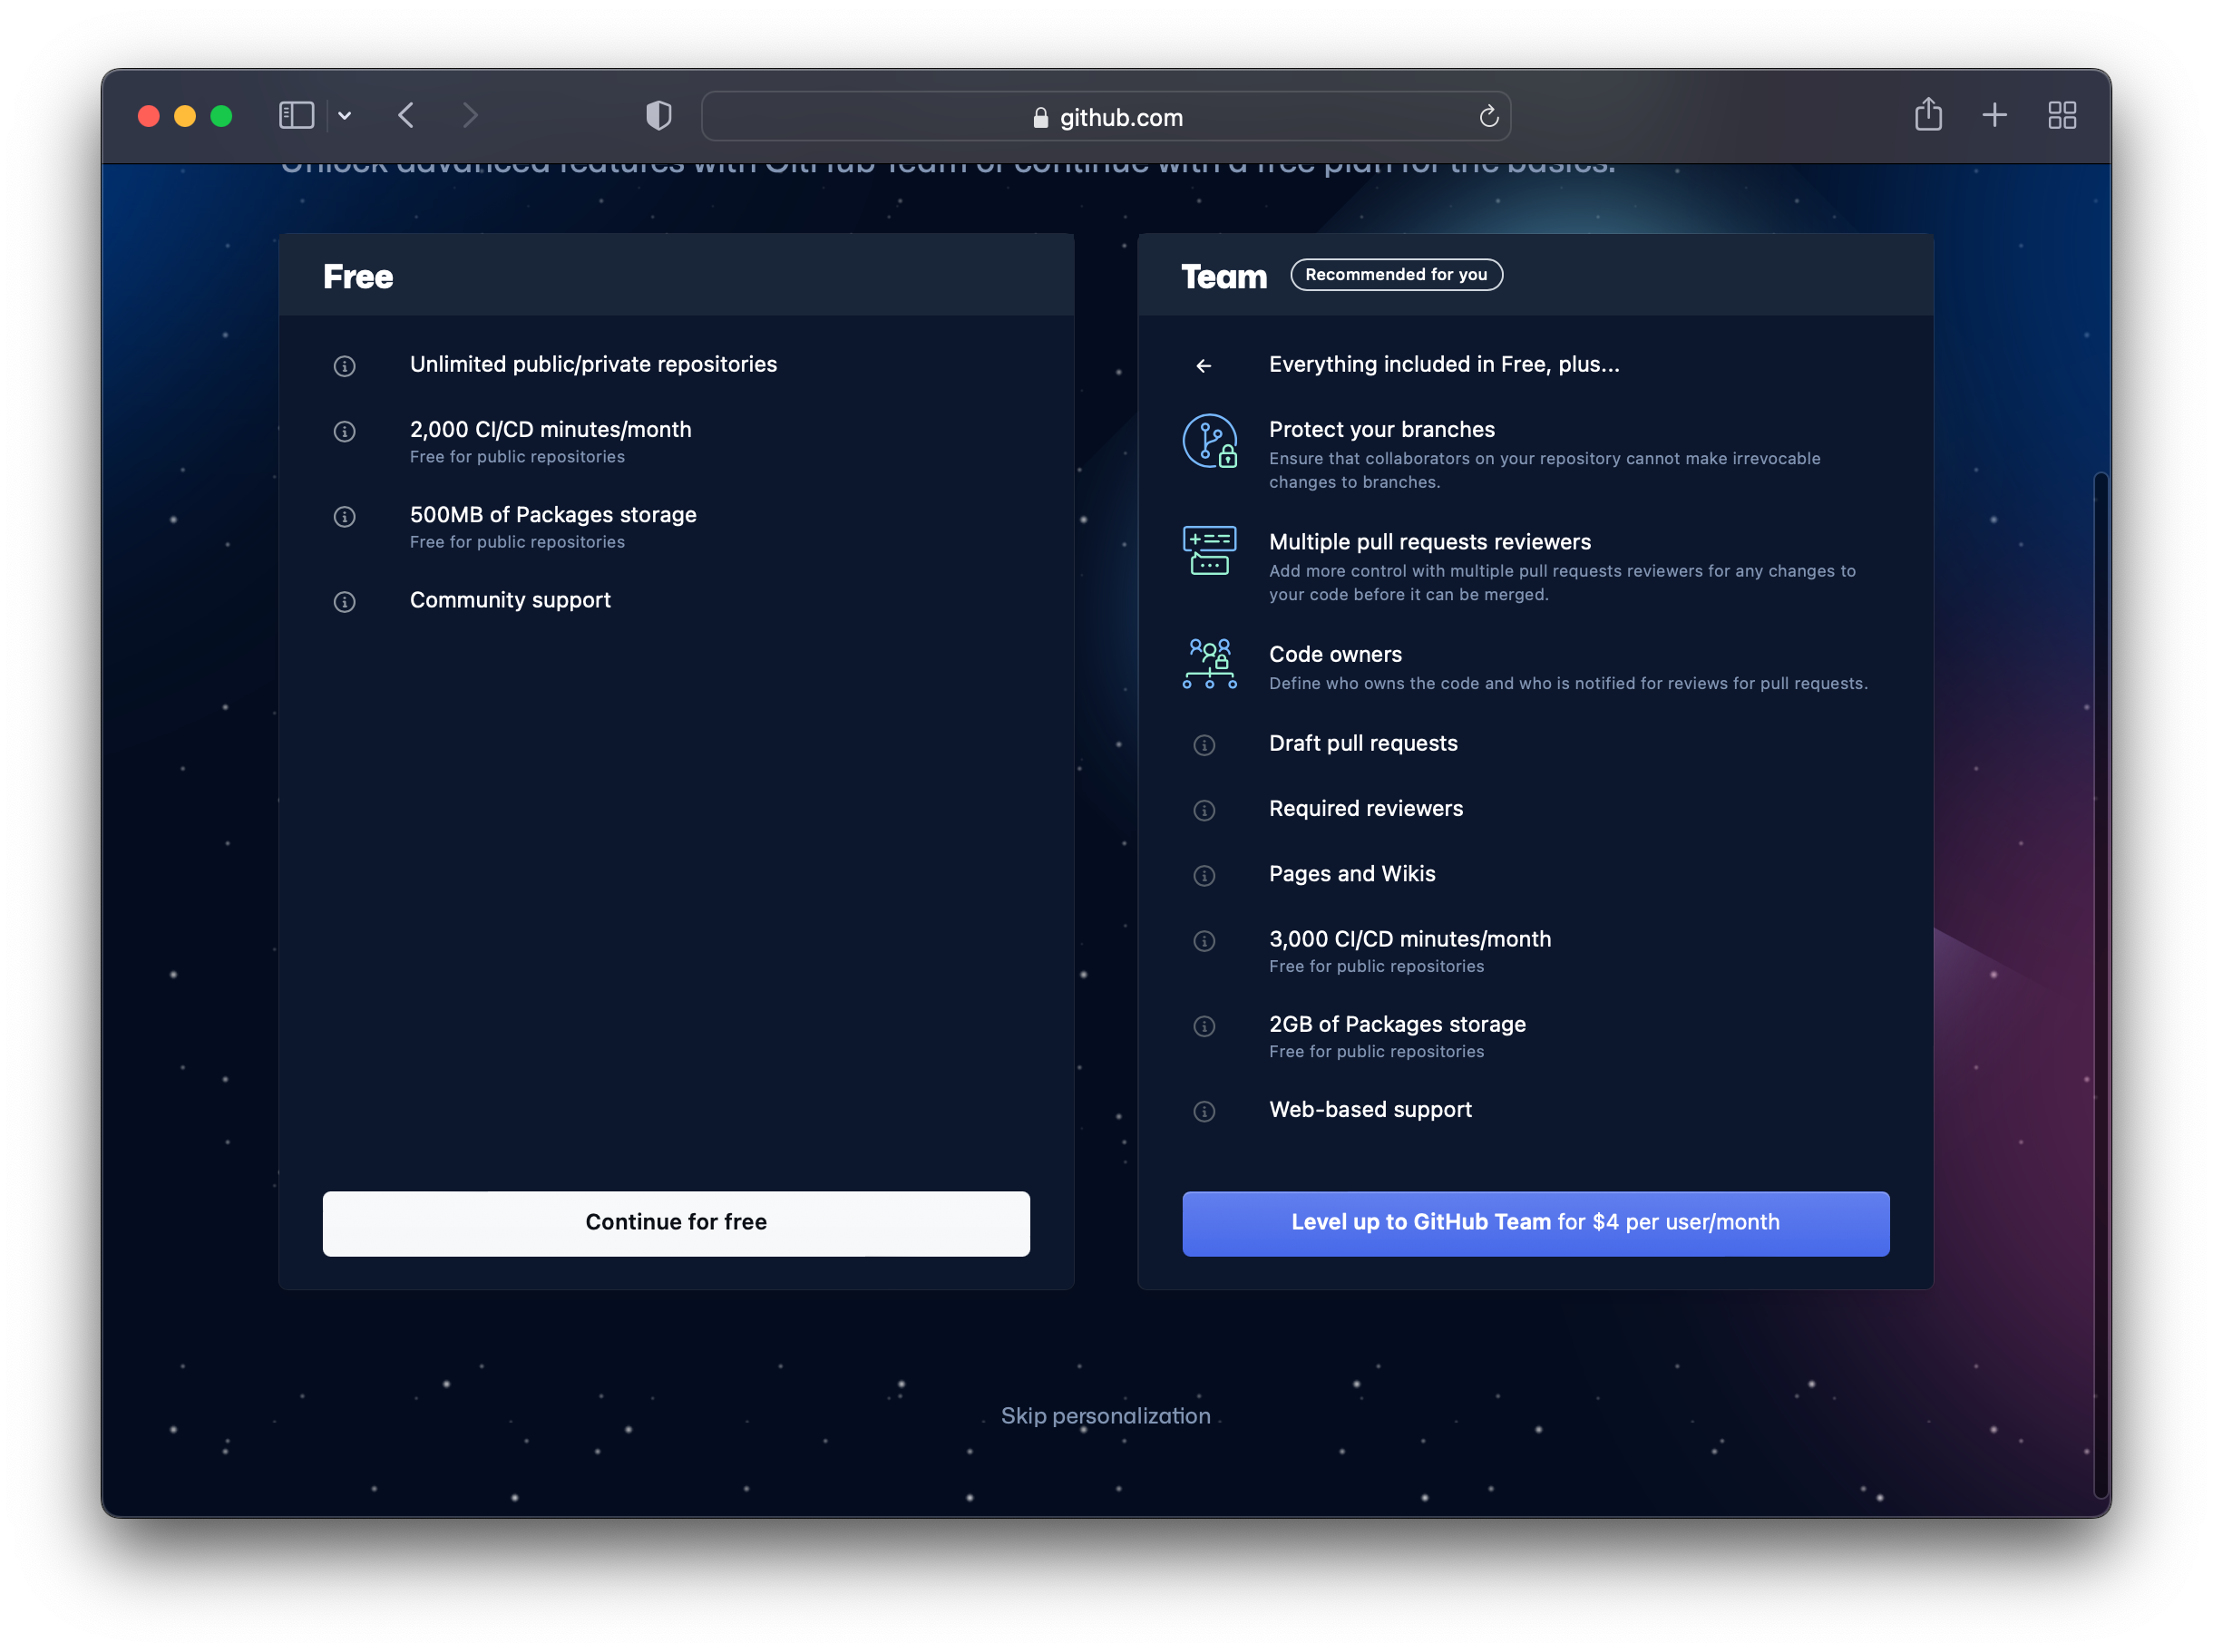
you’ll be shown a screen, click “Skip personalization” and pick the free plan:
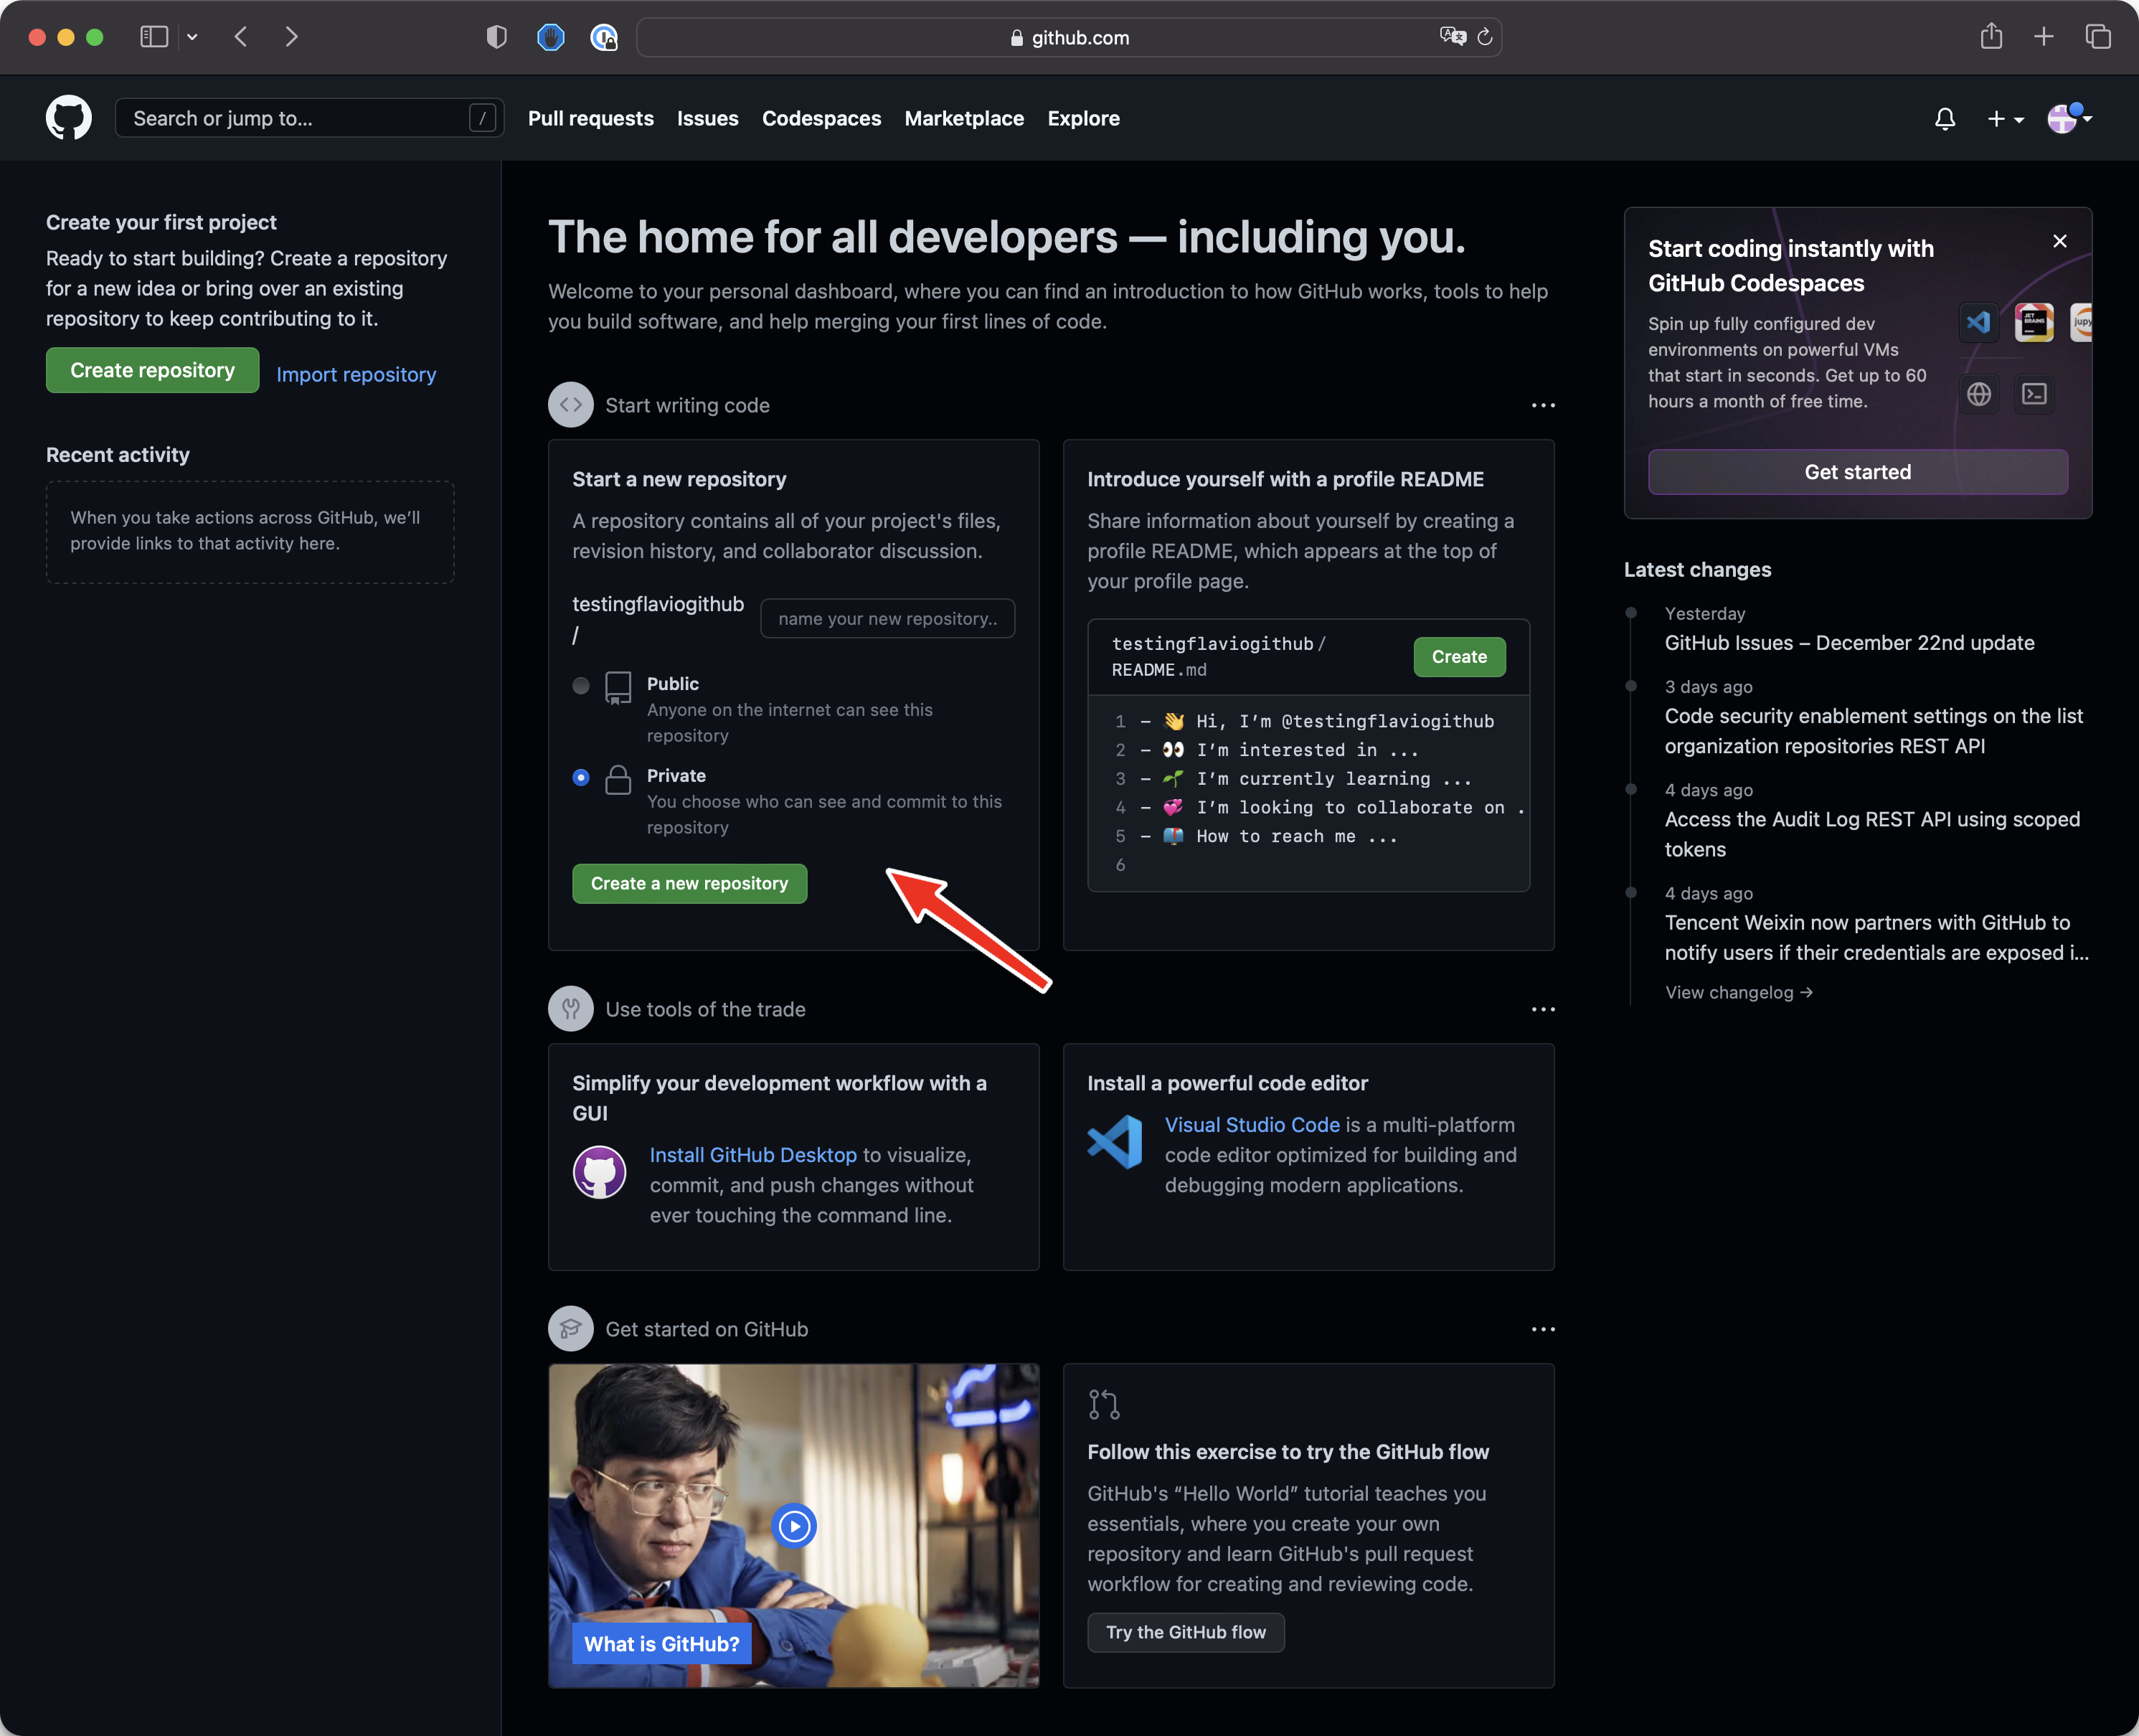
Finally, you’re on:
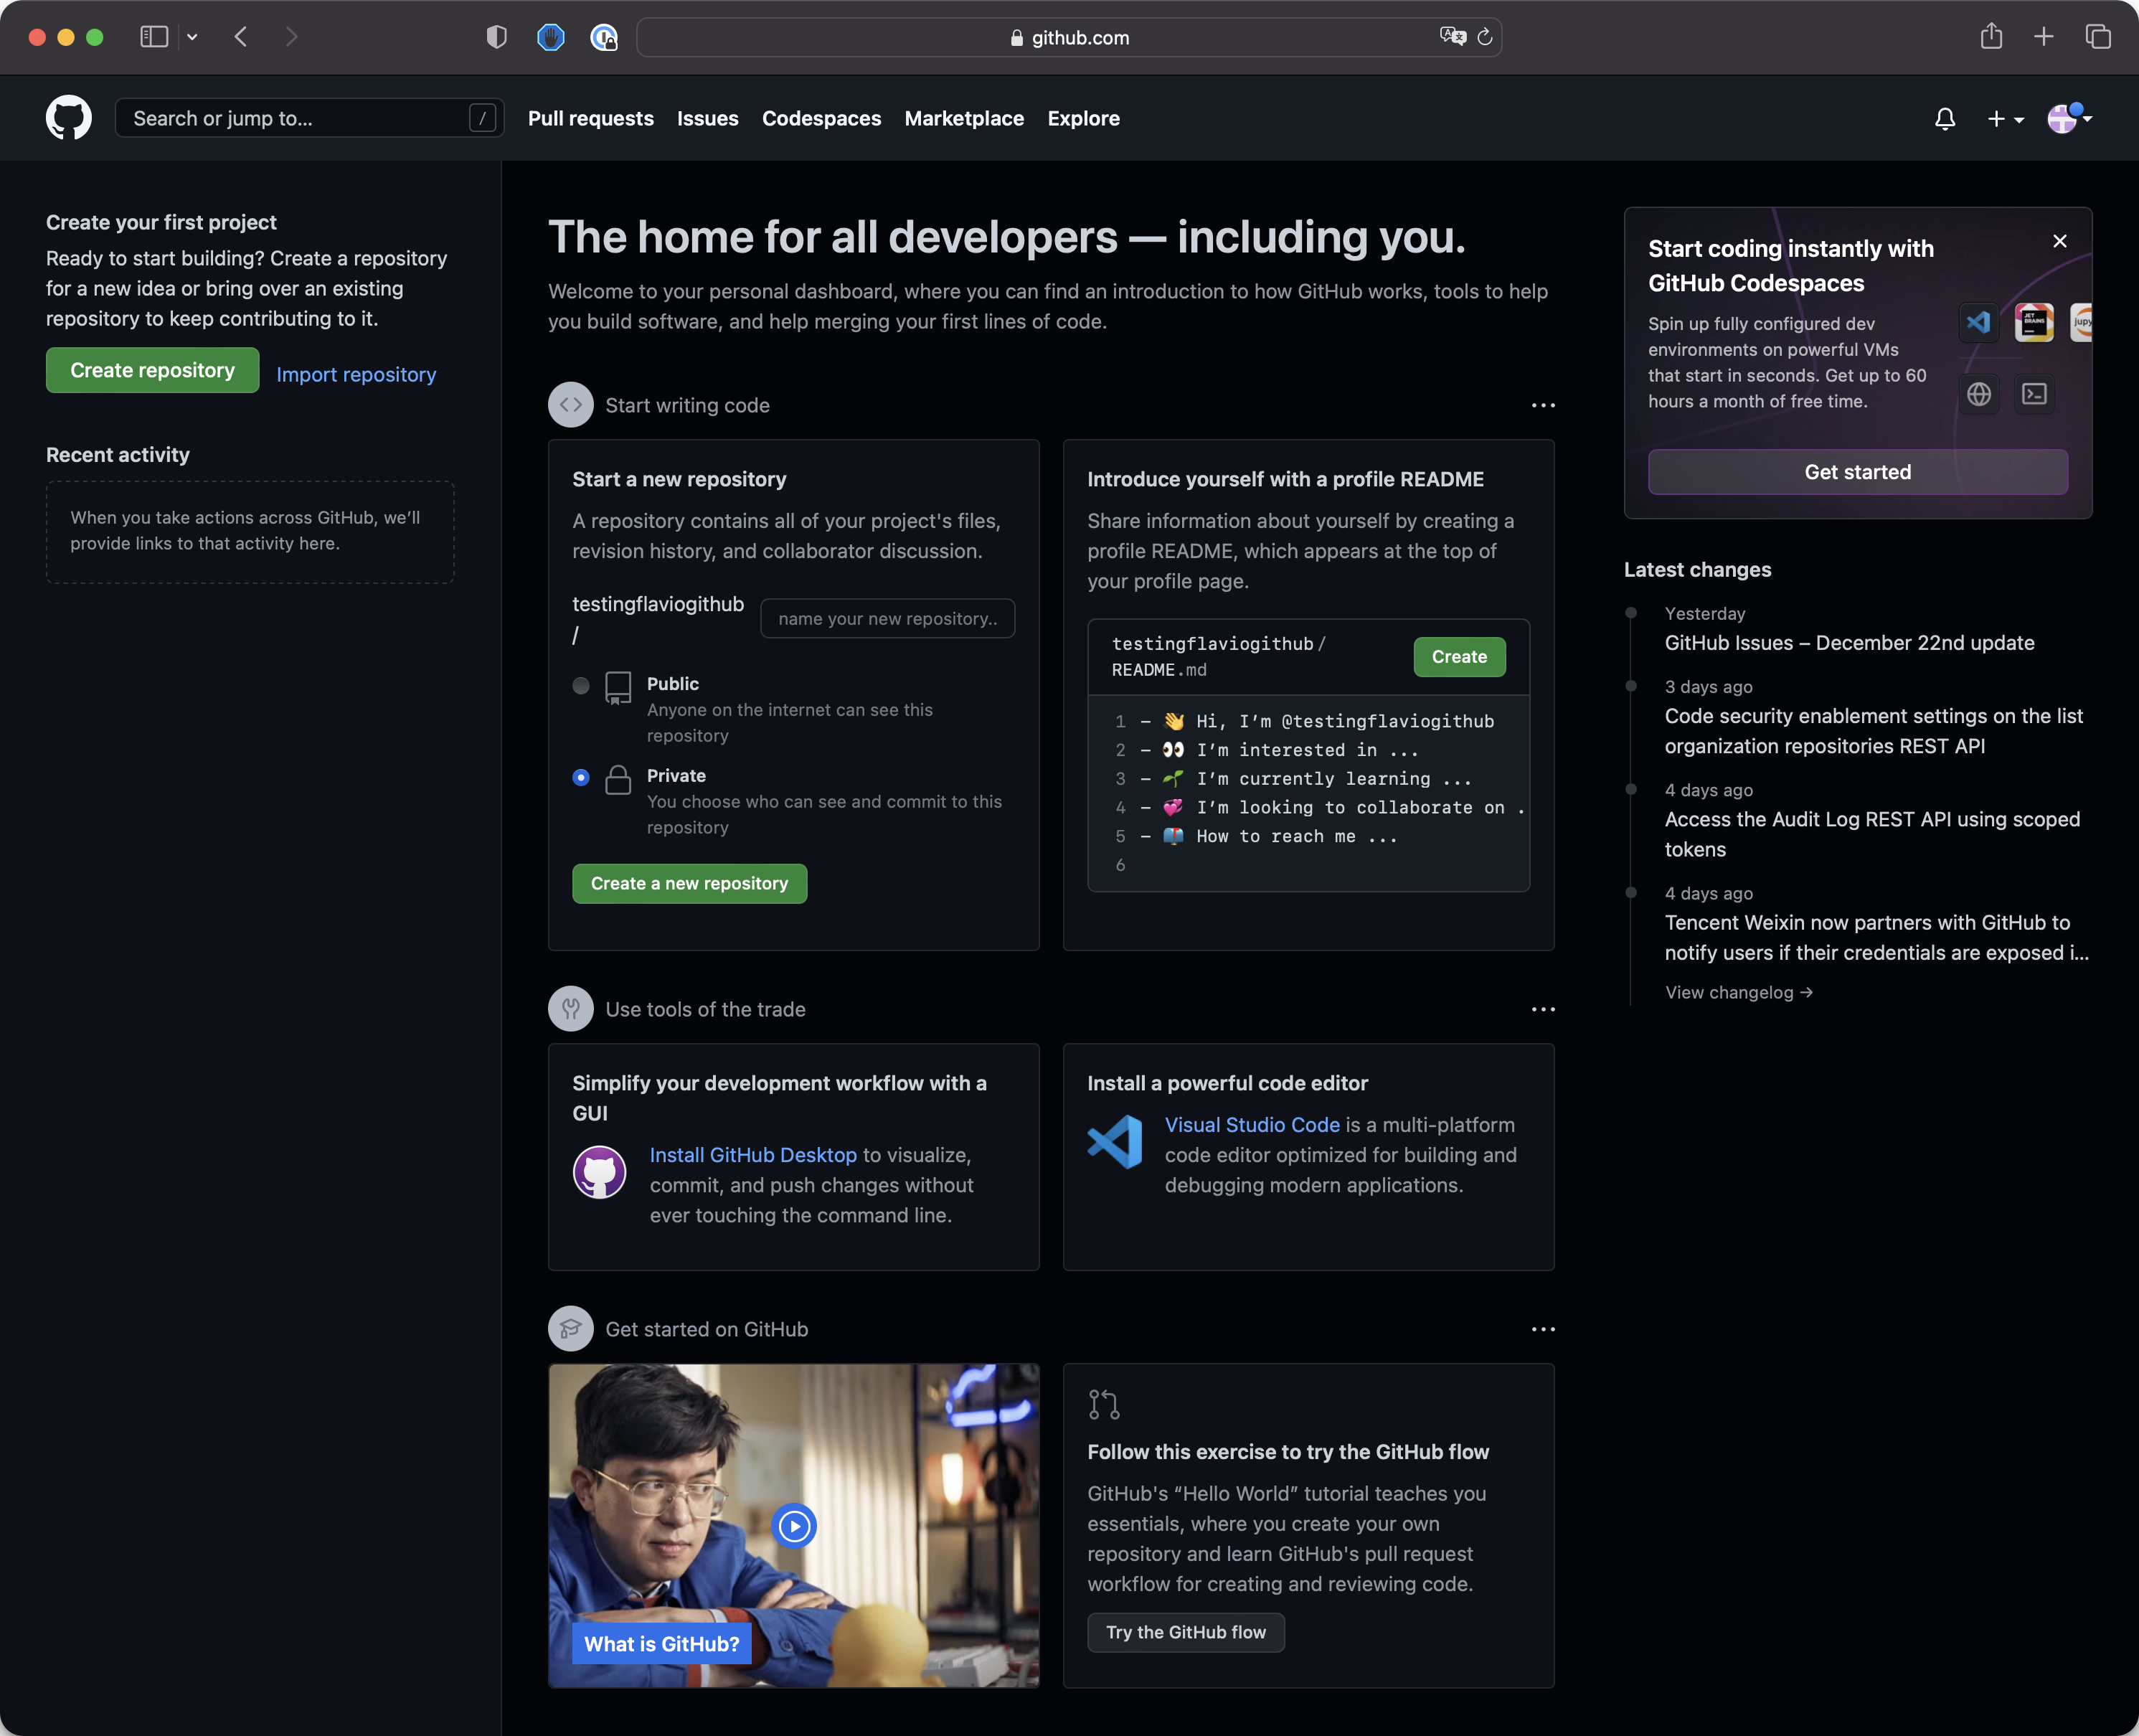
Now you can create a new repository.
Look at this section:
You can type the name, for example, test, then let it be a private repository, and click the button Create a new repository.
Here’s what you get:
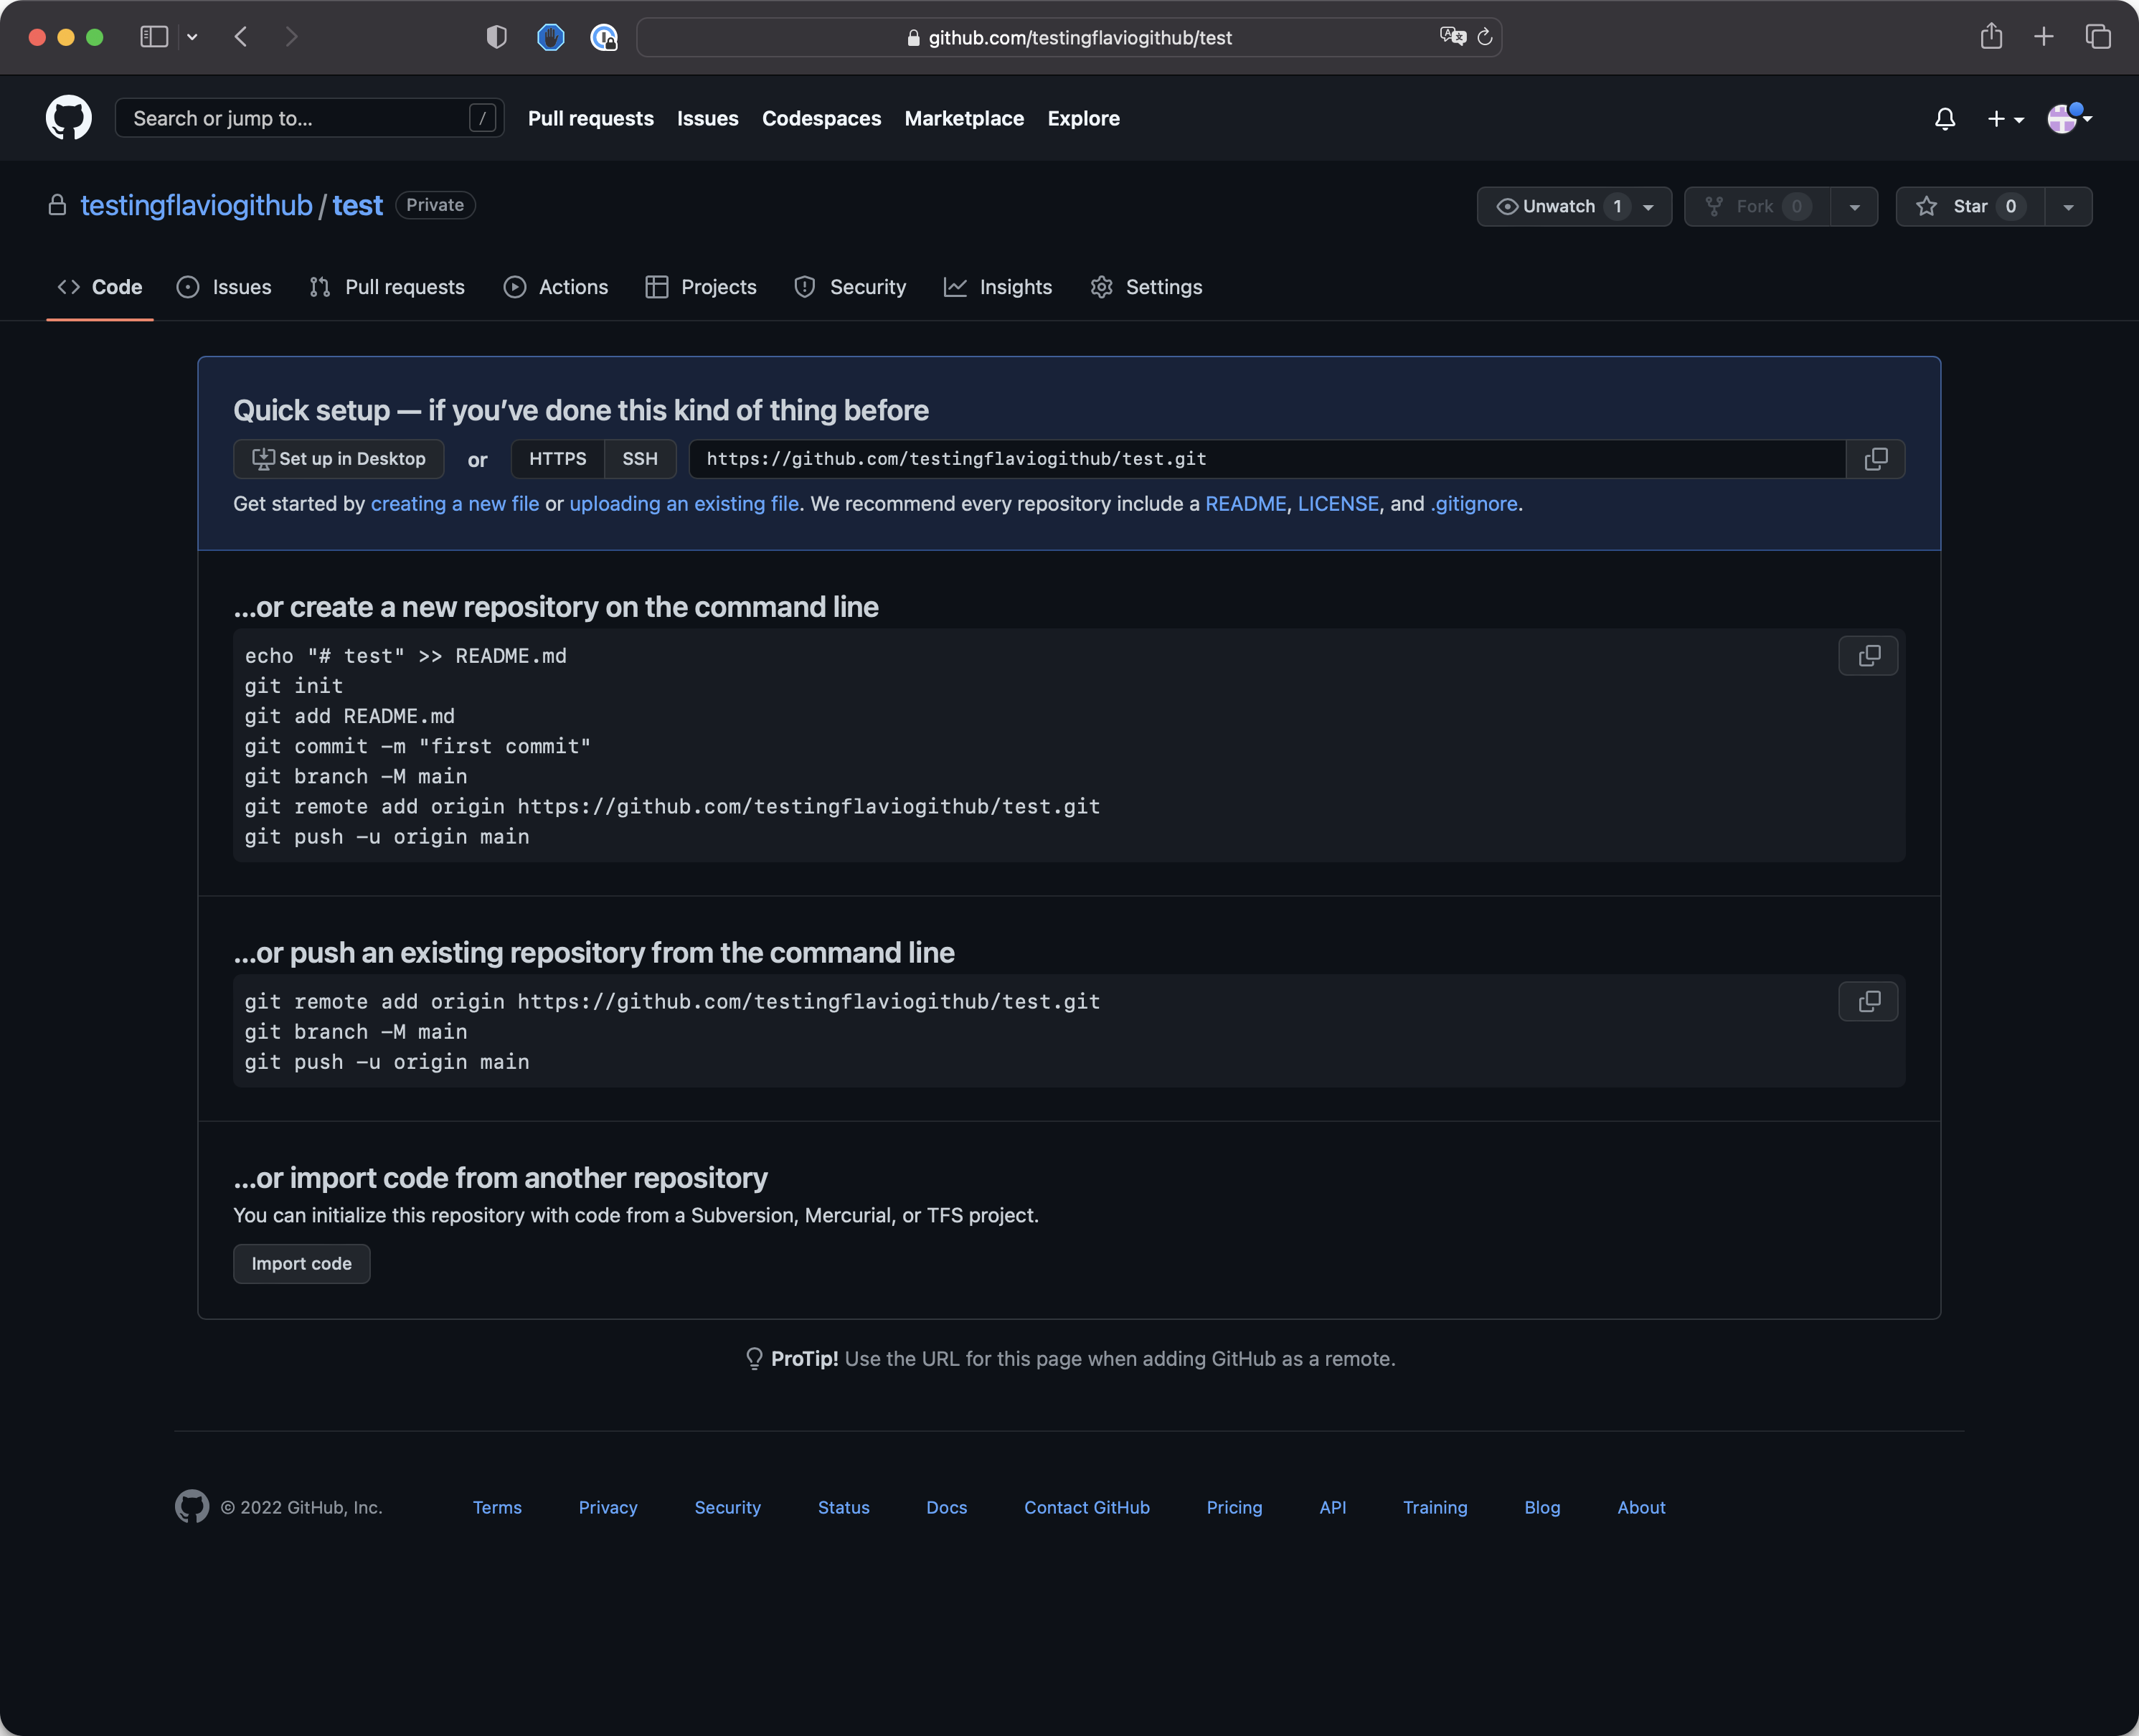
The URL has changed to https://github.com/<yourname>/test
and you have some instructions on what to do to start.
The easiest thing you can do is click the creating a new file link you see.
Or uploading an existing file, which you can use to upload files from your computer.
This could be the start of your repository.
As an example, I clicked creating a new file and I got this screen:
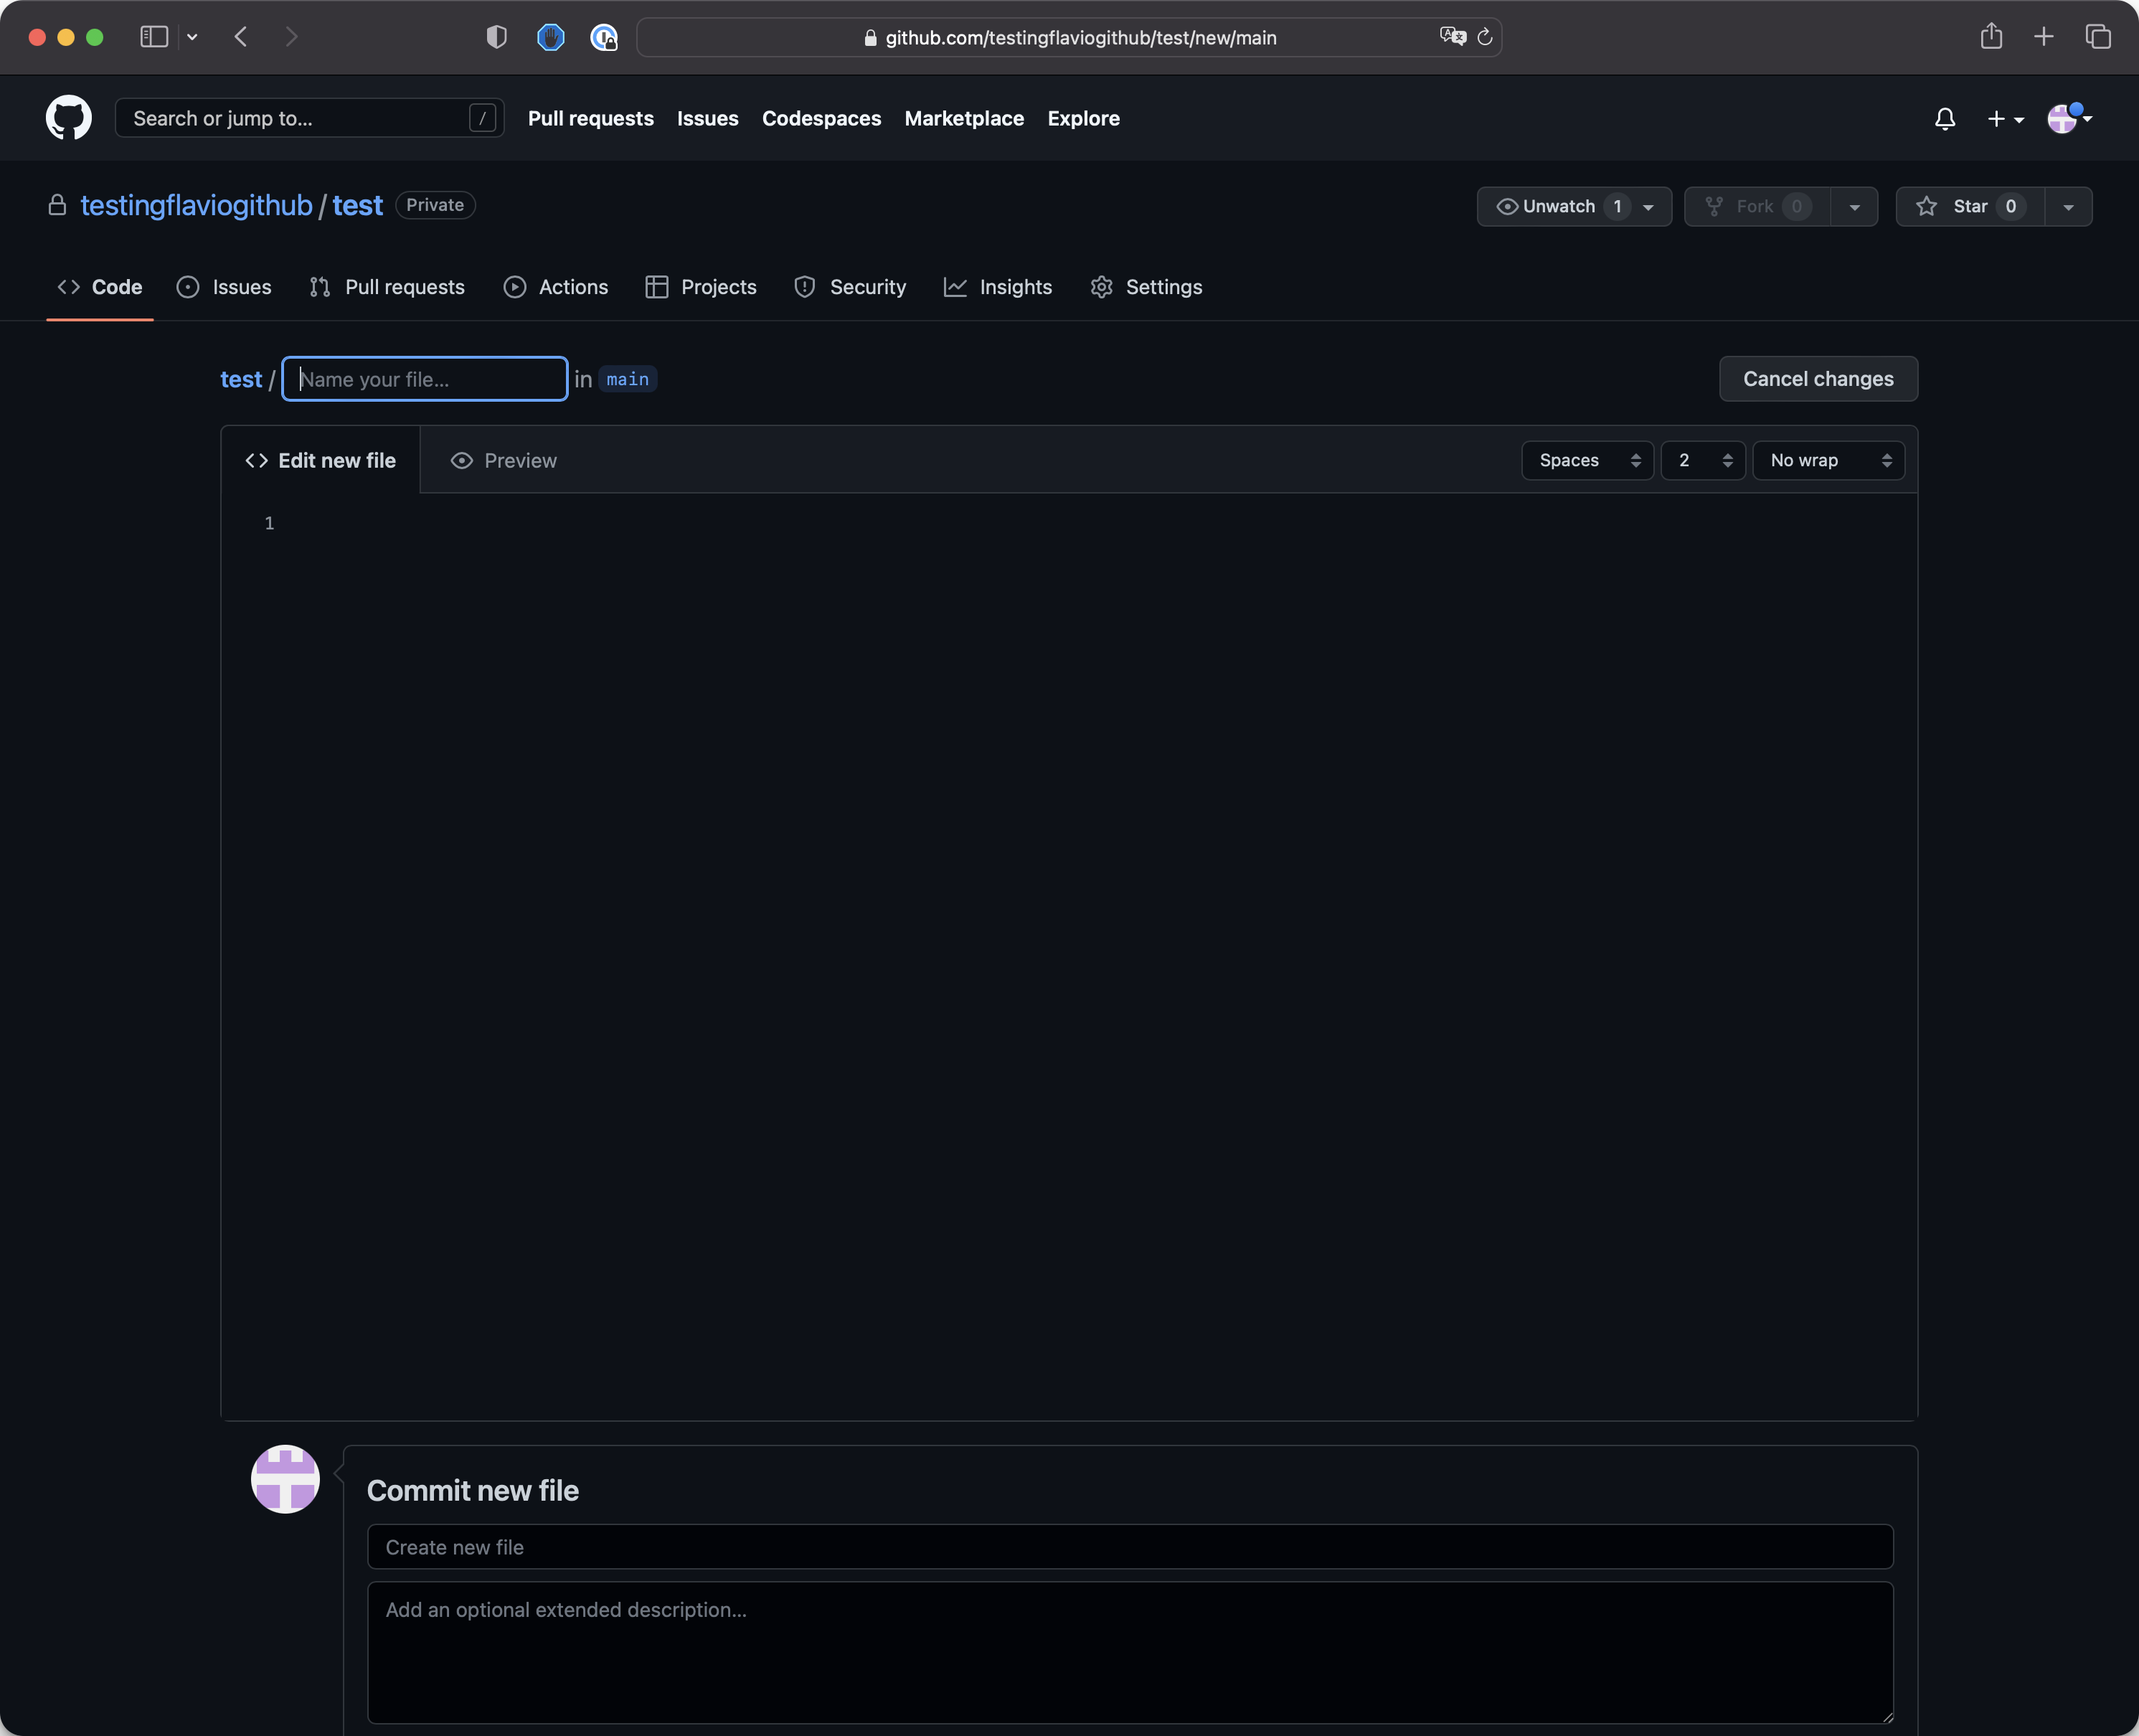
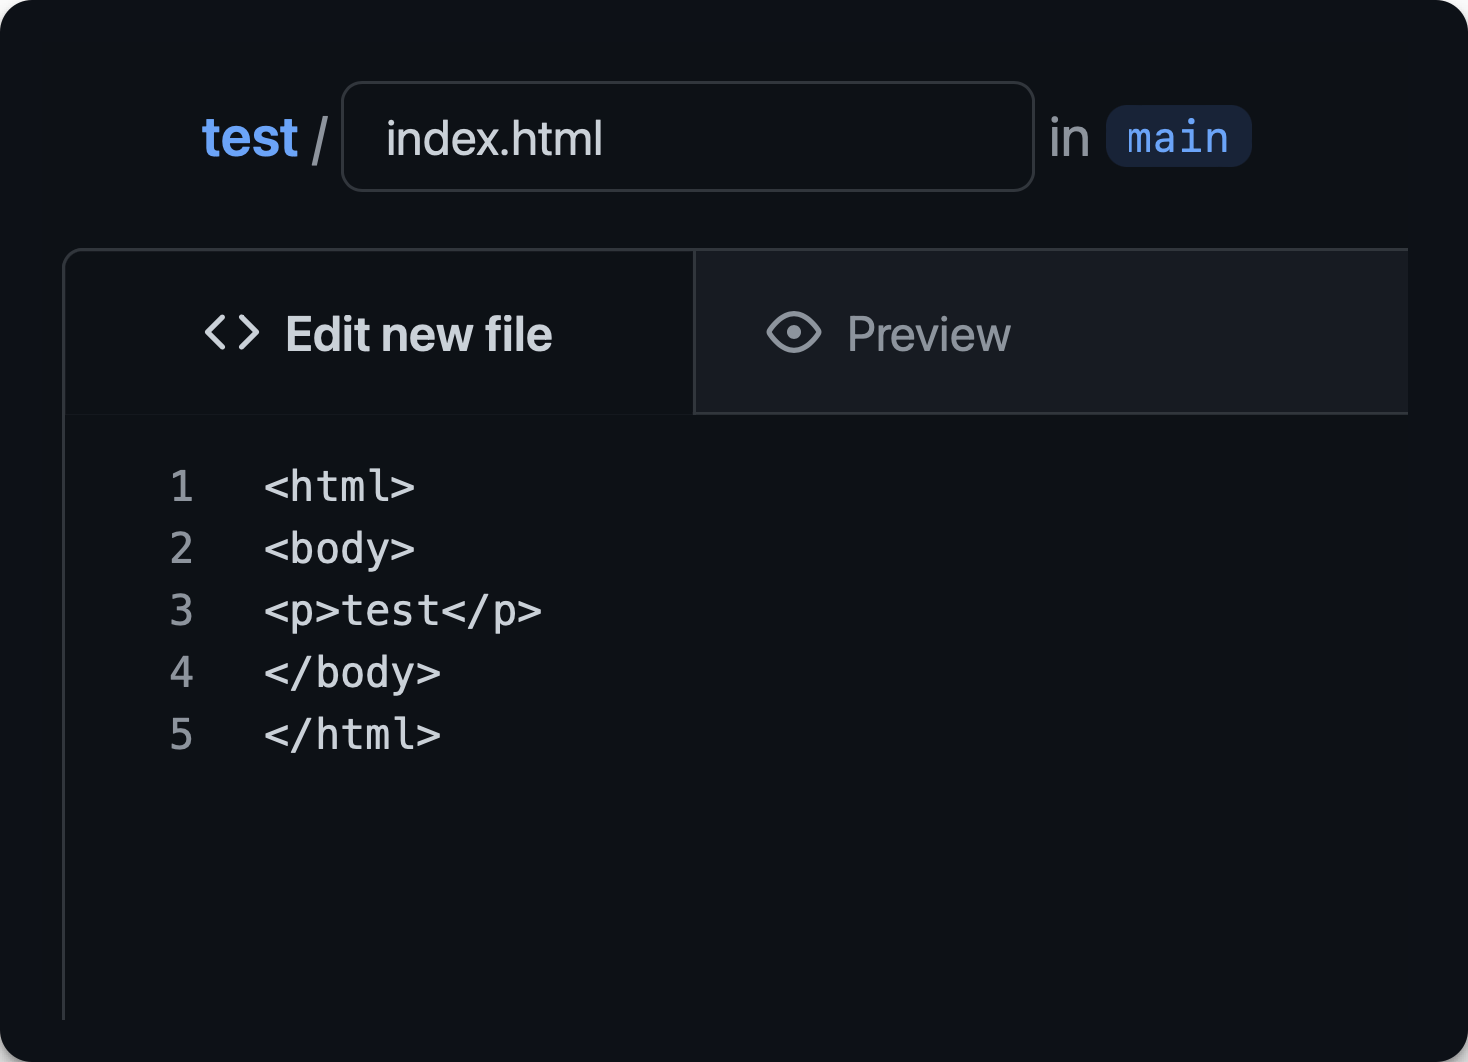
I gave the file the name index.html and this was the content:
Down below click “Commit new file”:
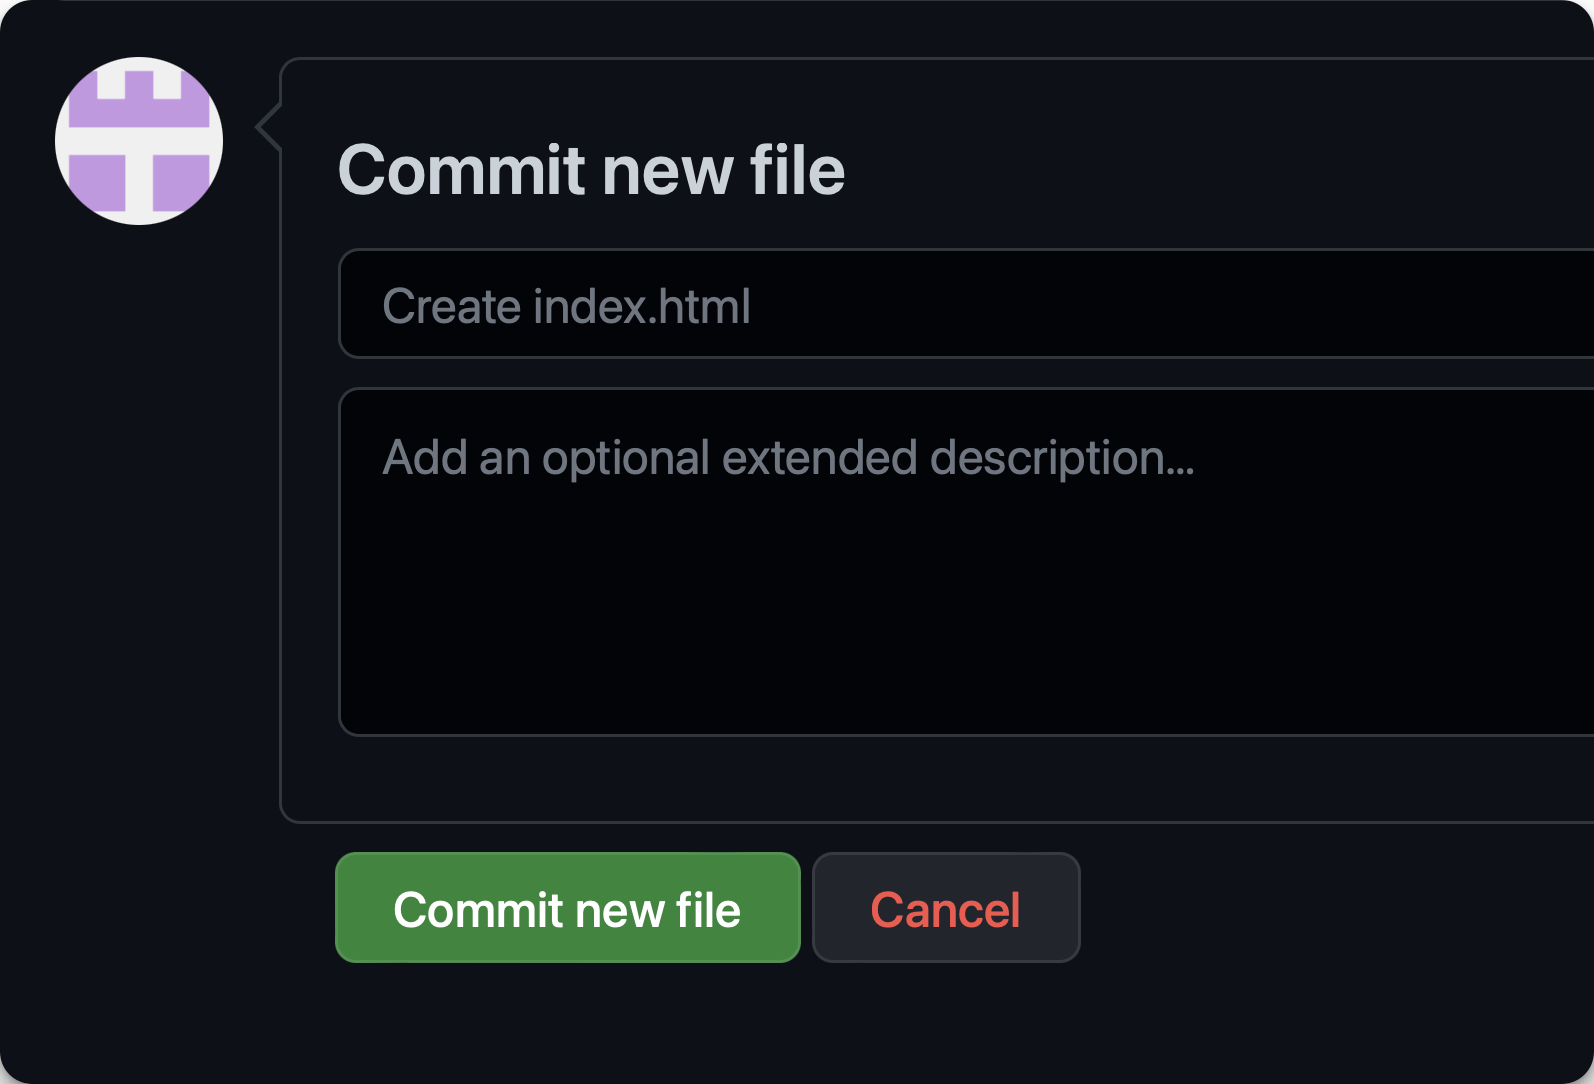
There you go! The file has been committed to the project:
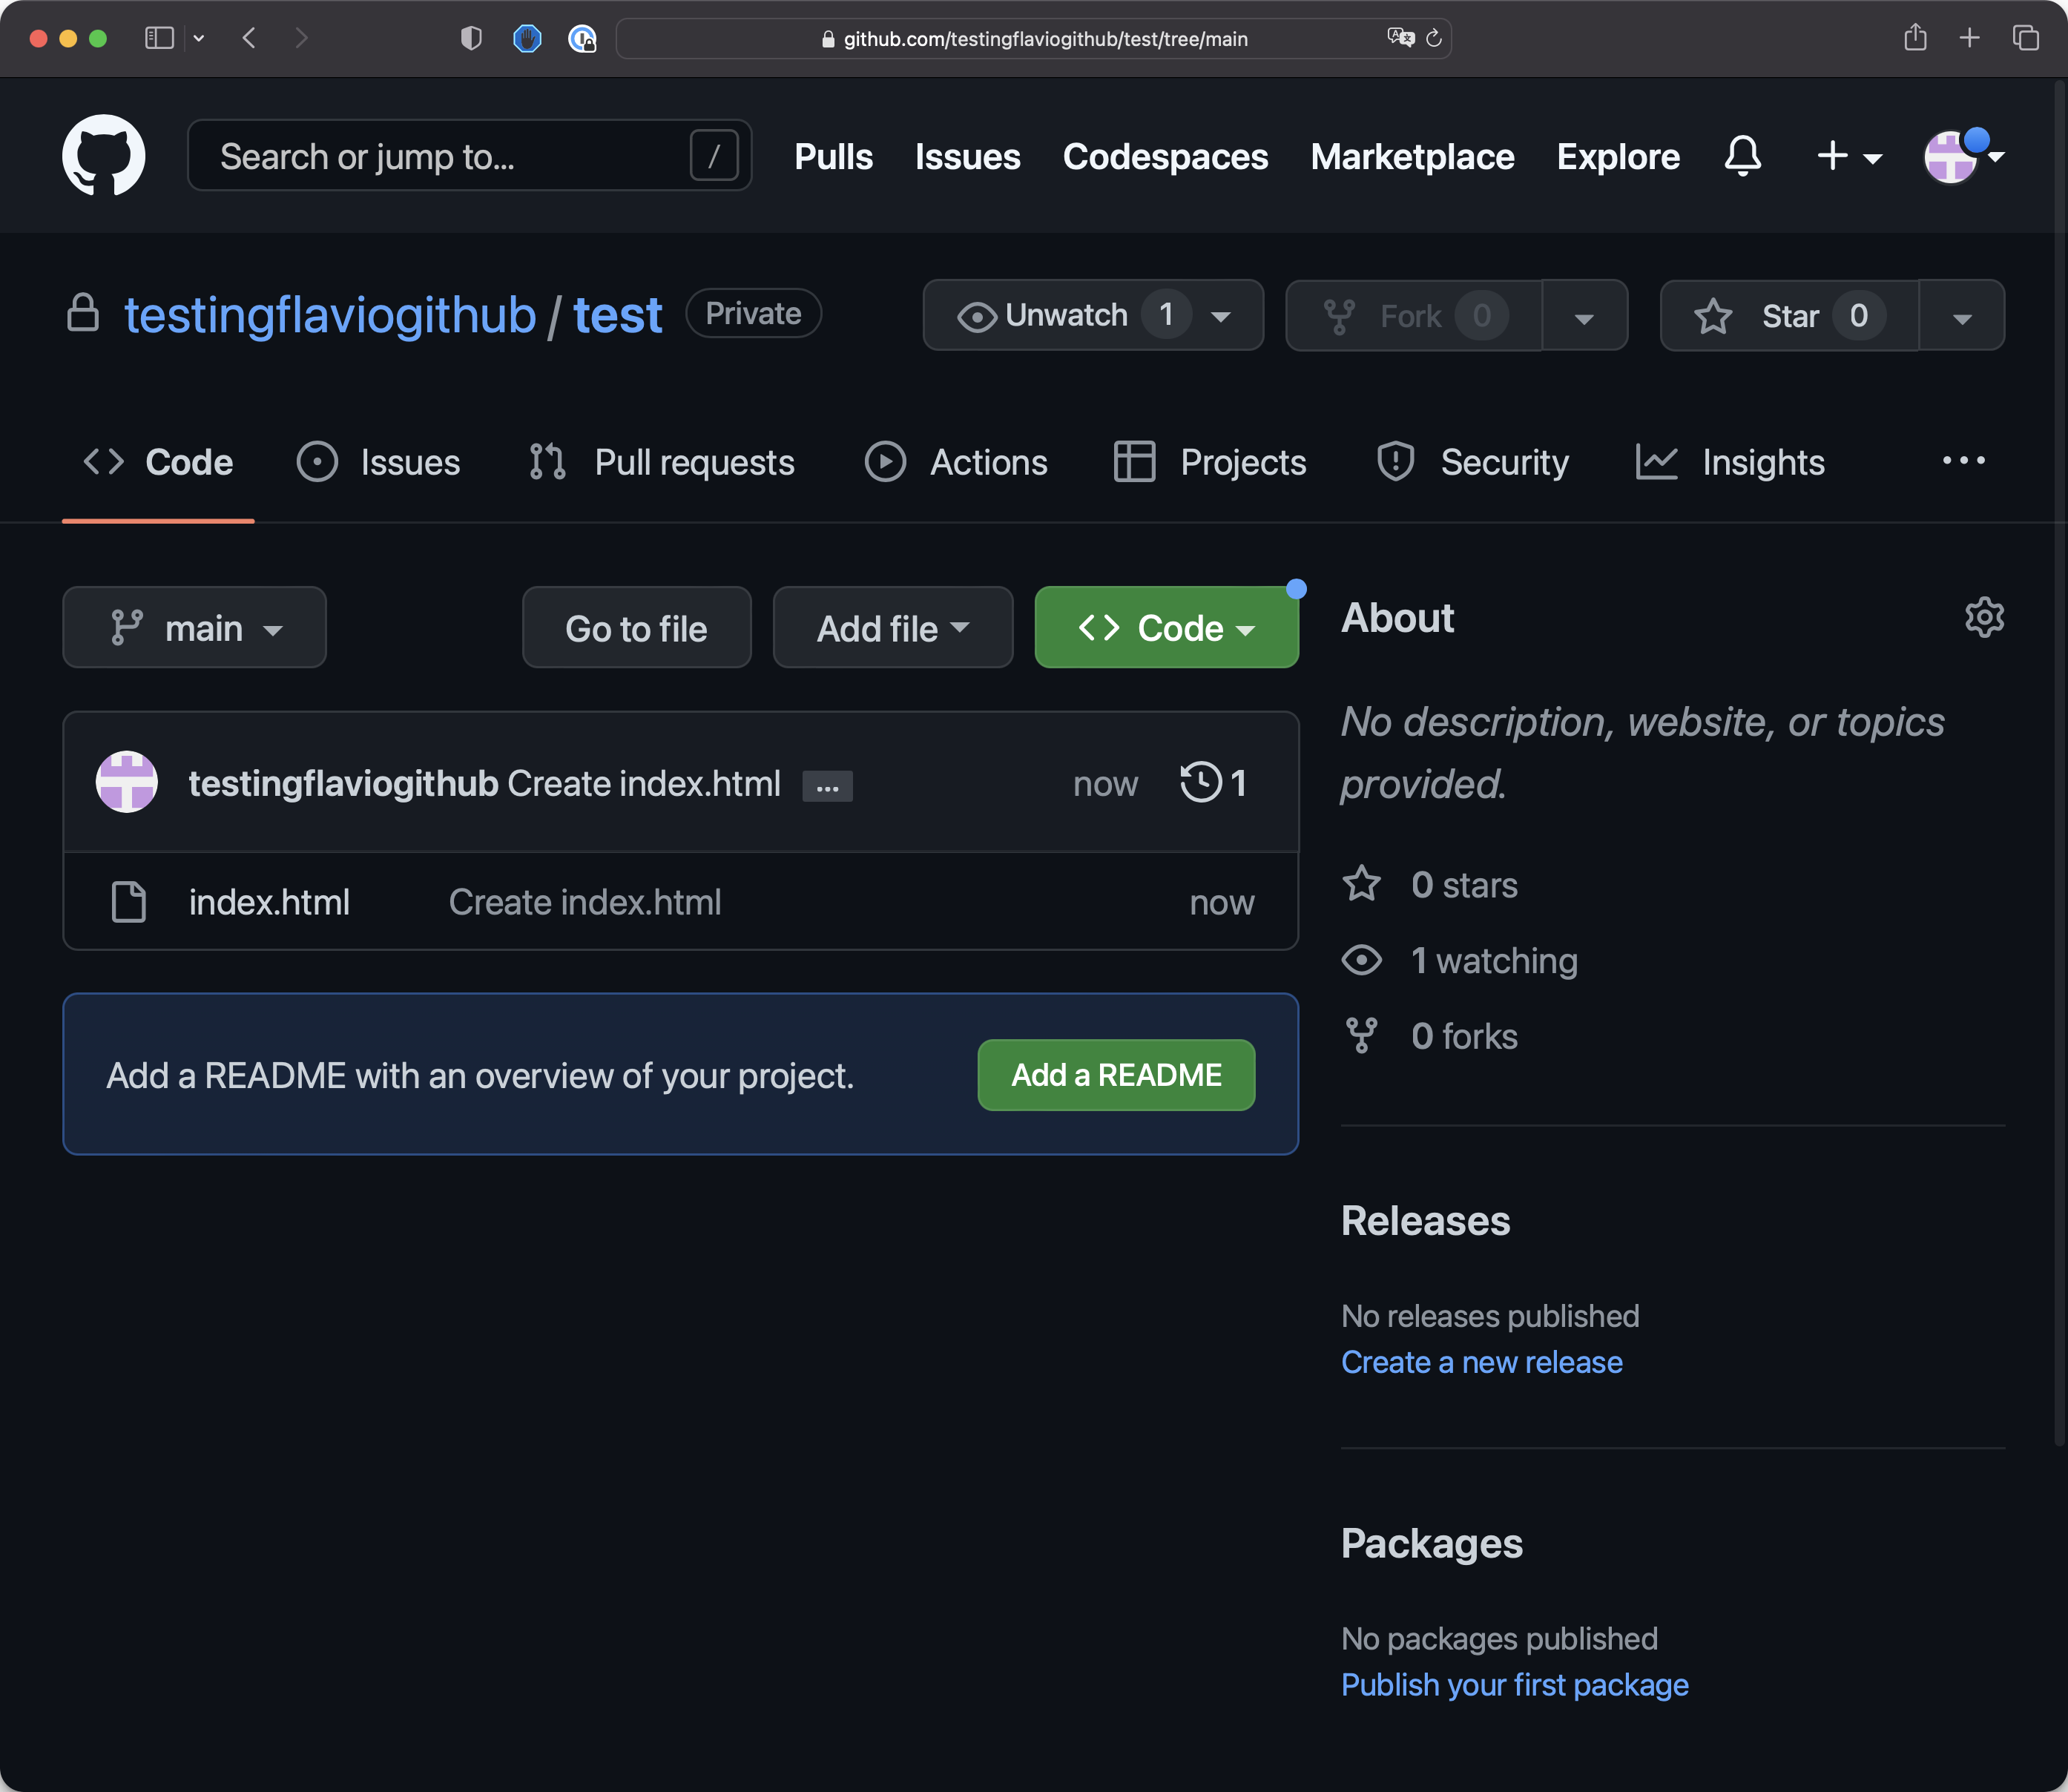
Notice the main
The single change we did is called commit and you can see it by clicking the commit date (which is “now” in this case)
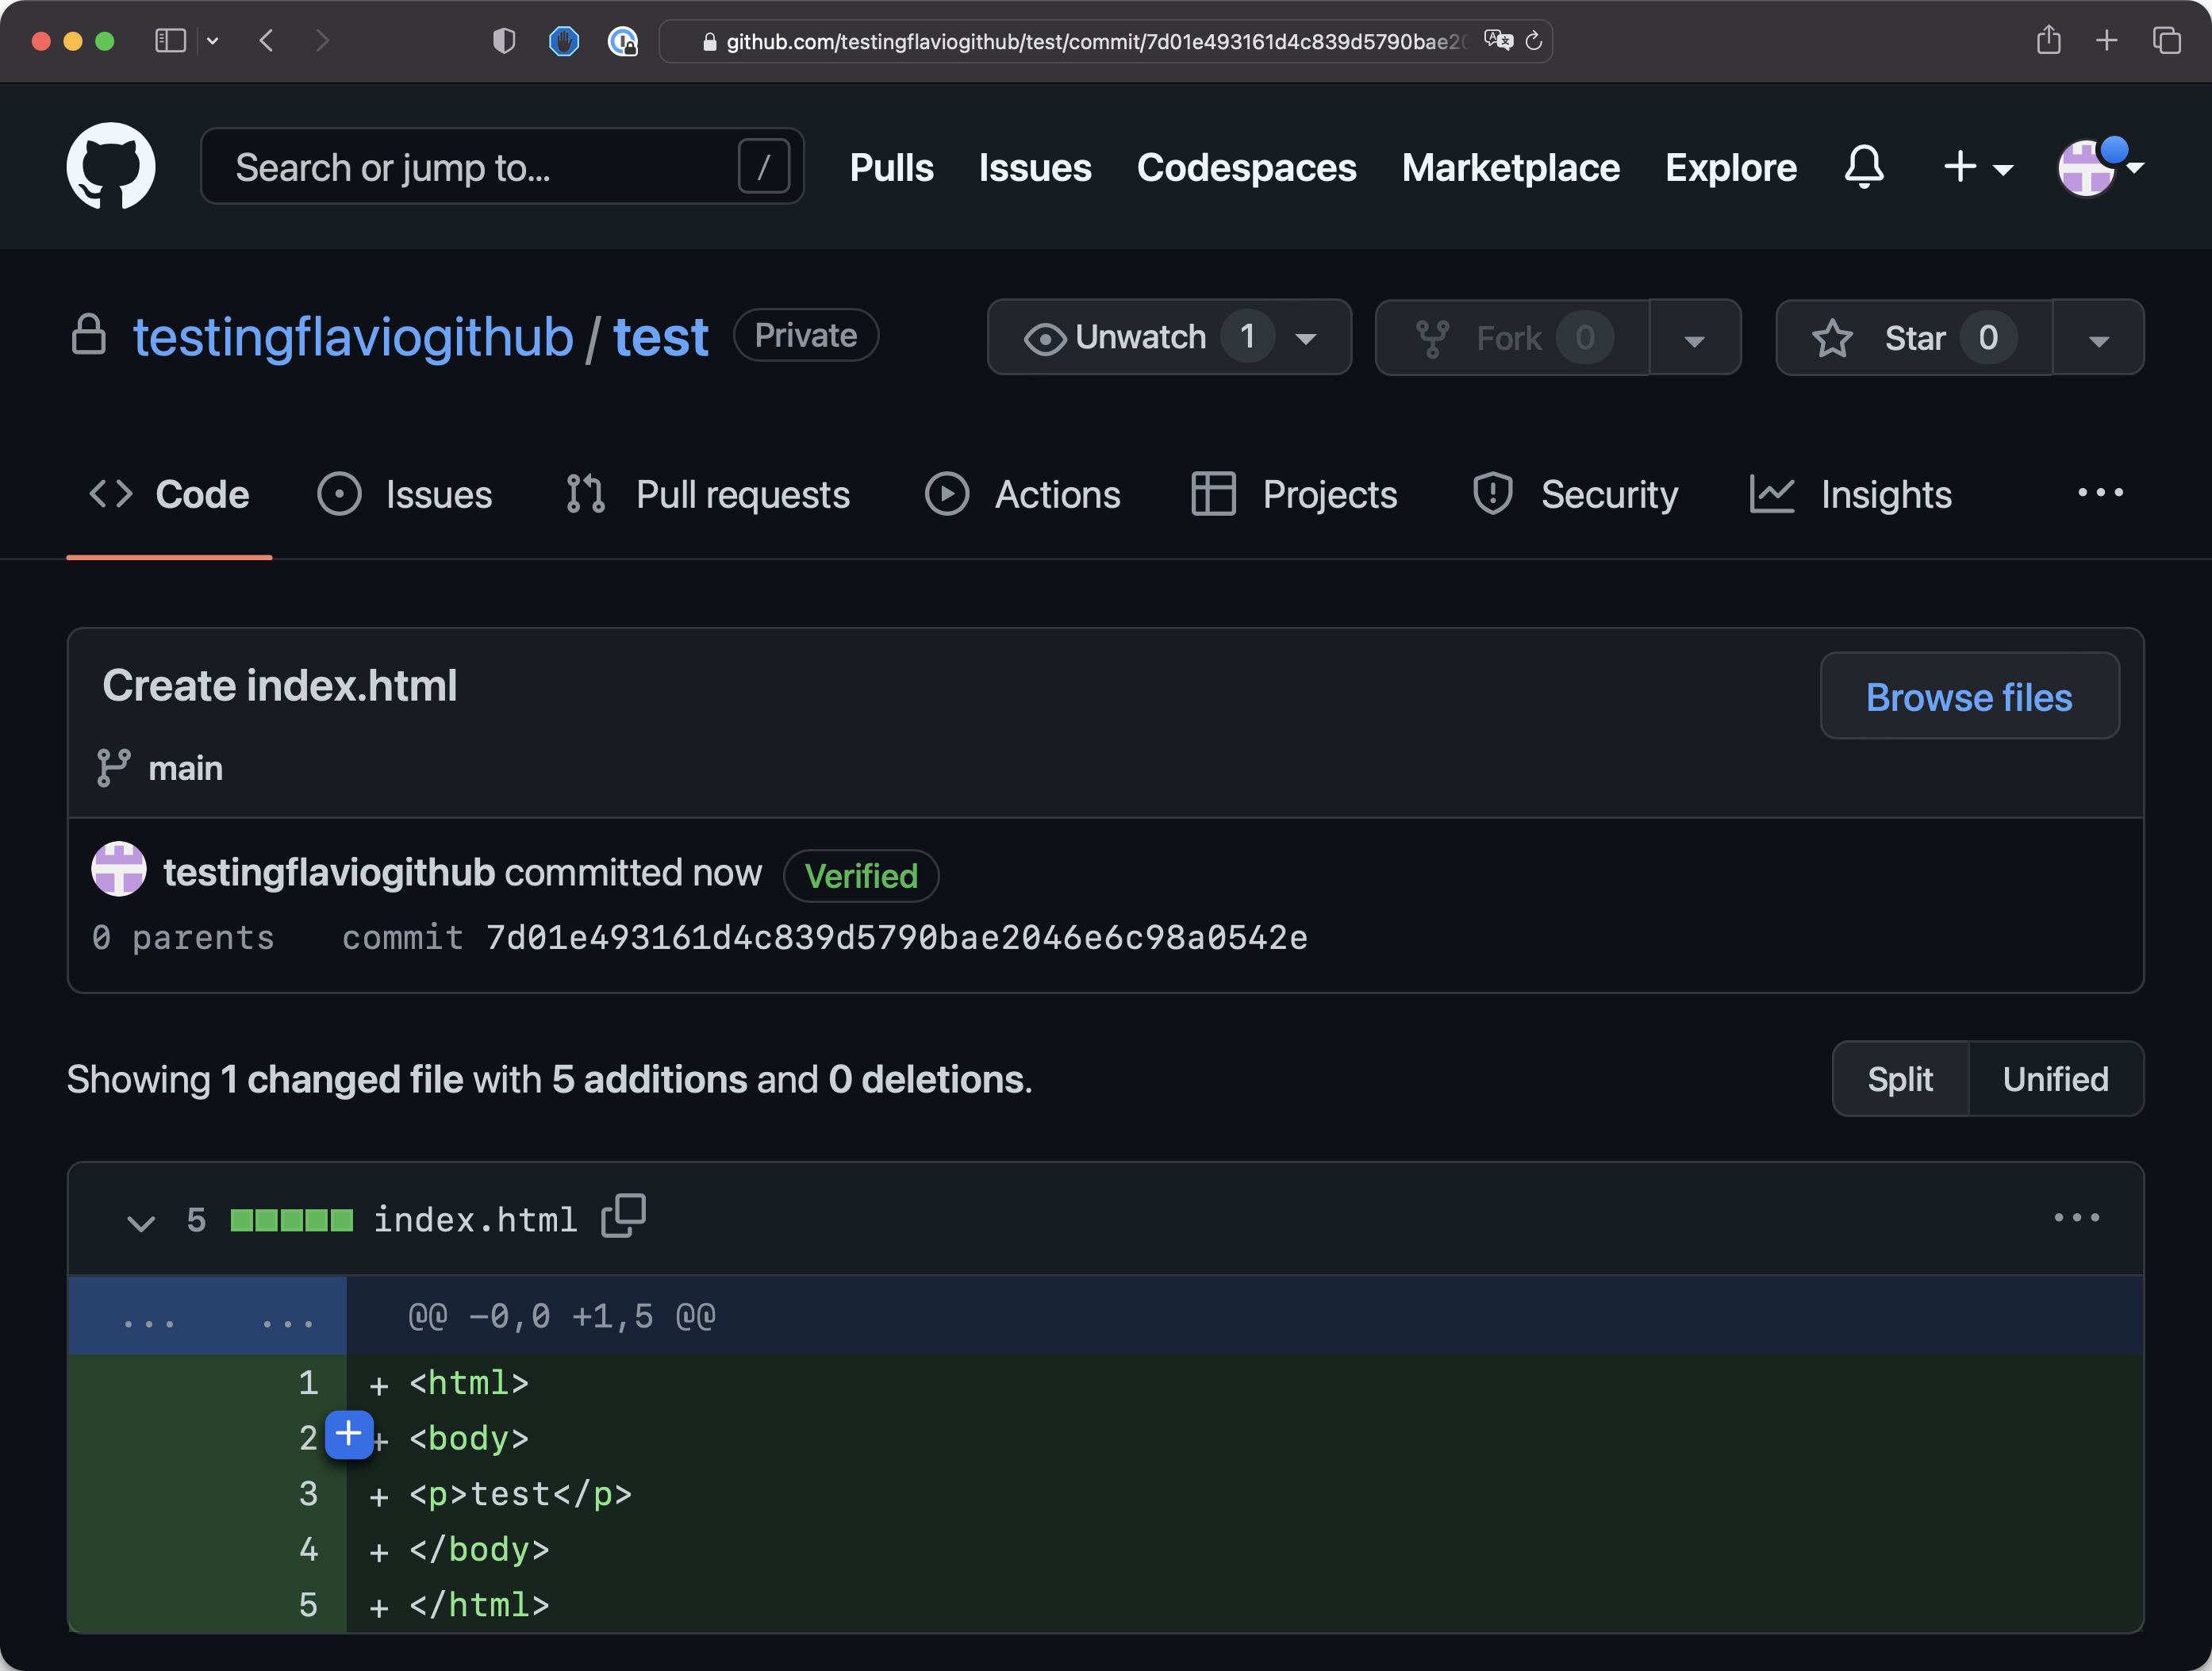
Commits are very useful over time, as you can inspect what was added, deleted, or modified in a single change committed by someone.
There’s a TON more on GitHub that you don’t need to worry about now.
Things like issues, pull requests, actions, projects, insights, codespaces, ..ignore all that. But one day, they will be useful.
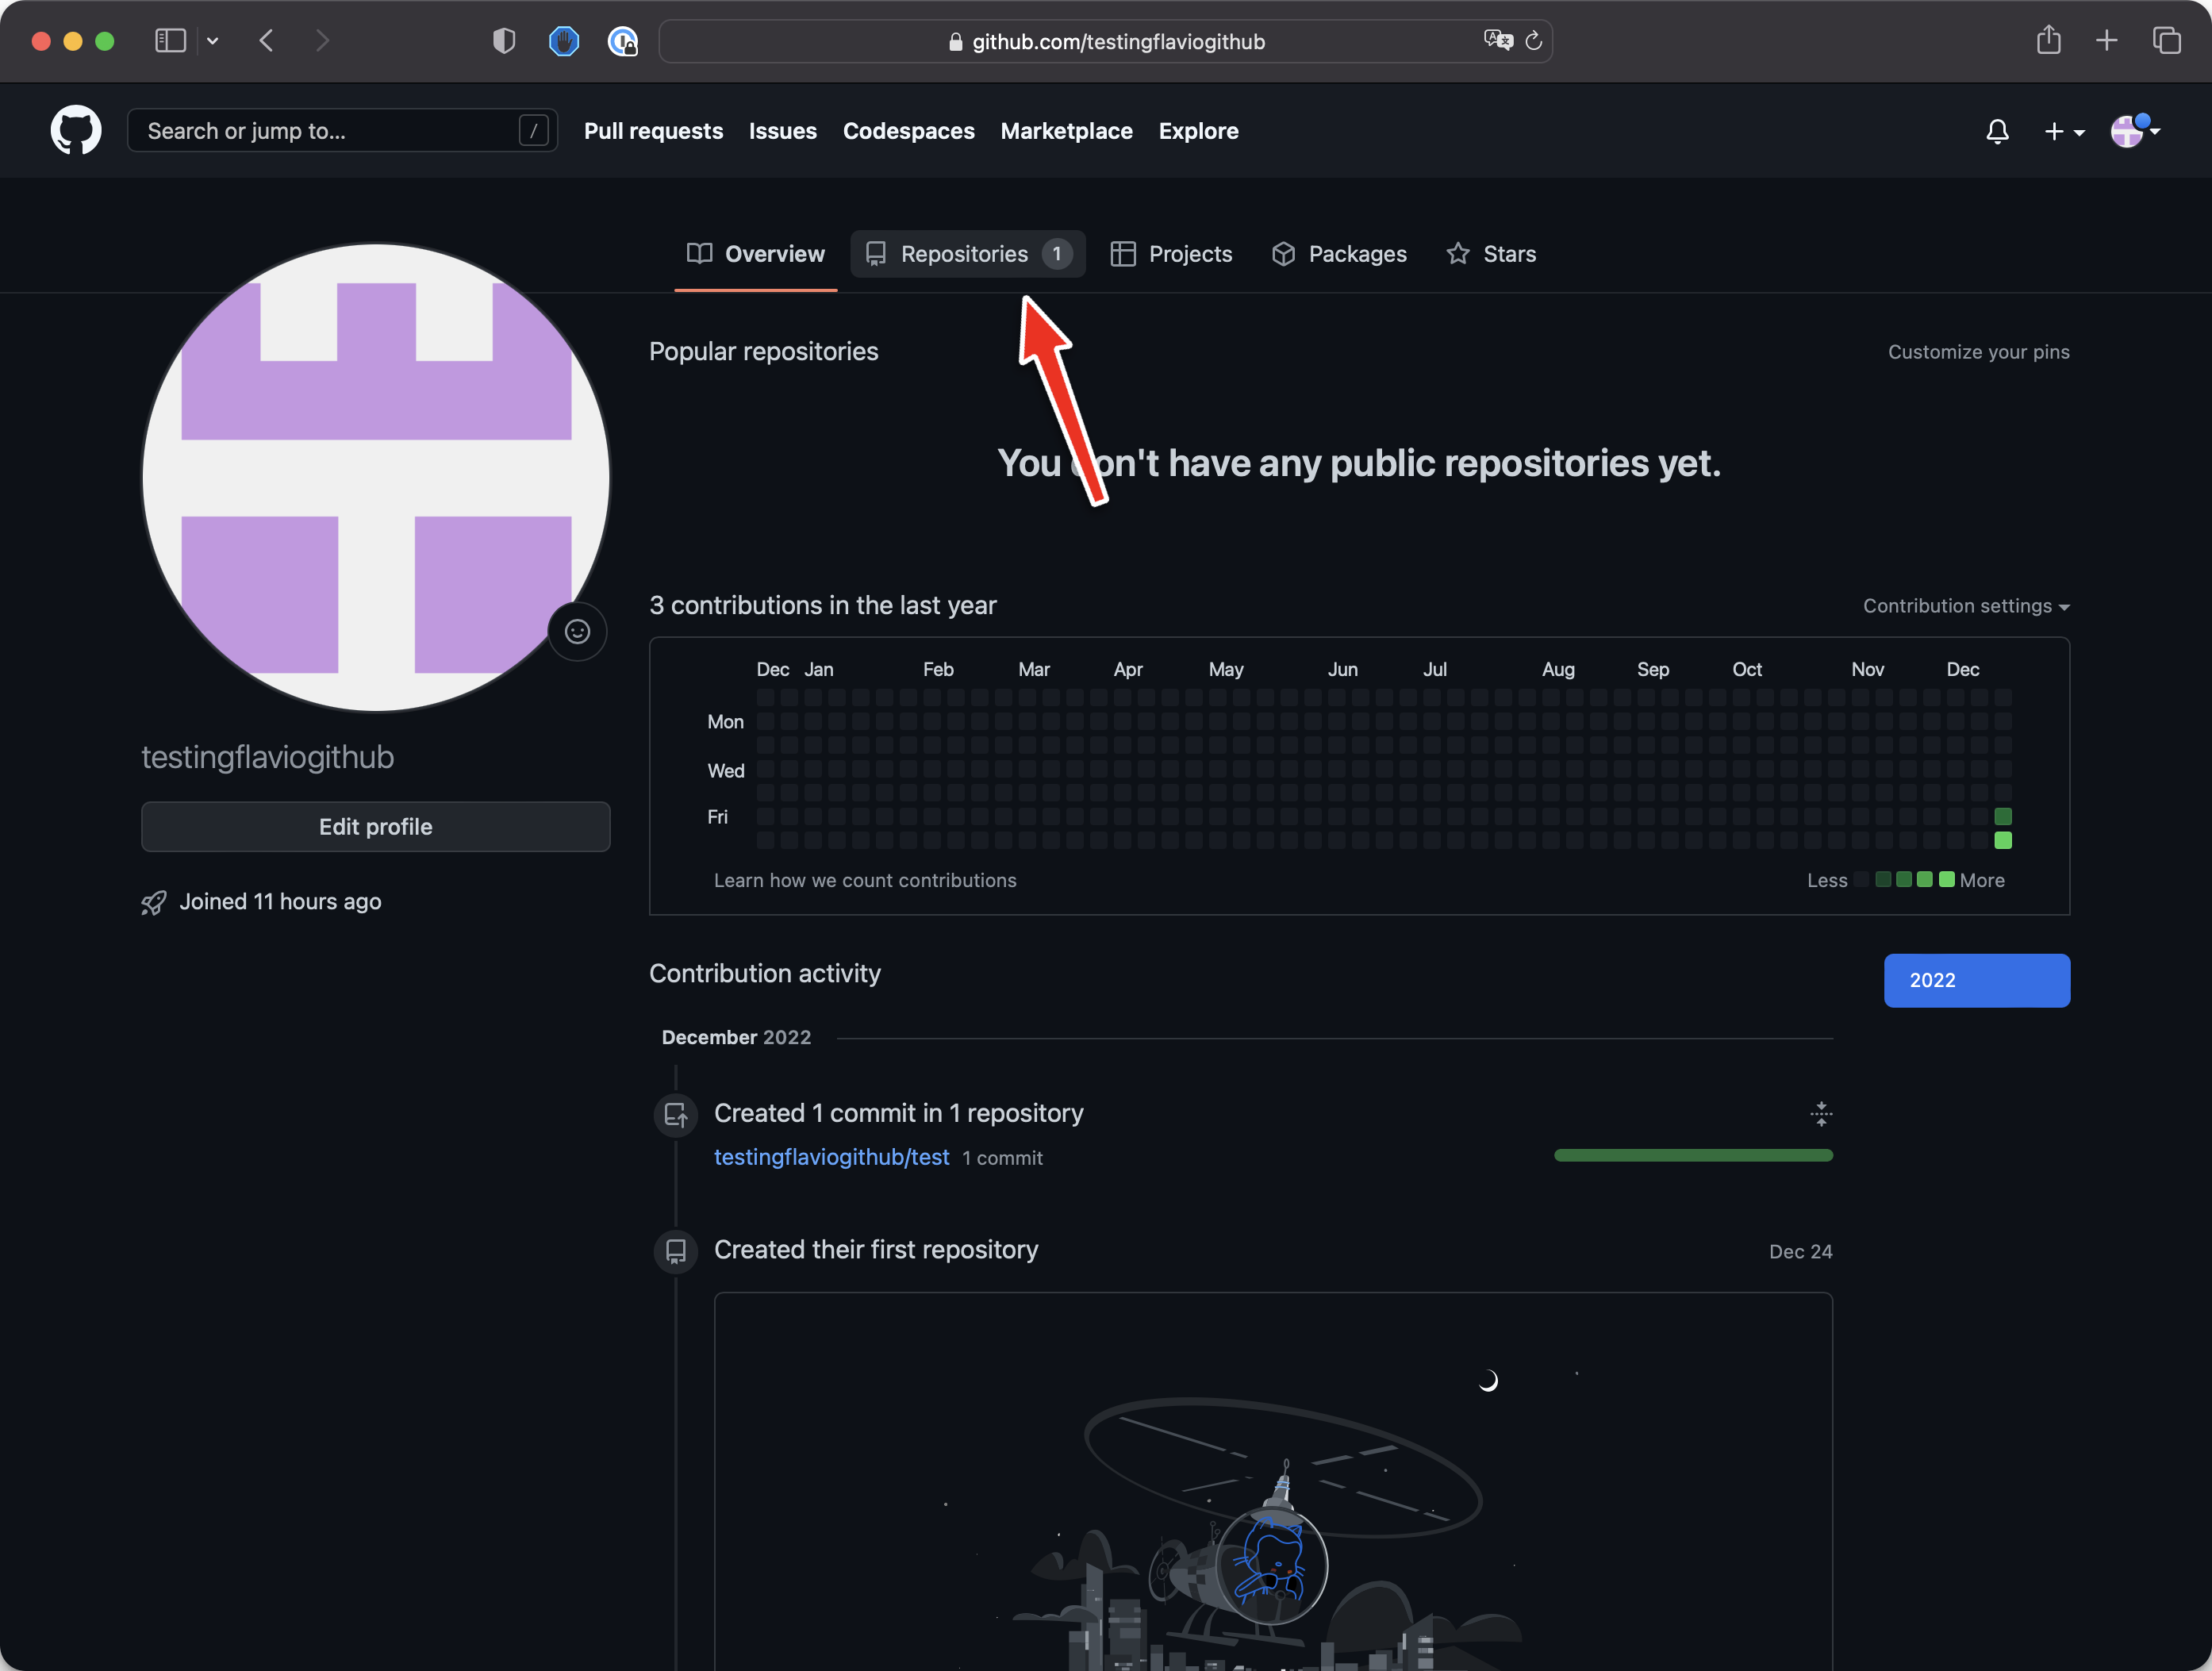
Now if you click your name, you will be shown your profile page:

See, there’s our history here. We created a repository, we created a commit. It’s very cool.
Click the “Repositories” tab
And you will see all your repositories:
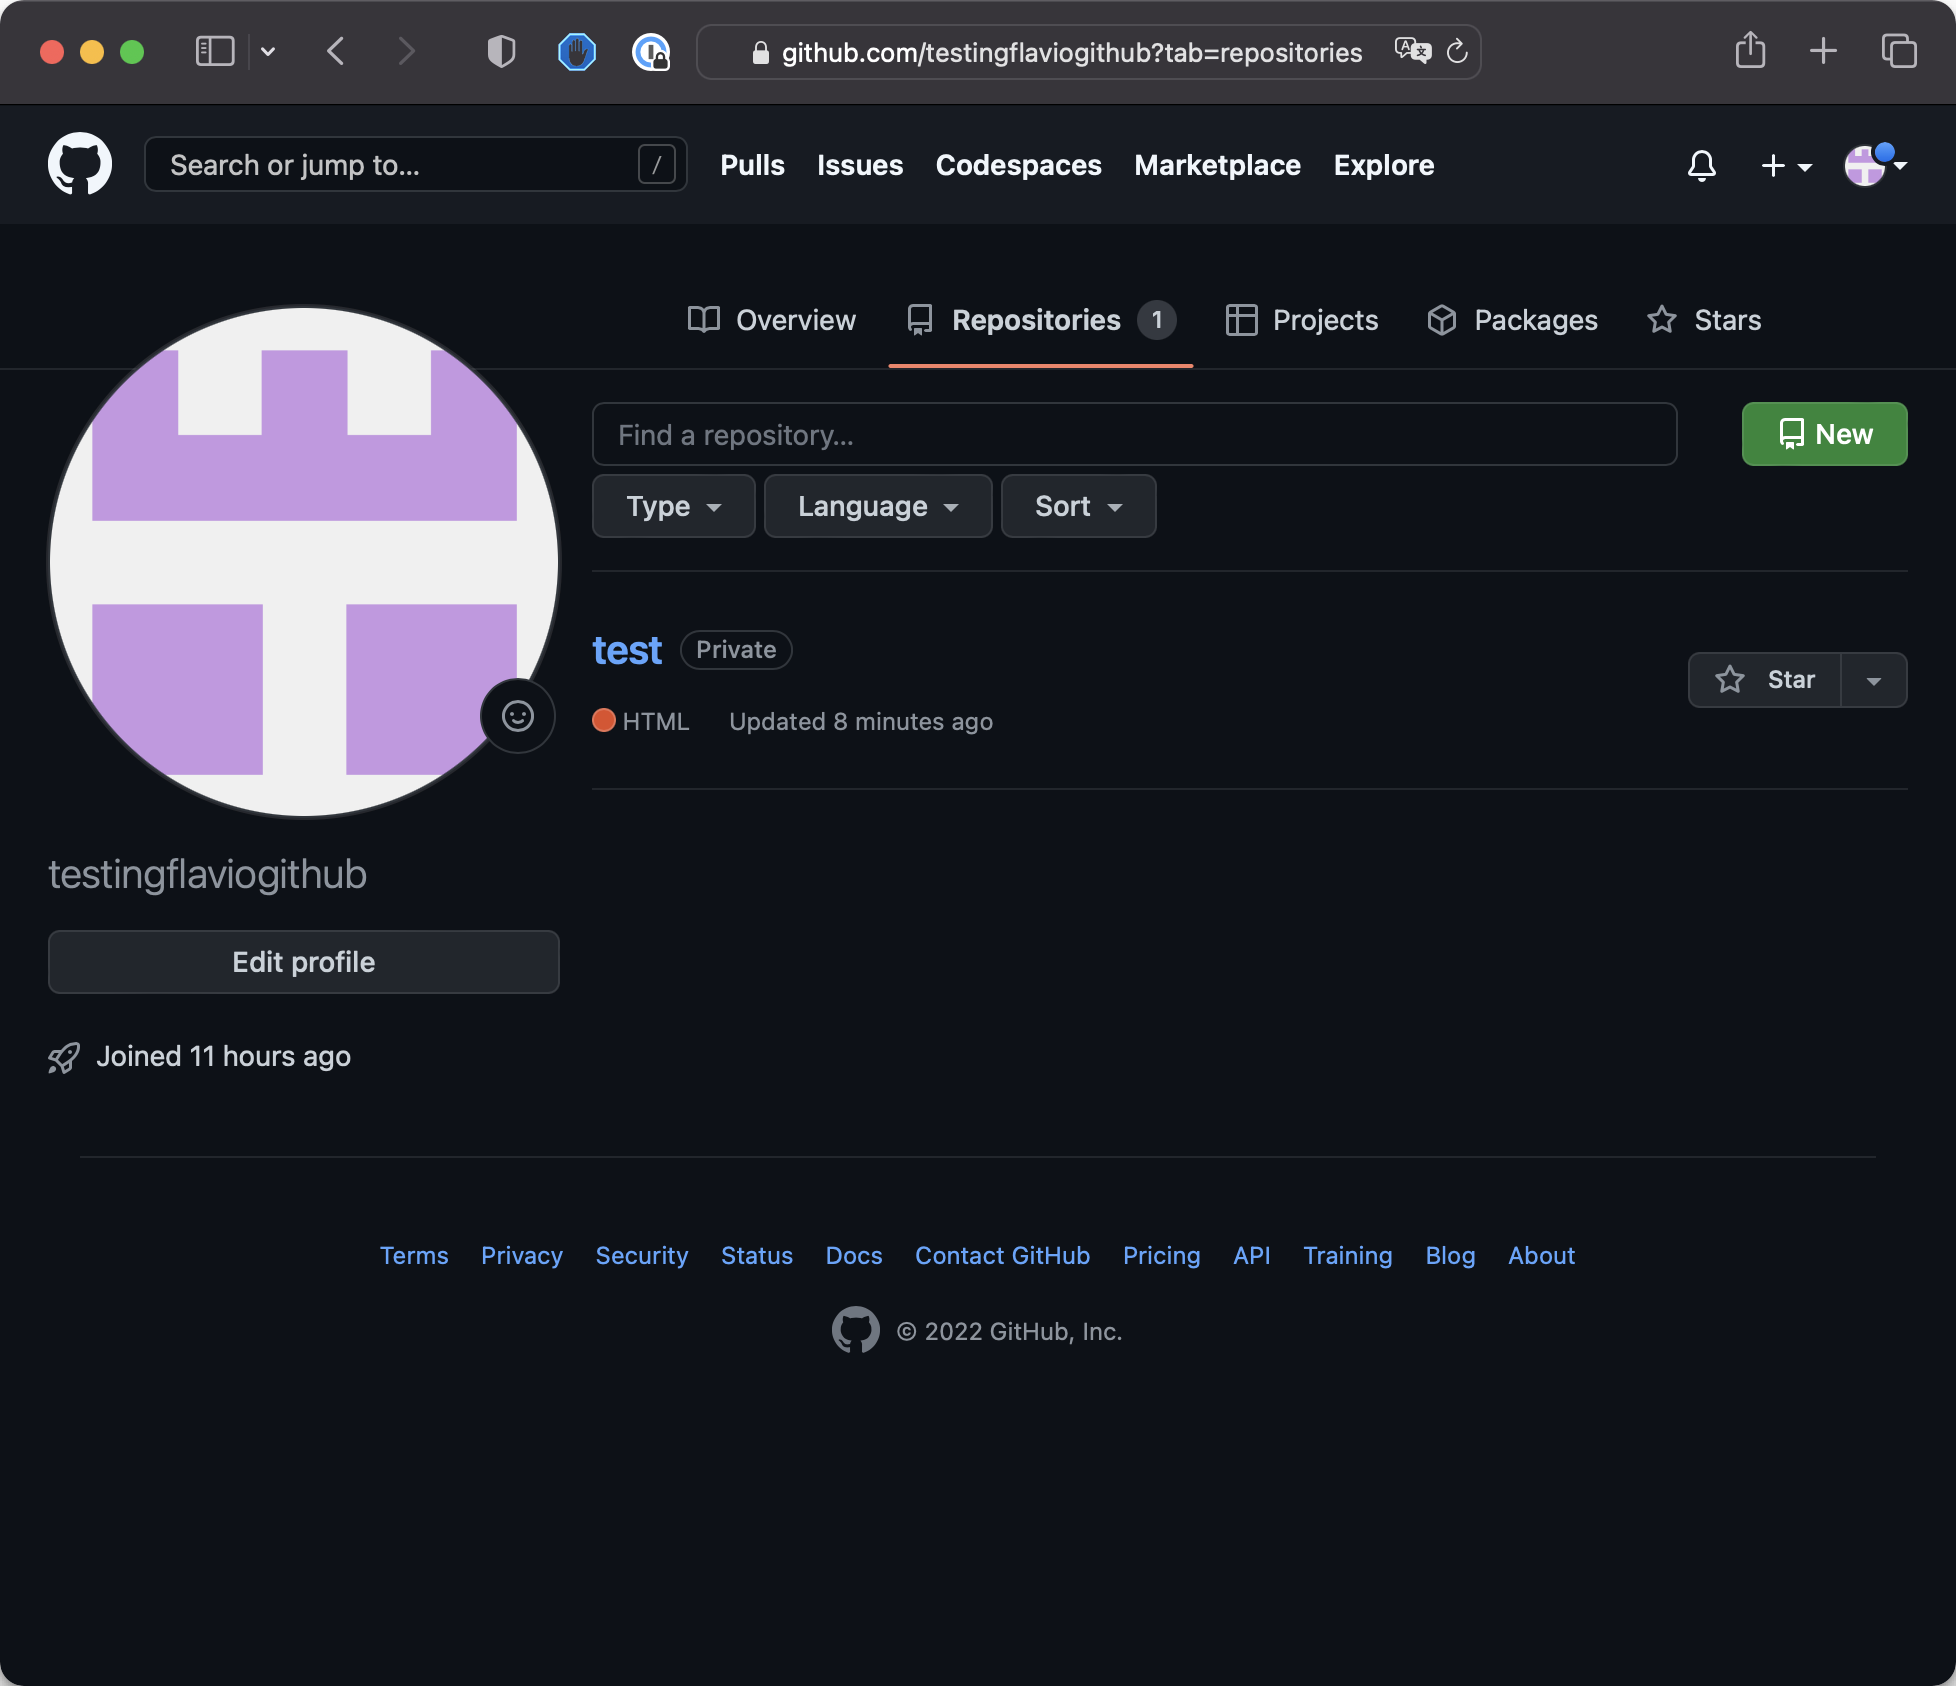
This is a test profile I created just to show you the process.
You can start customizing yours by adding a bio, avatar, and link to your website or Twitter.
In the next lesson, I will introduce you to GitHub Desktop, a desktop app for interacting with Git that I consider to be the easiest and most productive way to use Git and GitHub.
Lessons in this unit:
| 0: | Introduction |
| 1: | GitHub issues |
| 2: | Social coding |
| 3: | Pull requests |
| 4: | Project management |
| 5: | Comparing changes |
| 6: | Webhooks and integrations |
| 7: | What happens after pushing |
| 8: | ▶︎ DEMO Create a GitHub account |
| 9: | DEMO Using GitHub desktop |
| 10: | DEMO Using Git in VS Code |