The simplest way to get started using Git and GitHub is by installing the GitHub Desktop application.
Available for Windows and Mac, you can download it from here: https://desktop.github.com
💁♂️ Note: Linux users can use this fork https://github.com/shiftkey/desktop
This tool installs a graphical user interface to use Git, and also Git itself.
And it’s tightly integrated with GitHub.
After installing it, open the application.
Previously I told you how to create an account on GitHub. Did you create it? Great!
Now install the GitHub Desktop app, and when it’s installed run it and you will see this screen.
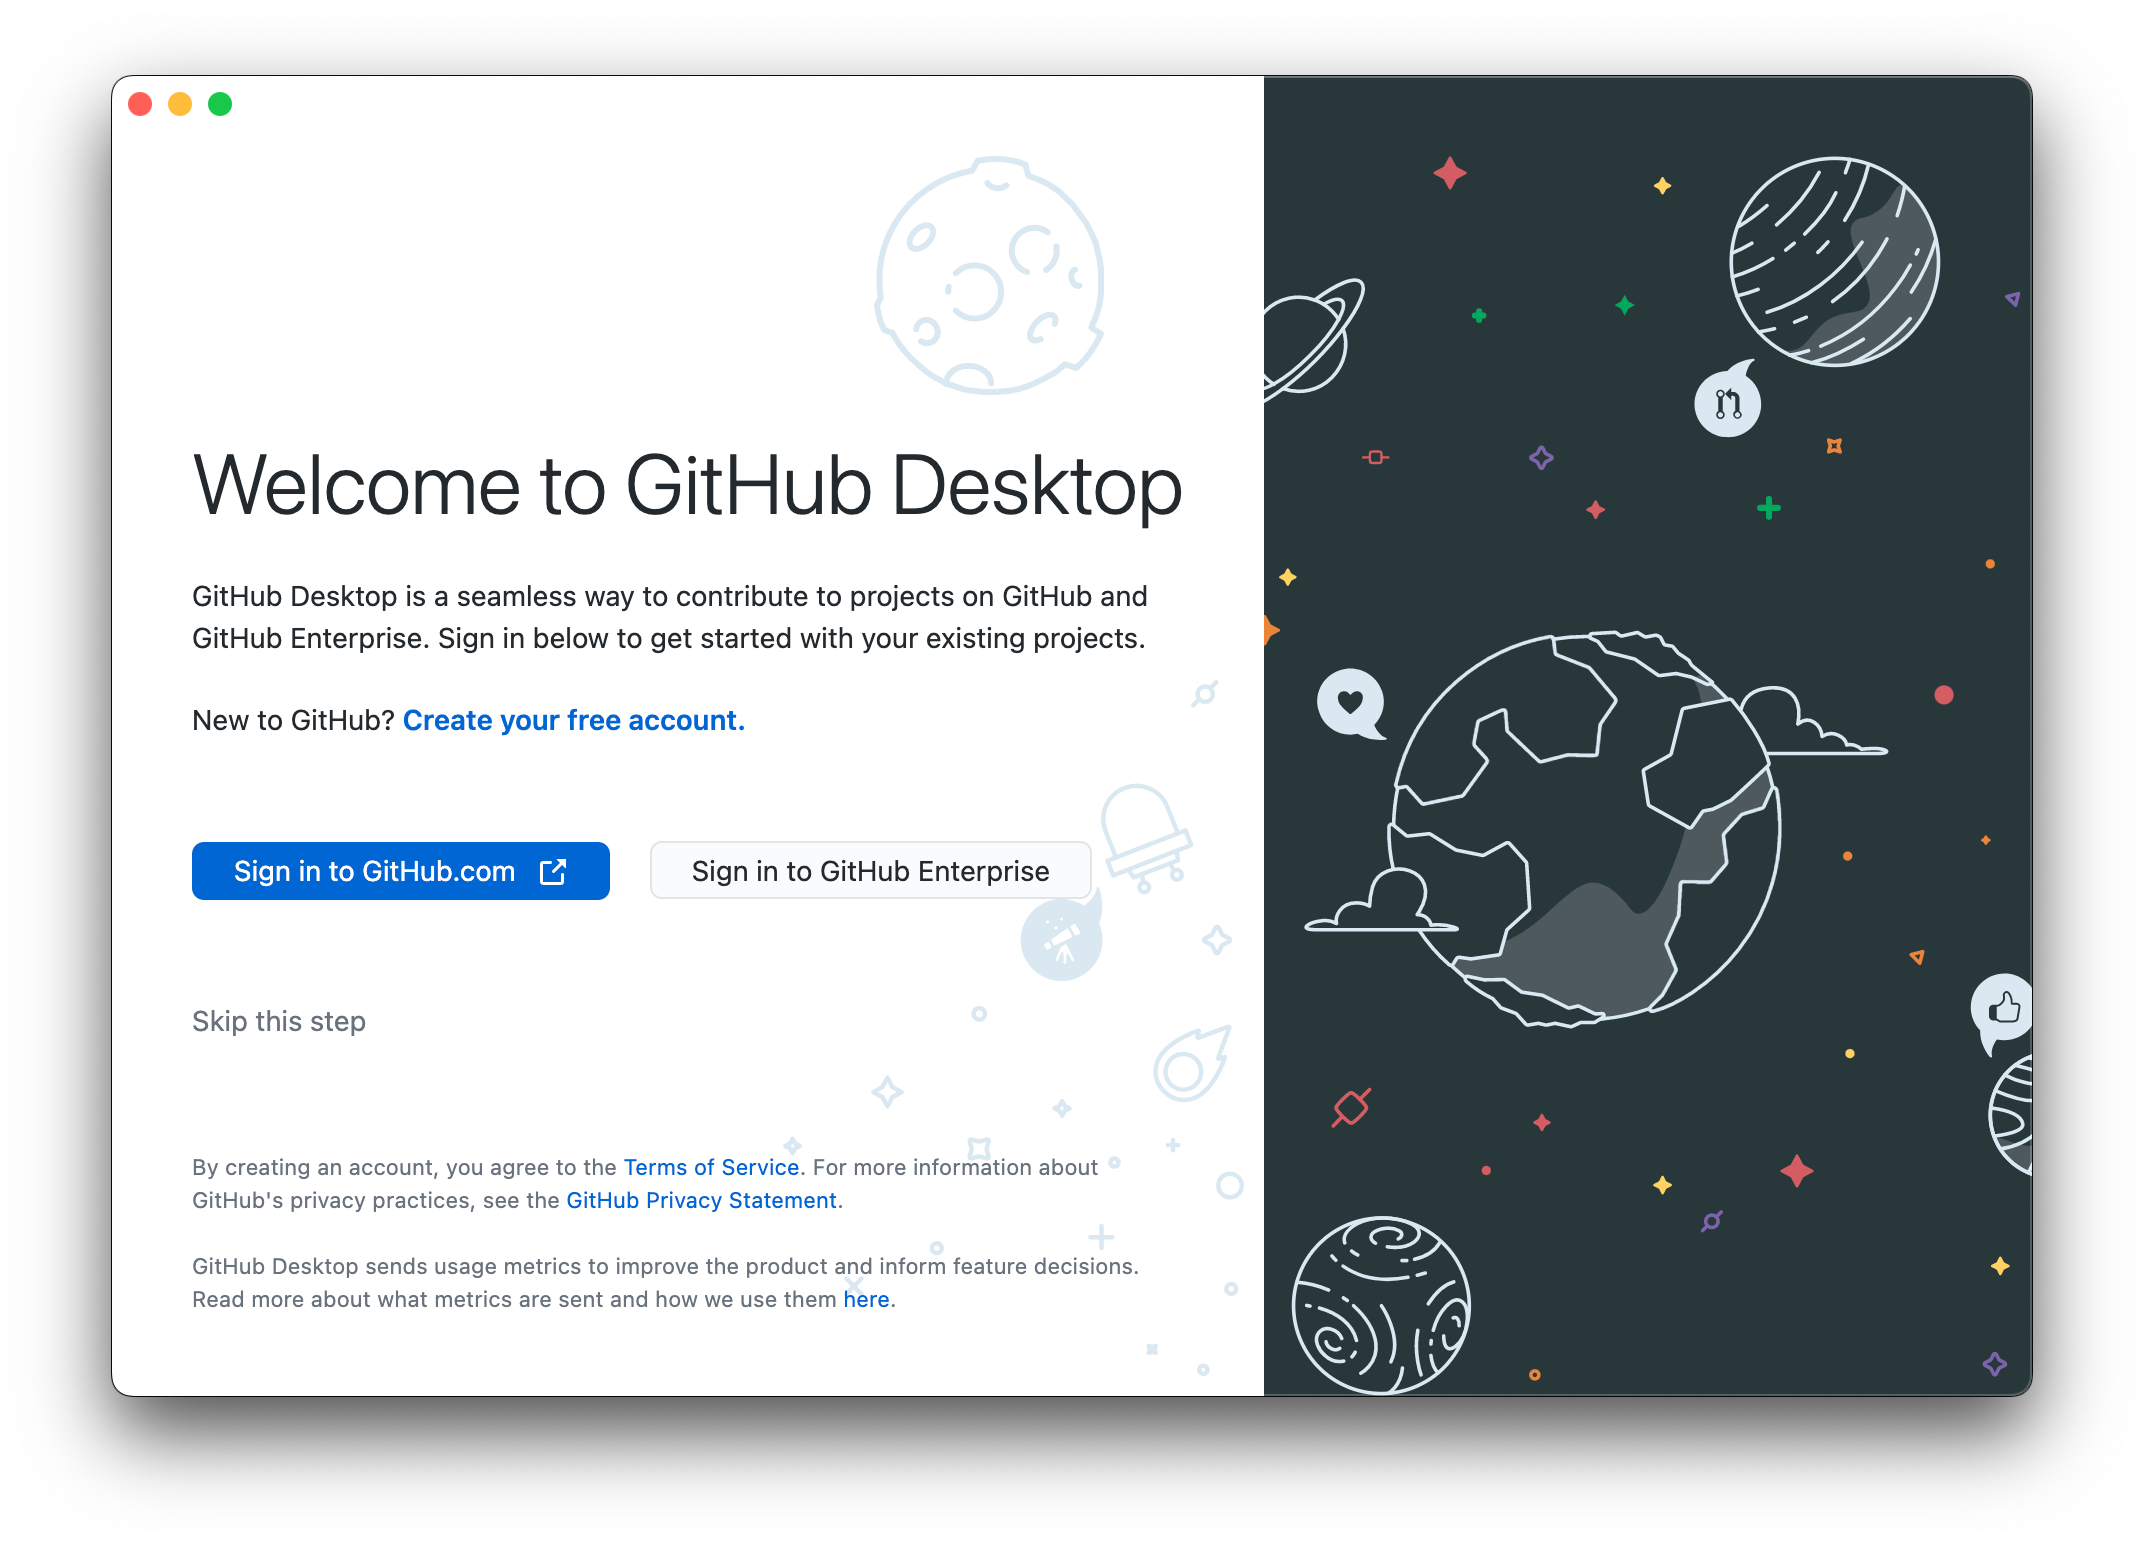
Click “Sign in to GitHub.com”, the blue button.
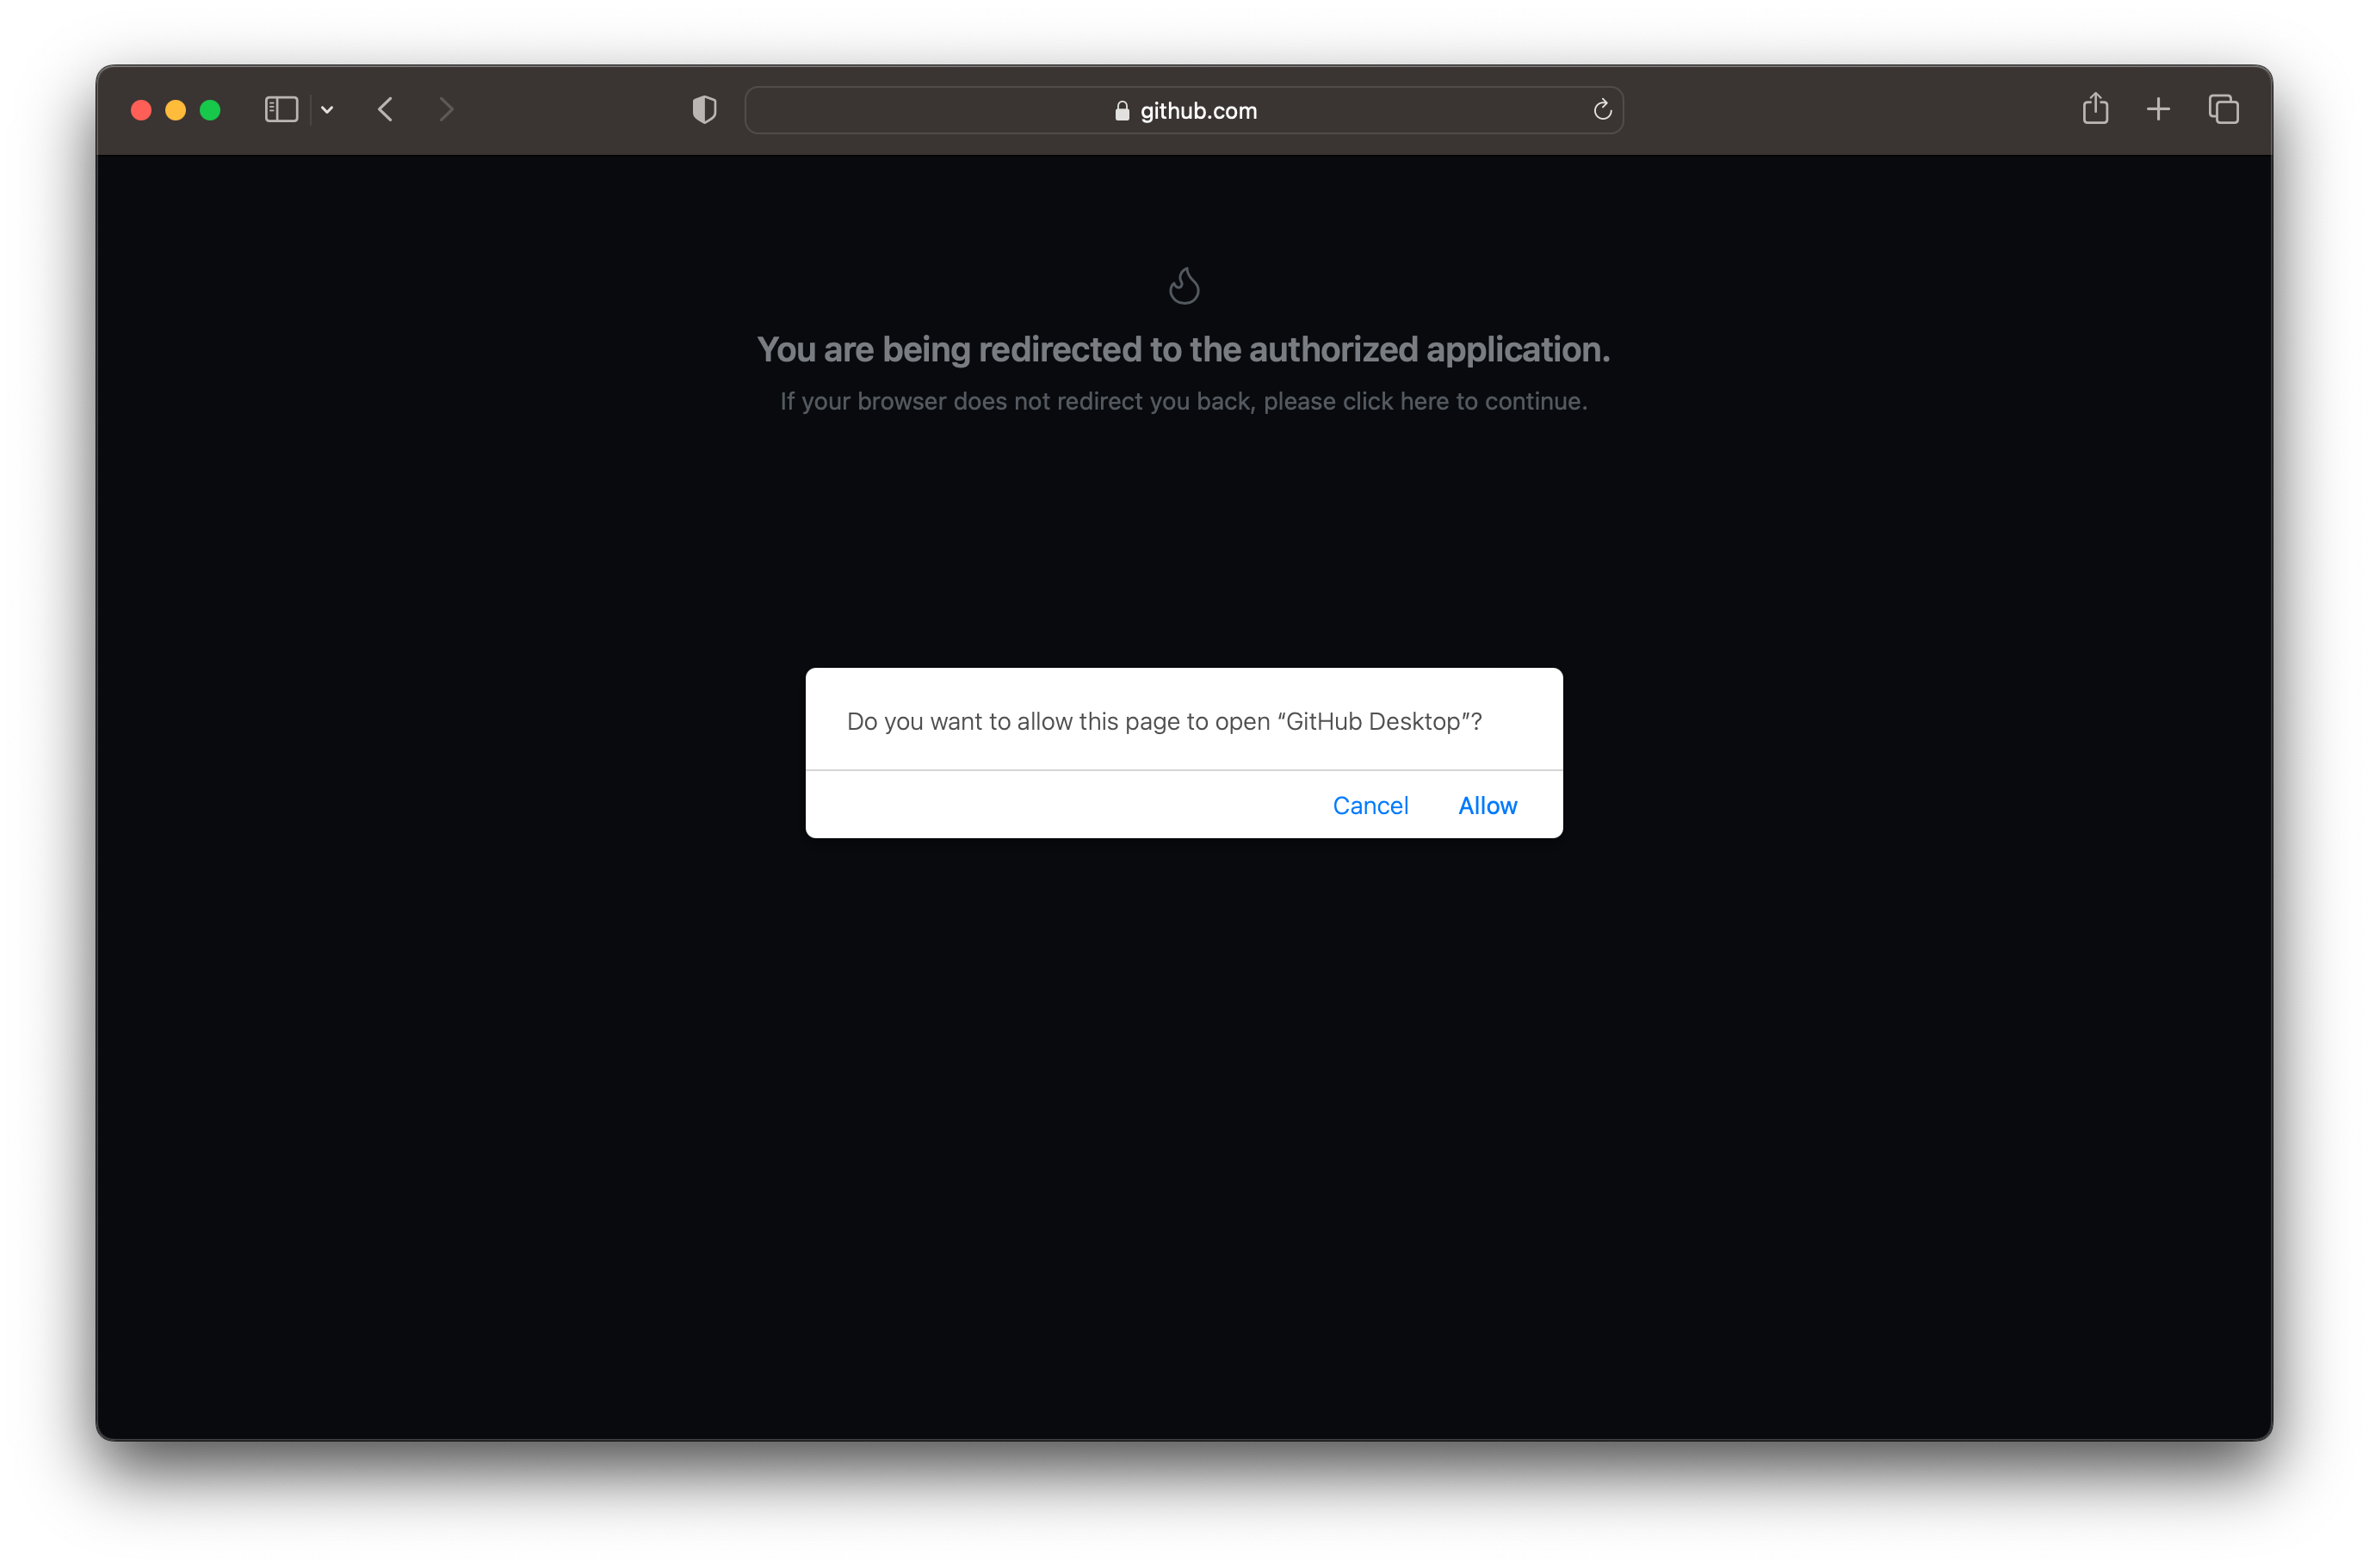
You will be redirected to GitHub to authorize the application to use the GitHub data:

Click Accept when it asks you to open “GitHub Desktop”
Finally, you’re ready to configure Git. Accept this to set the username and email of Git, which you’ll need to create commits. Click “Finish”.
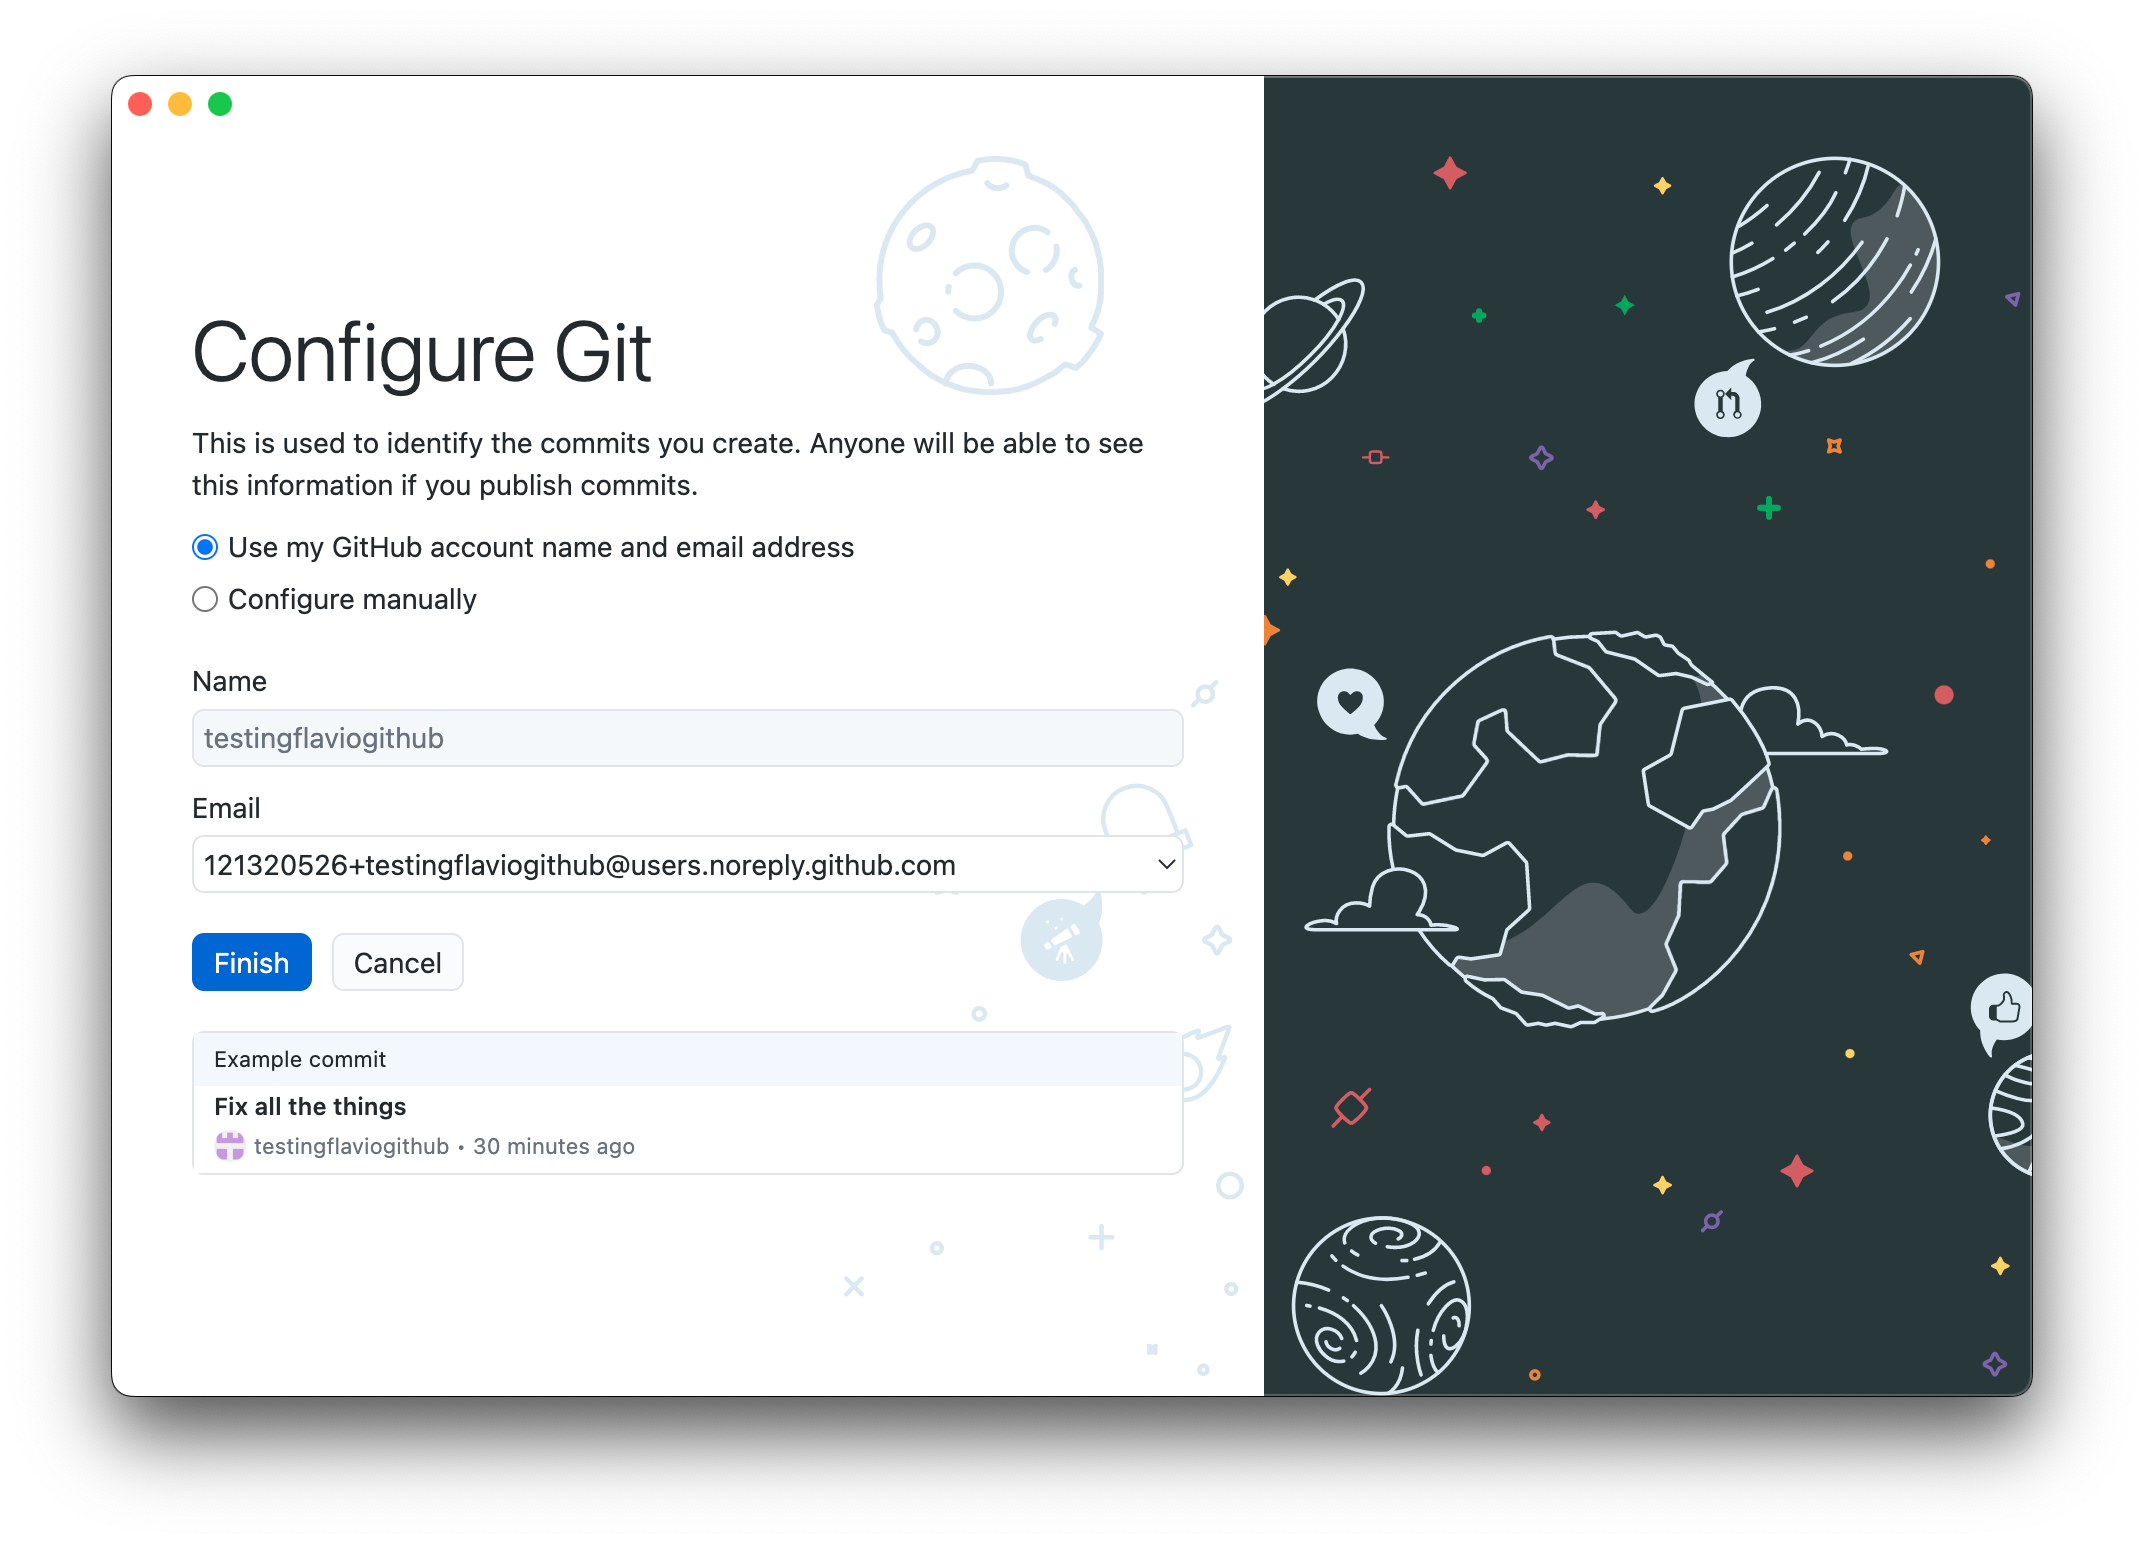
Done!
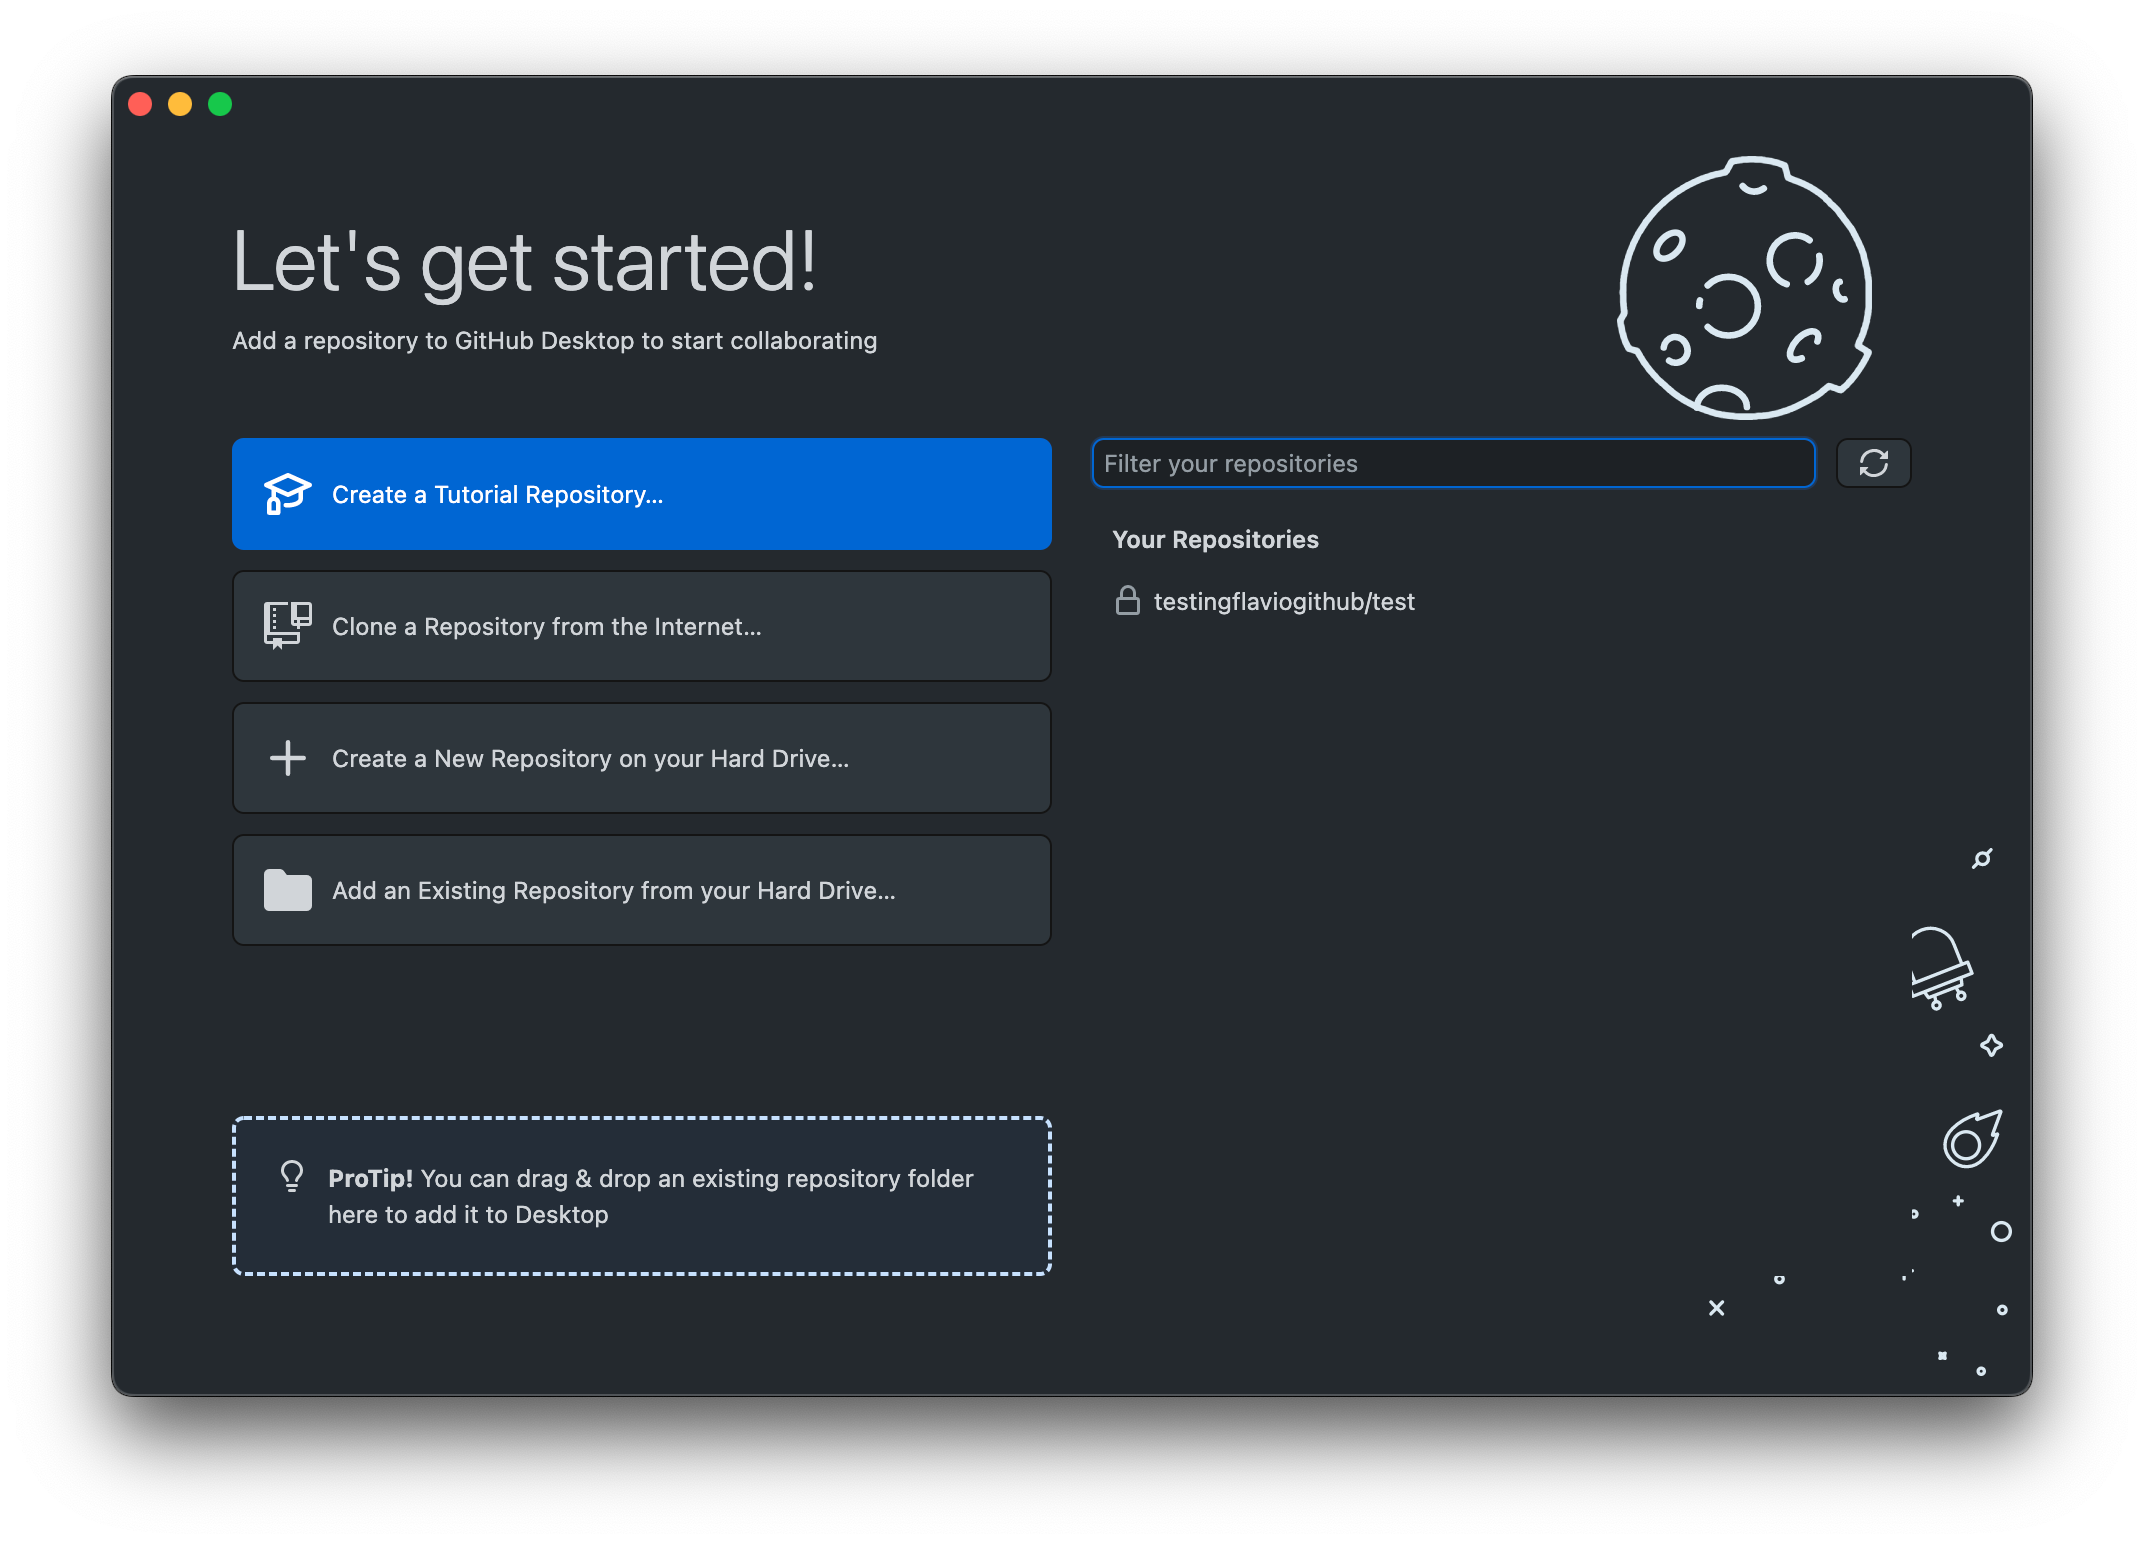
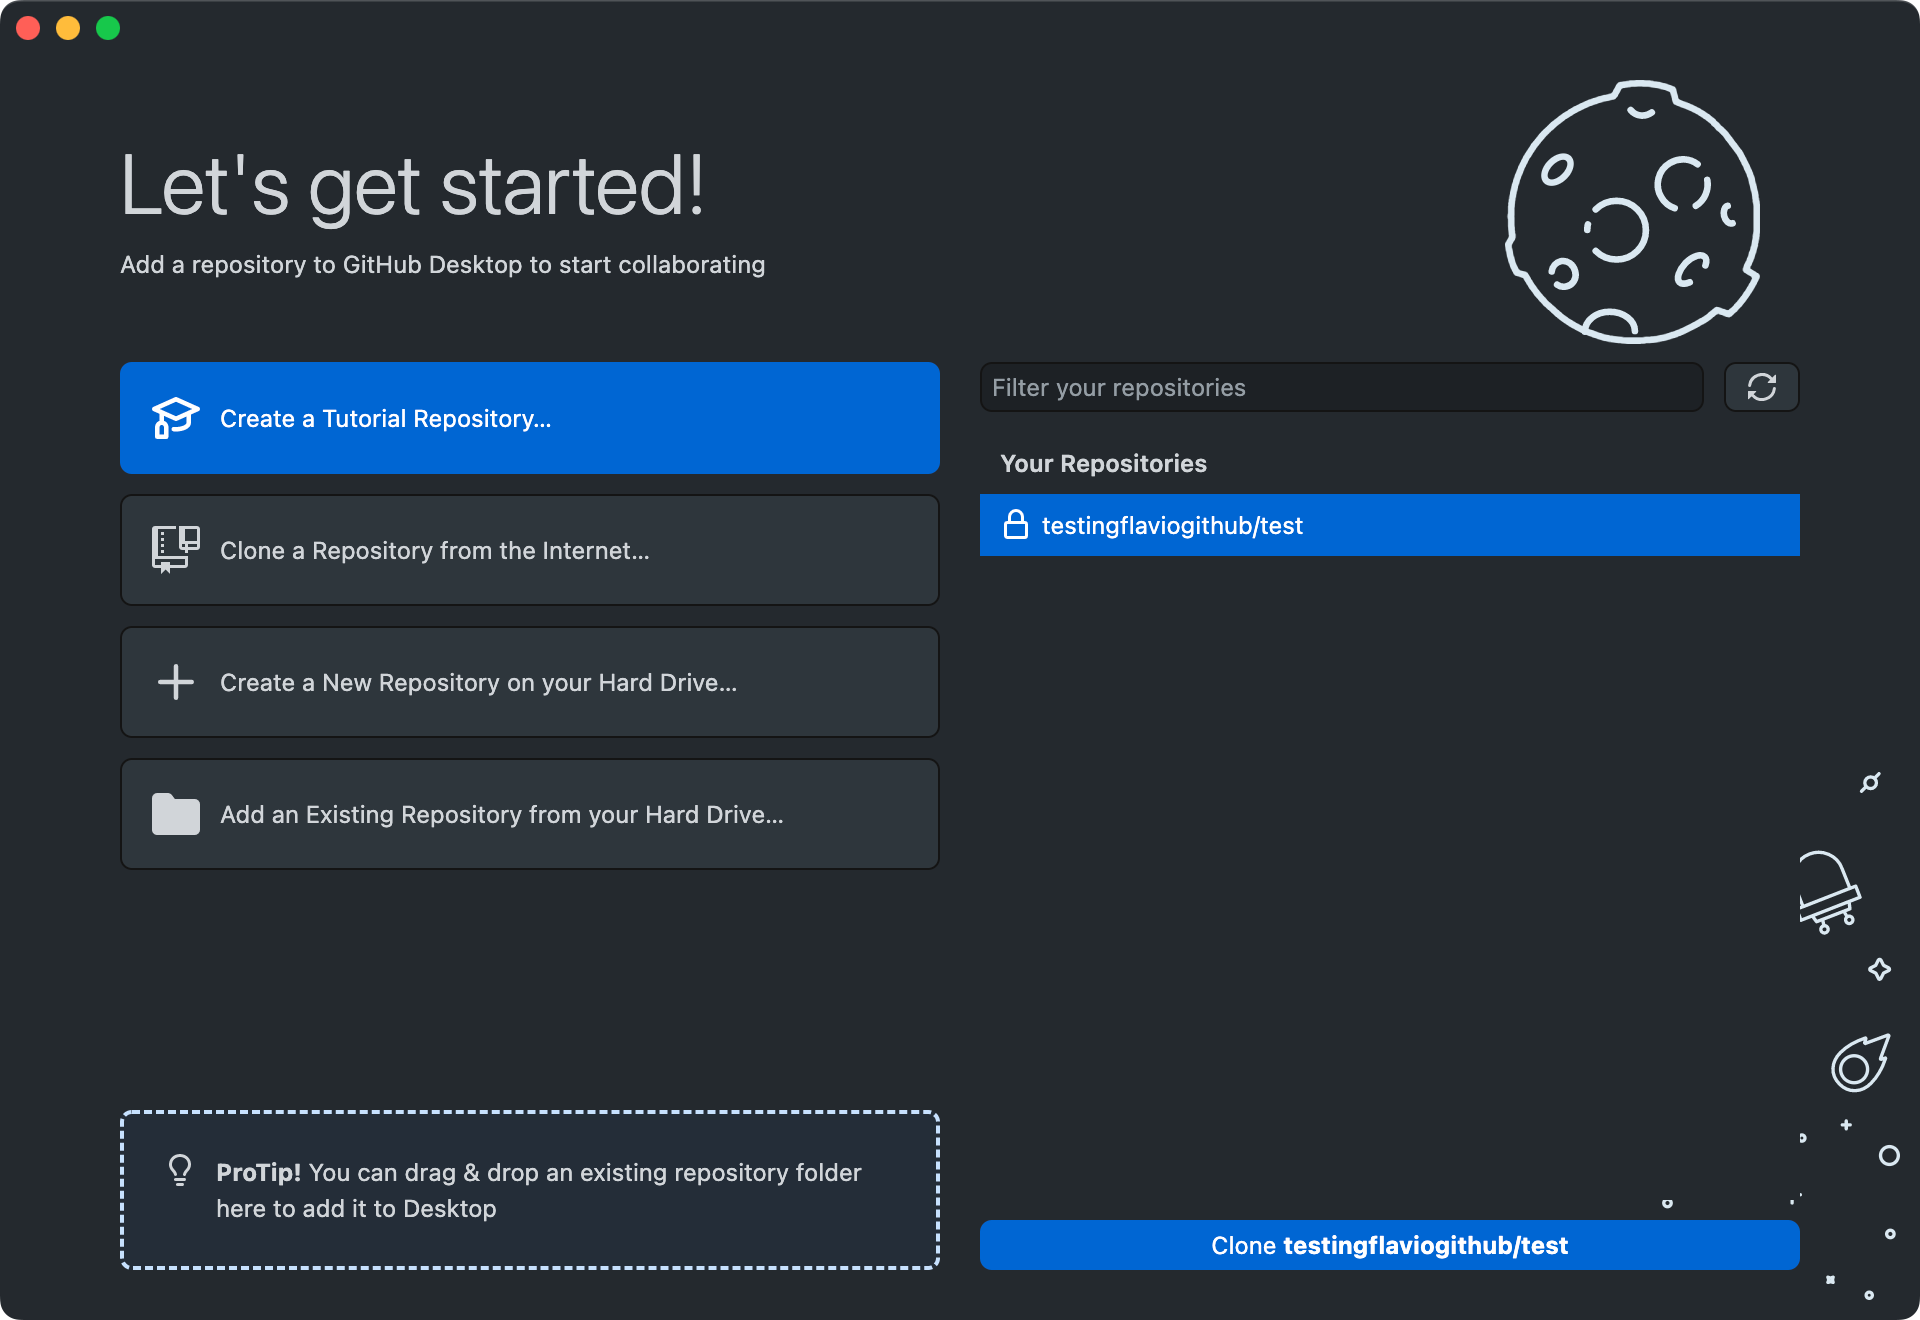
See? There we have the test repository we created in the last lesson.
Click that. A new option shows up at the bottom, saying “Clone
Click that option, and GitHub Desktop will start cloning the repository on your computer. This means it will download the code and all the commits information.
It asks you where you want to clone the code.

I recommend you create a dev folder in your home directory, to keep all your coding stuff organized.
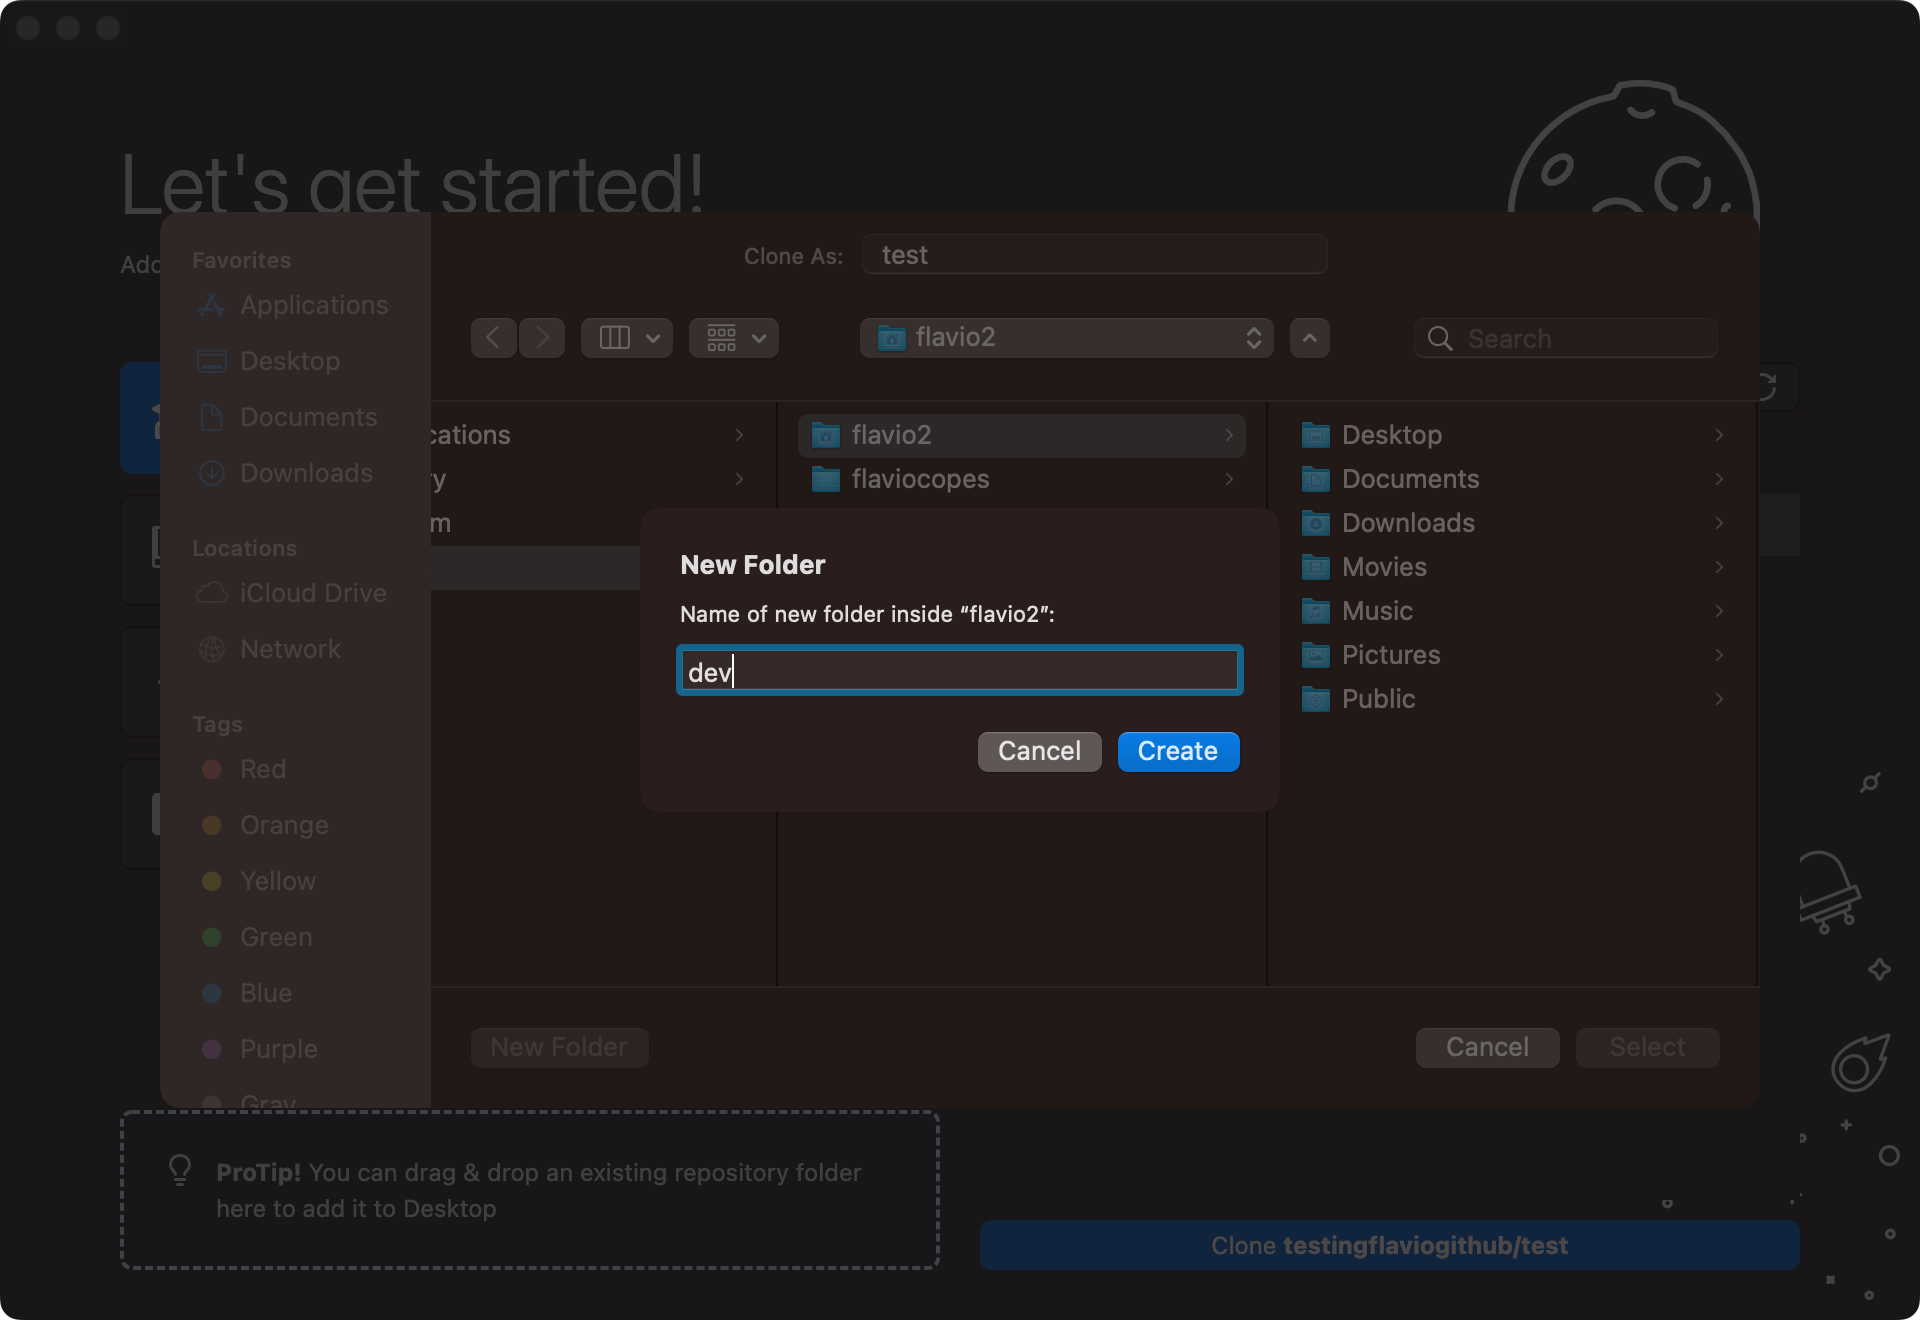
See, I set the “local path” to be <my home folder>/dev/test

Click clone and the cloning process will start!
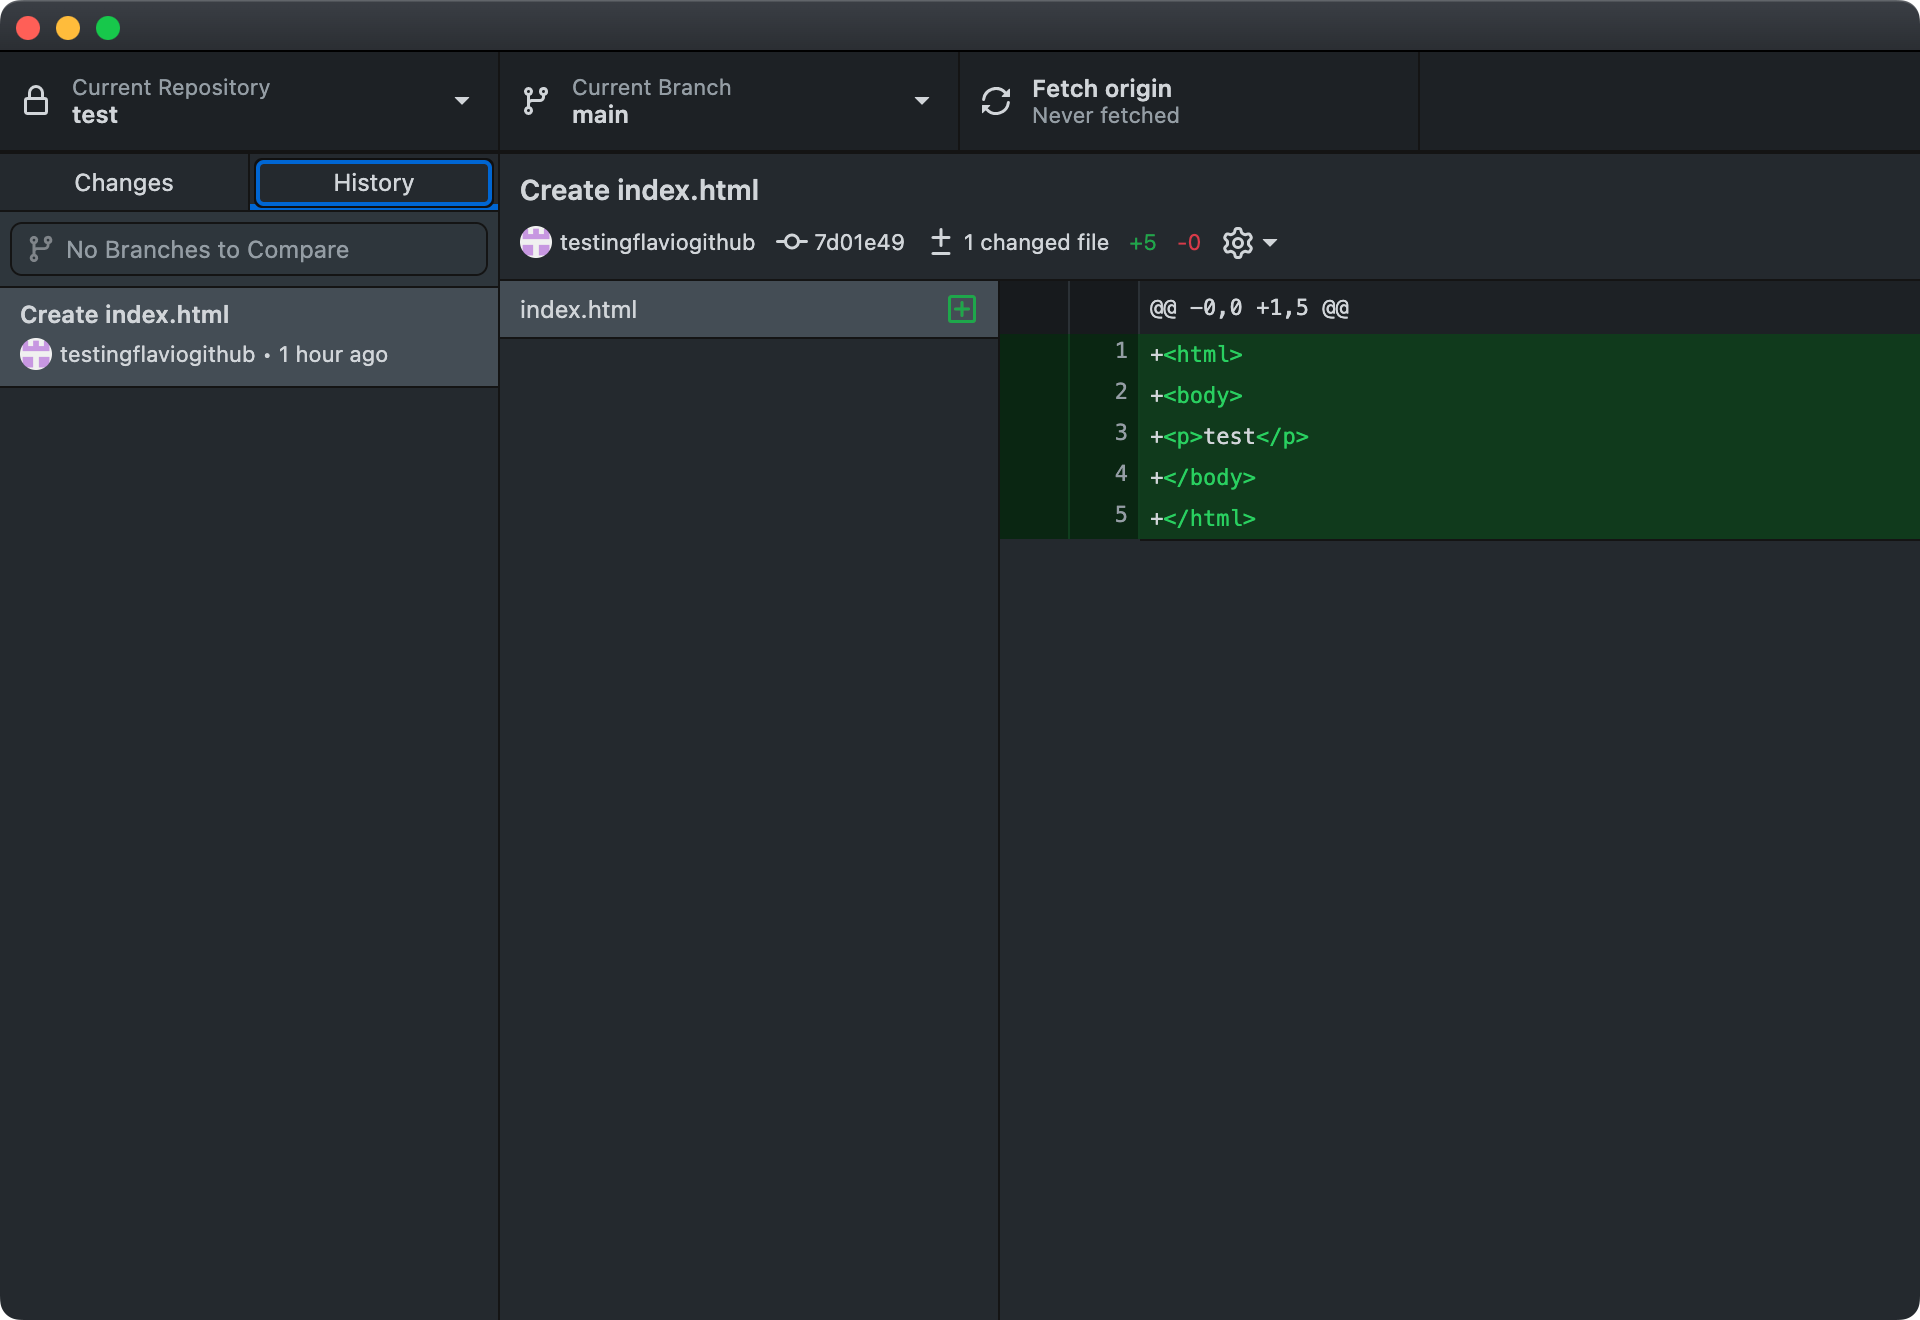
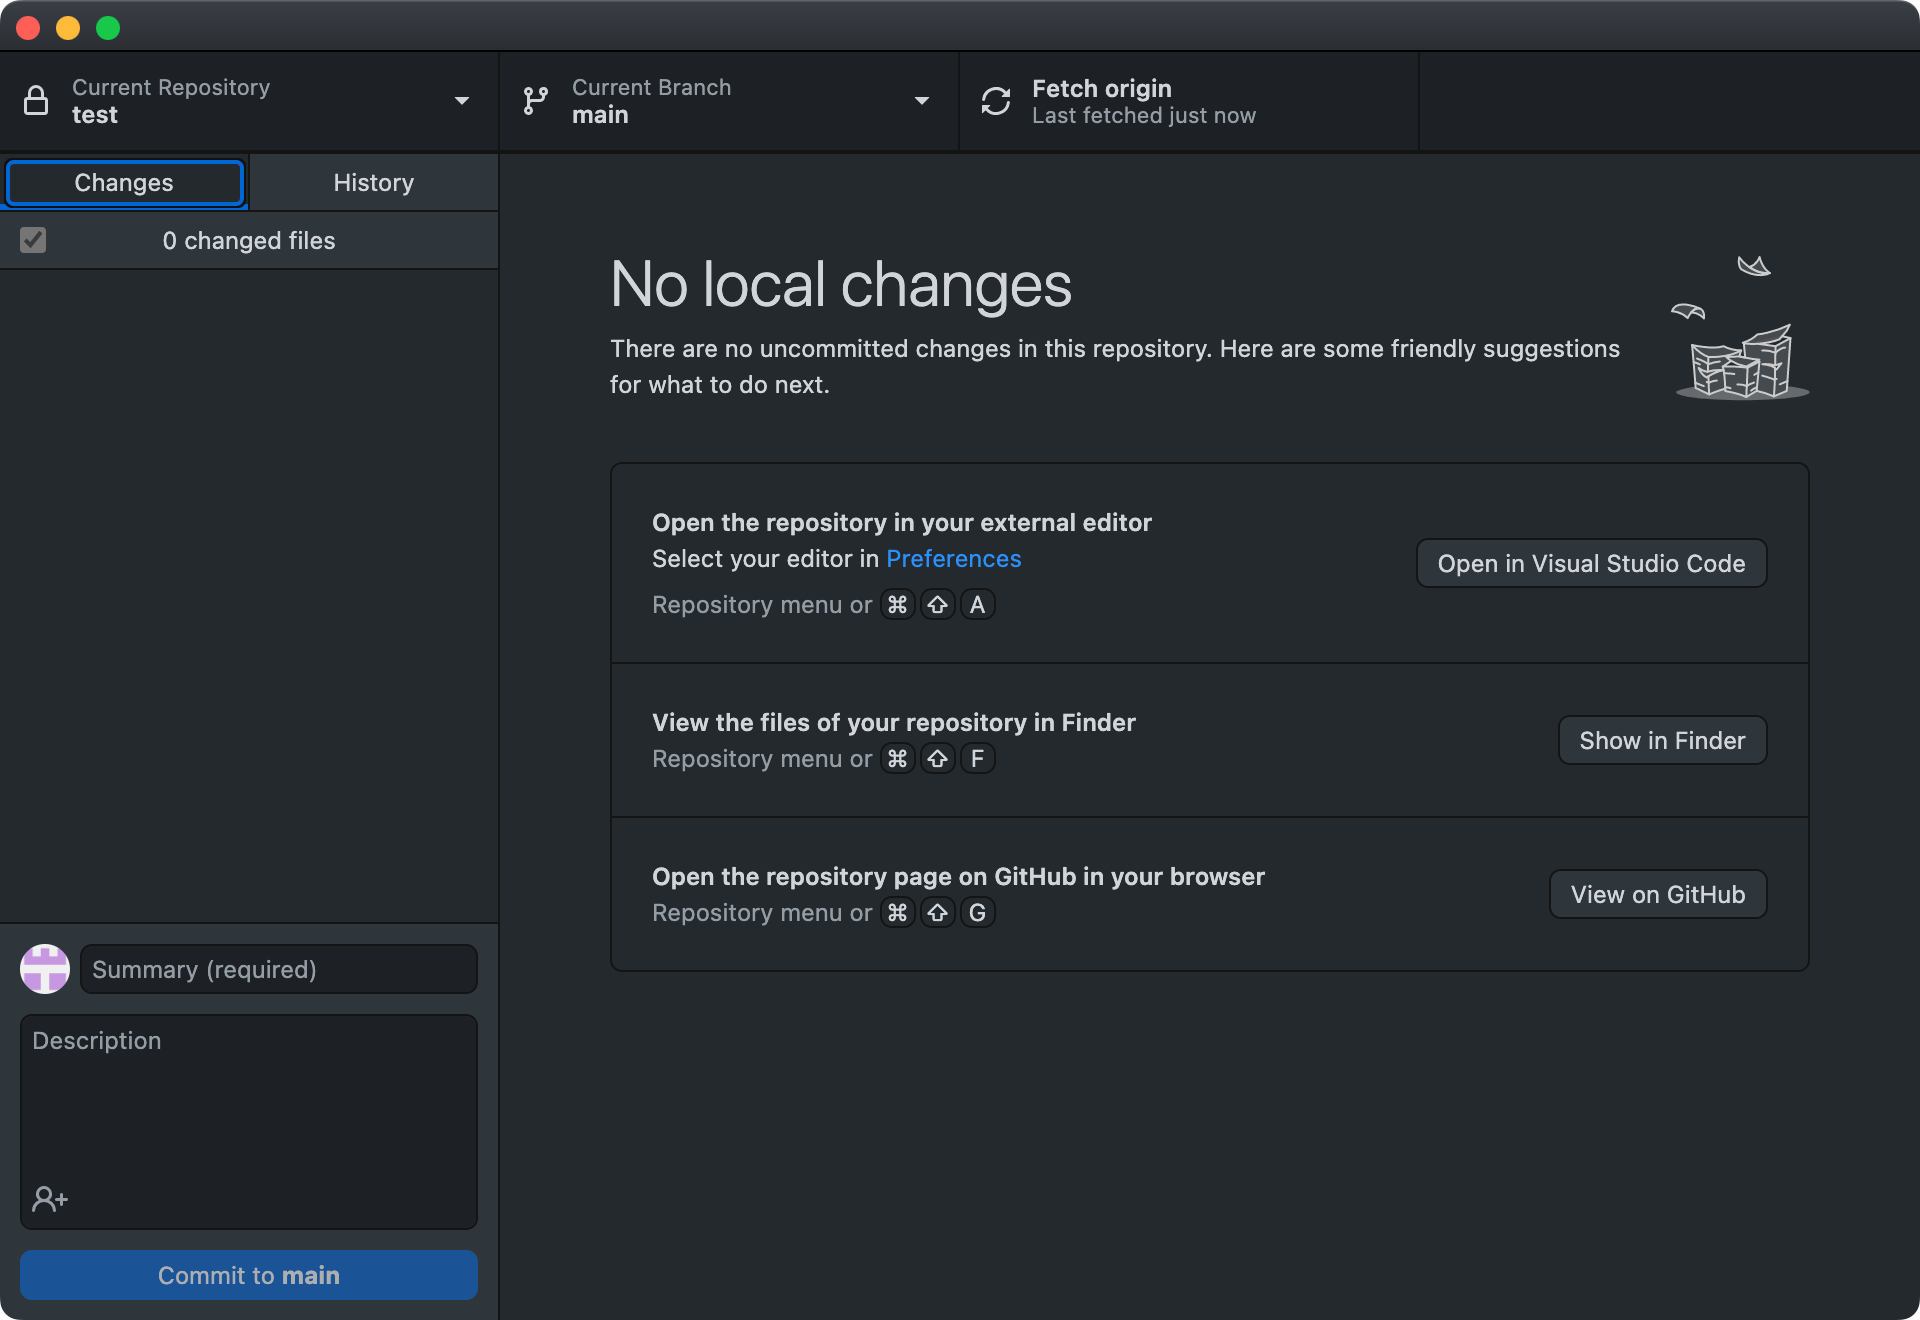
Here’s what you will get after the process is done:

On the left sidebar, you have 2 panels: Changes and History.
Changes list the changes you have in the repo, not committed.
History lists all the commits that were ..committed.
Click that to see the commit you did on GitHub to create the index.html file:
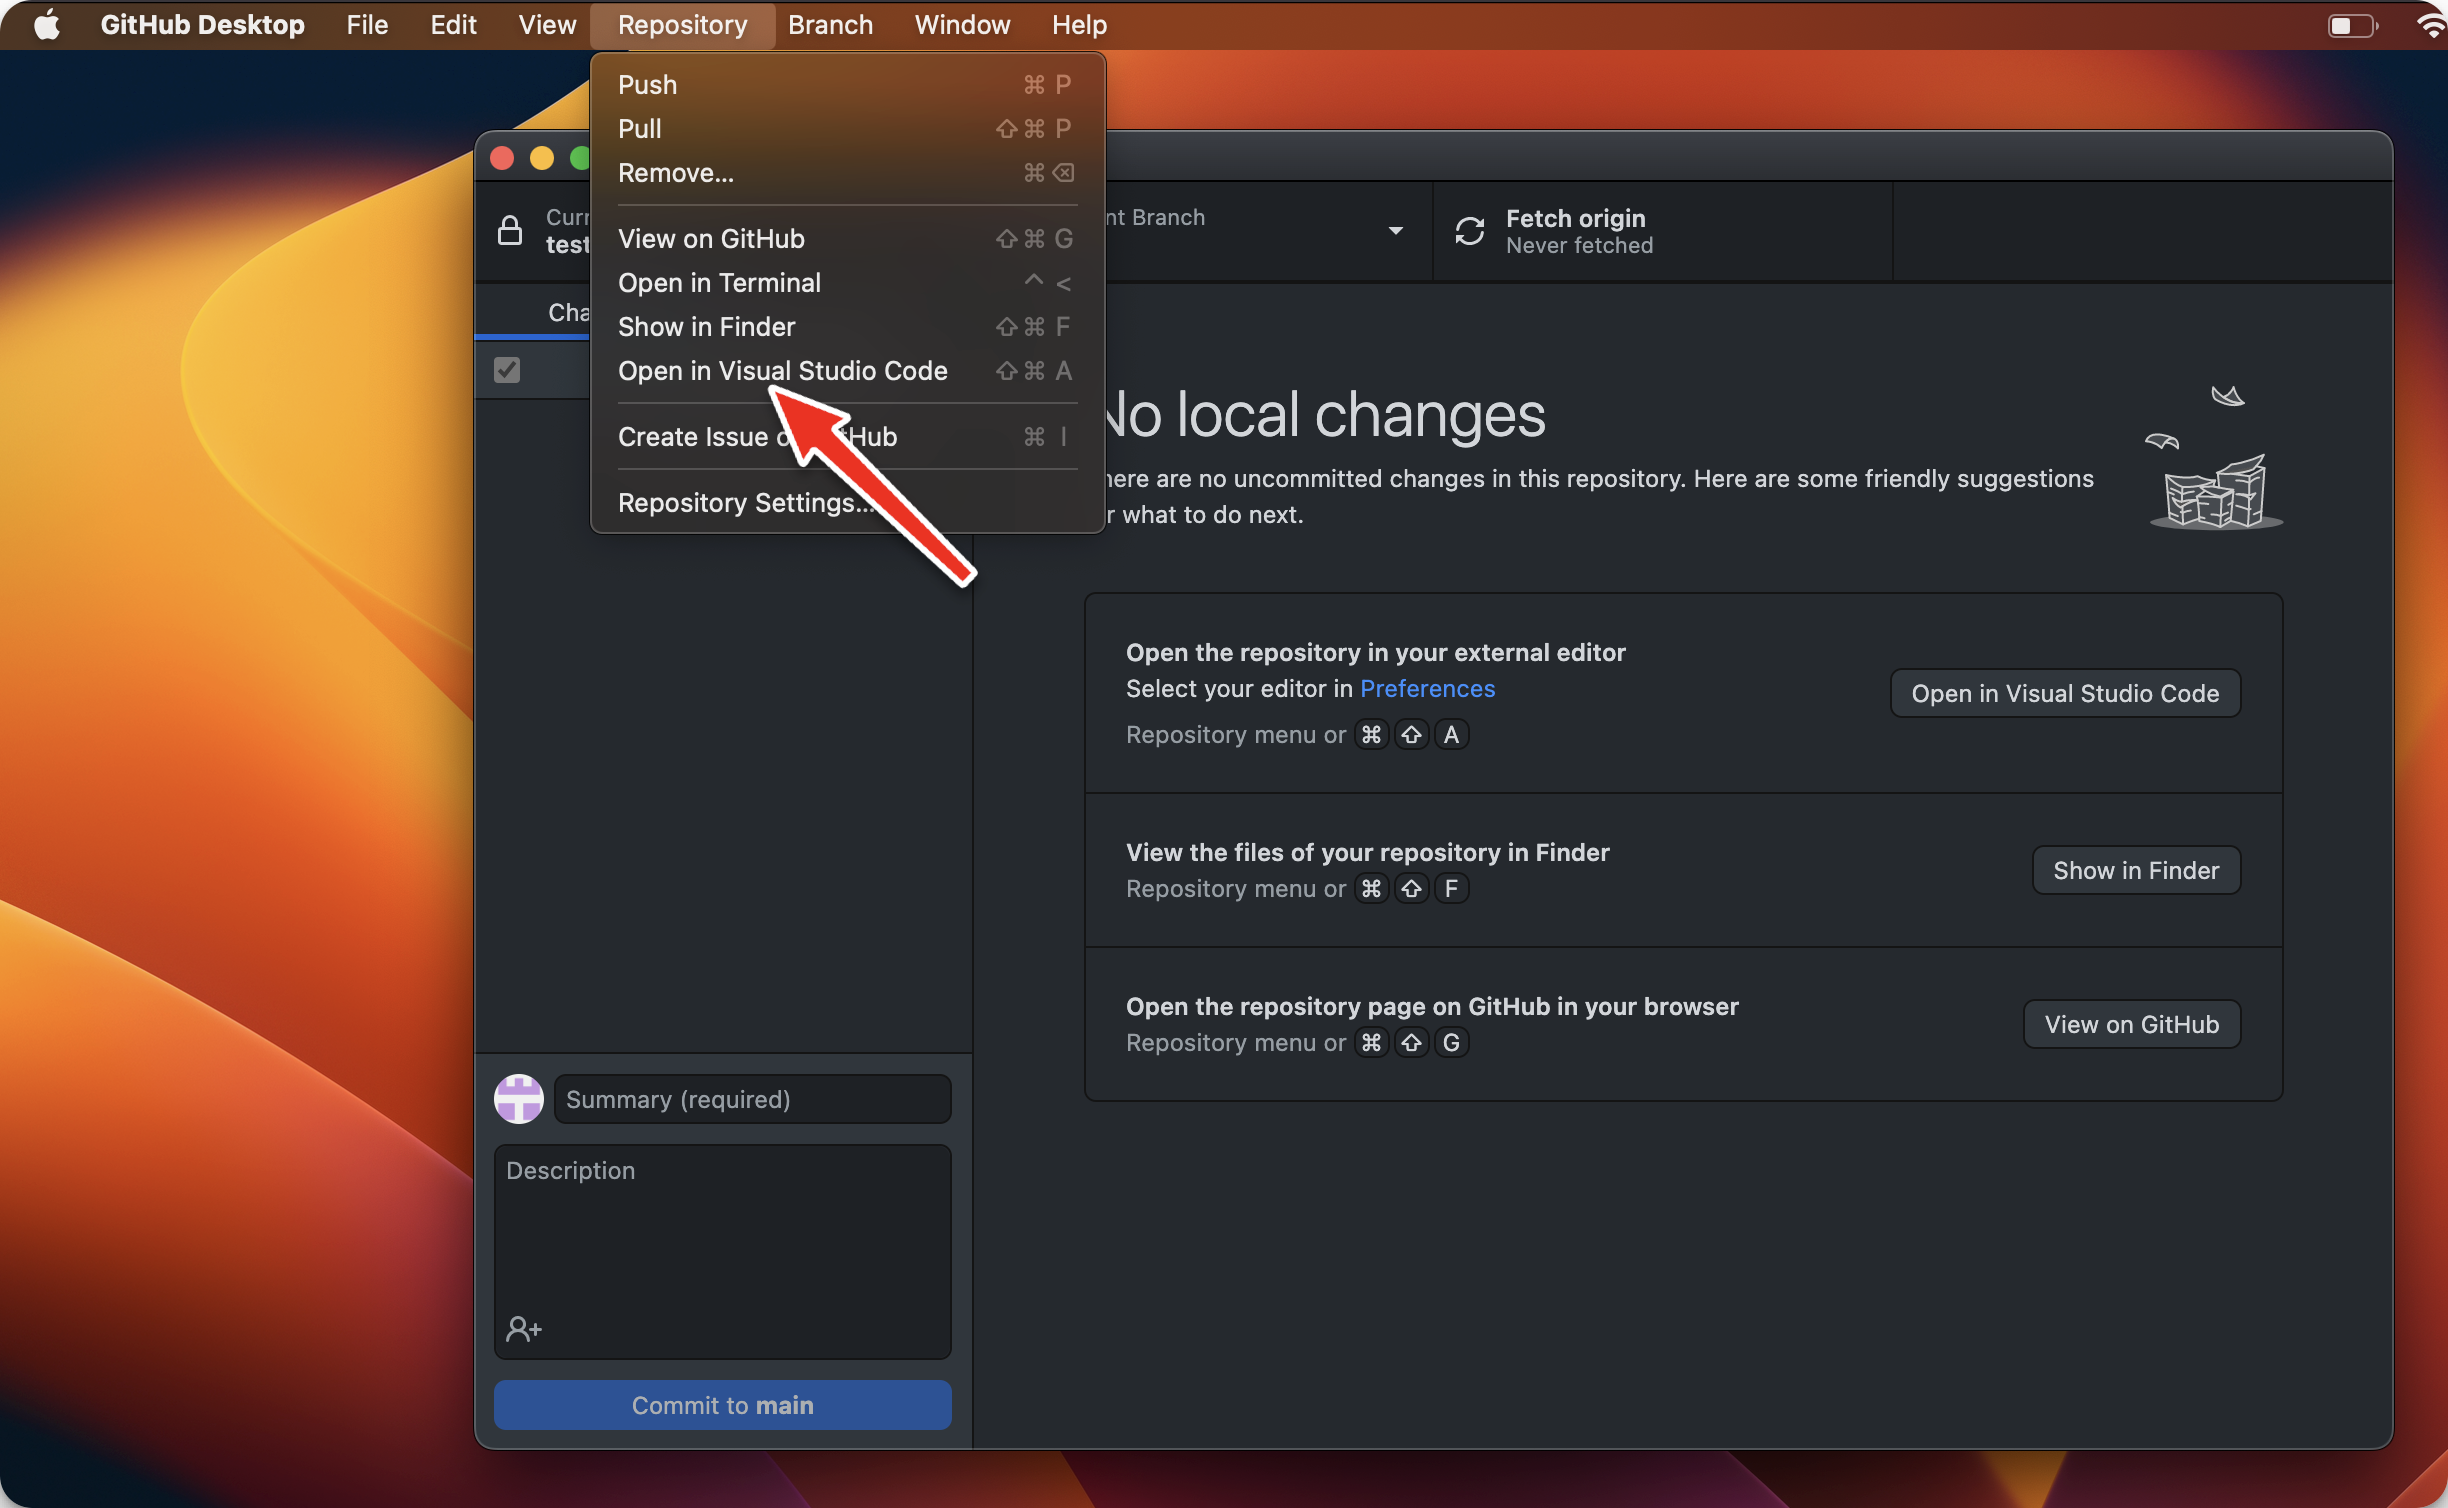
Now you can use the application menu to open the repo in VS Code, too:

Let’s do one cool thing now.
We’re going to change the file locally, on our computer, and we’ll create a new commit.
Then we’ll push the commit to GitHub, the centralized location that hosts our repository.
Change the file in VS Code, for example changing the text “test” to “testing” in the index.html file:

Now you can add a commit message. This should be describing your change in a few words. For example, I wrote “Changed test to testing”. You can also add a description for a longer, more detailed explanation of the changes:
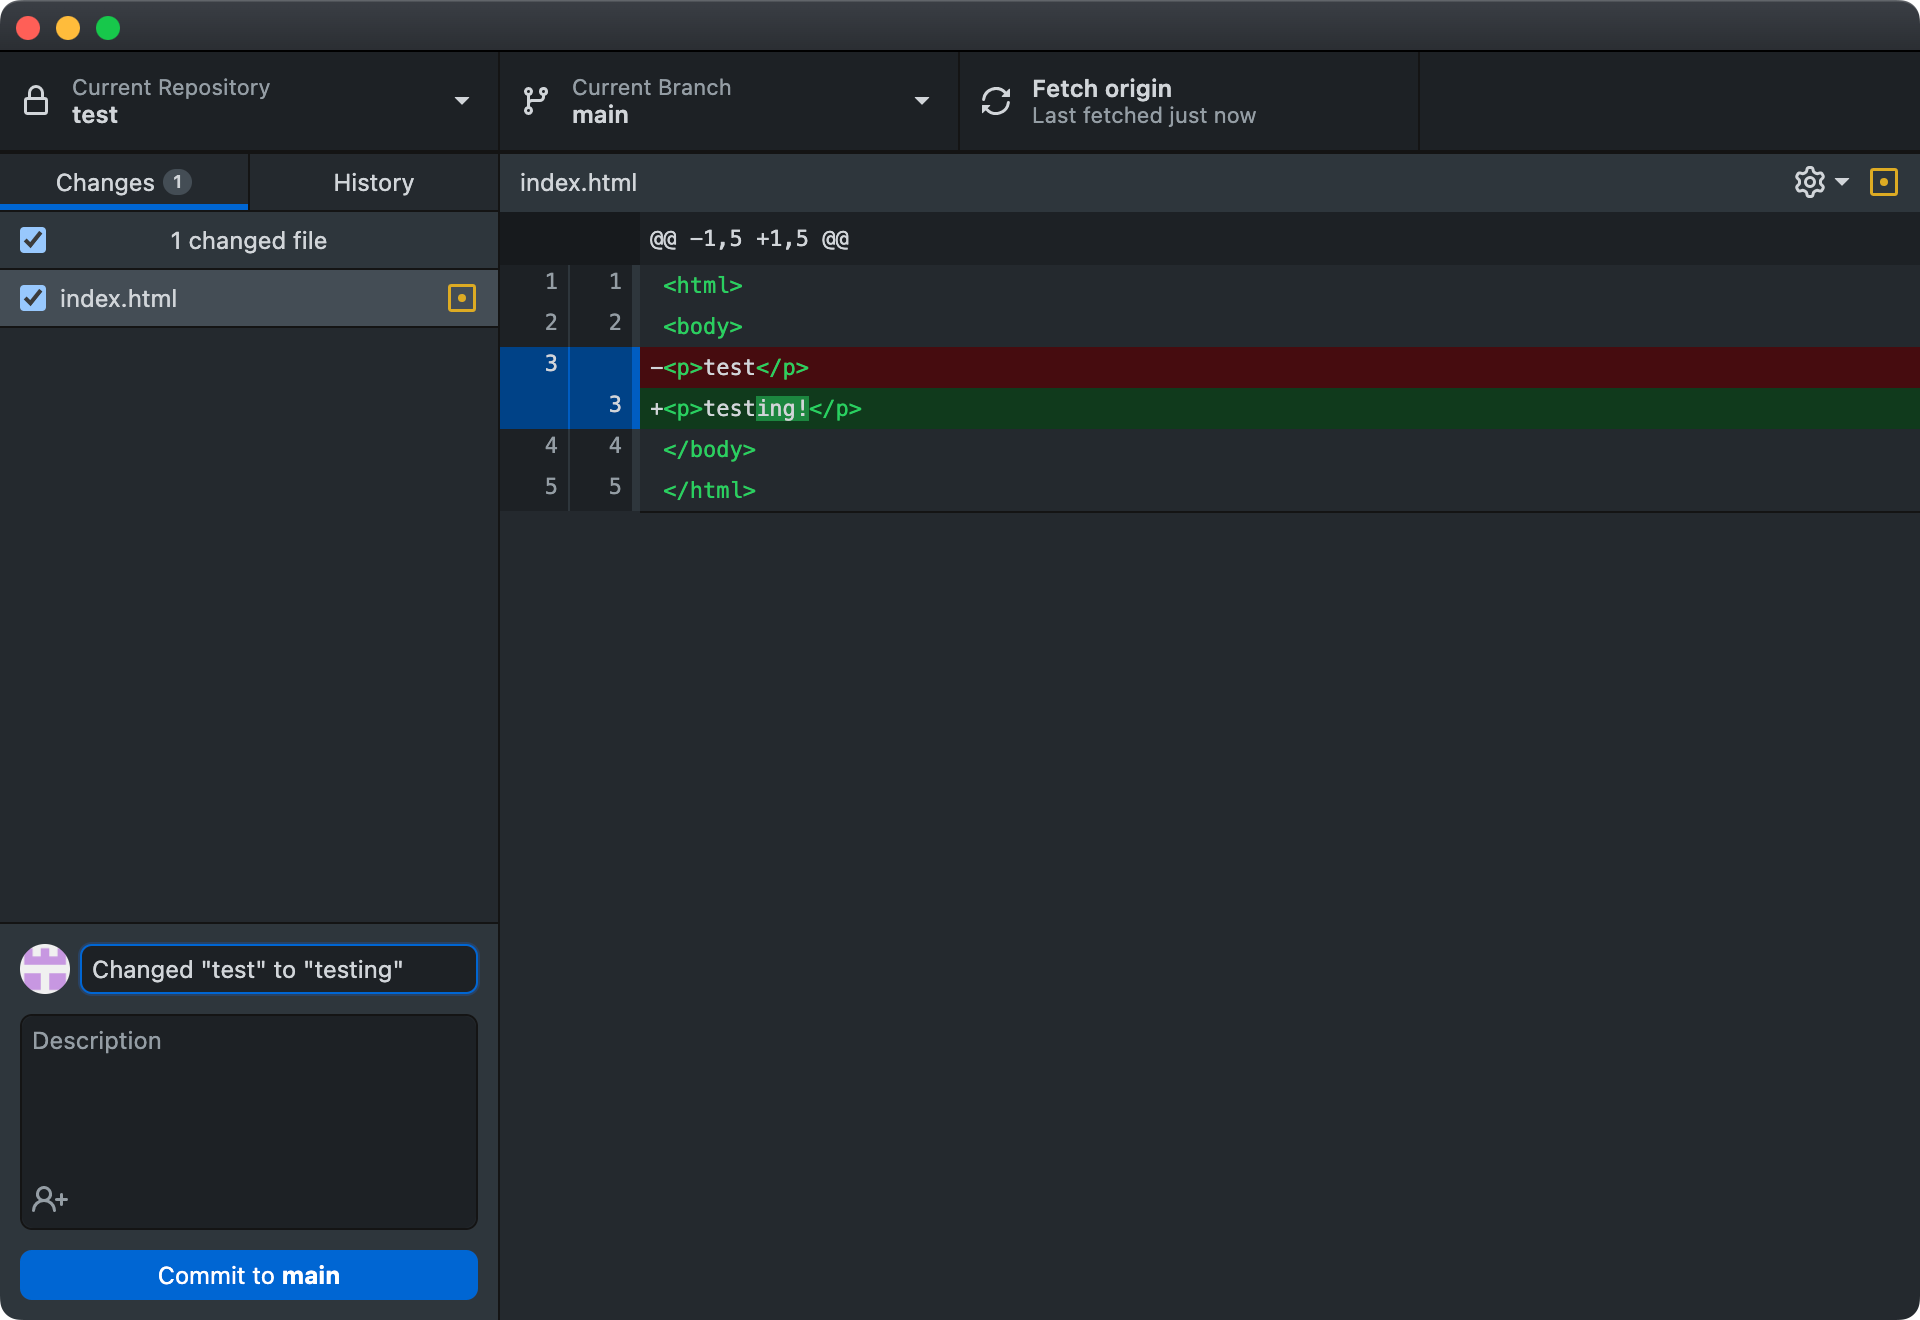
Then click “Commit to main”.
main is the branch. We haven’t talked about branches yet. But think of them as versions of your code that can exist simultaneously. For example, you have a website and you want to work on a redesign, which will take some weeks. In this case, you’ll create a redesign branch. Same for any big feature you work on.
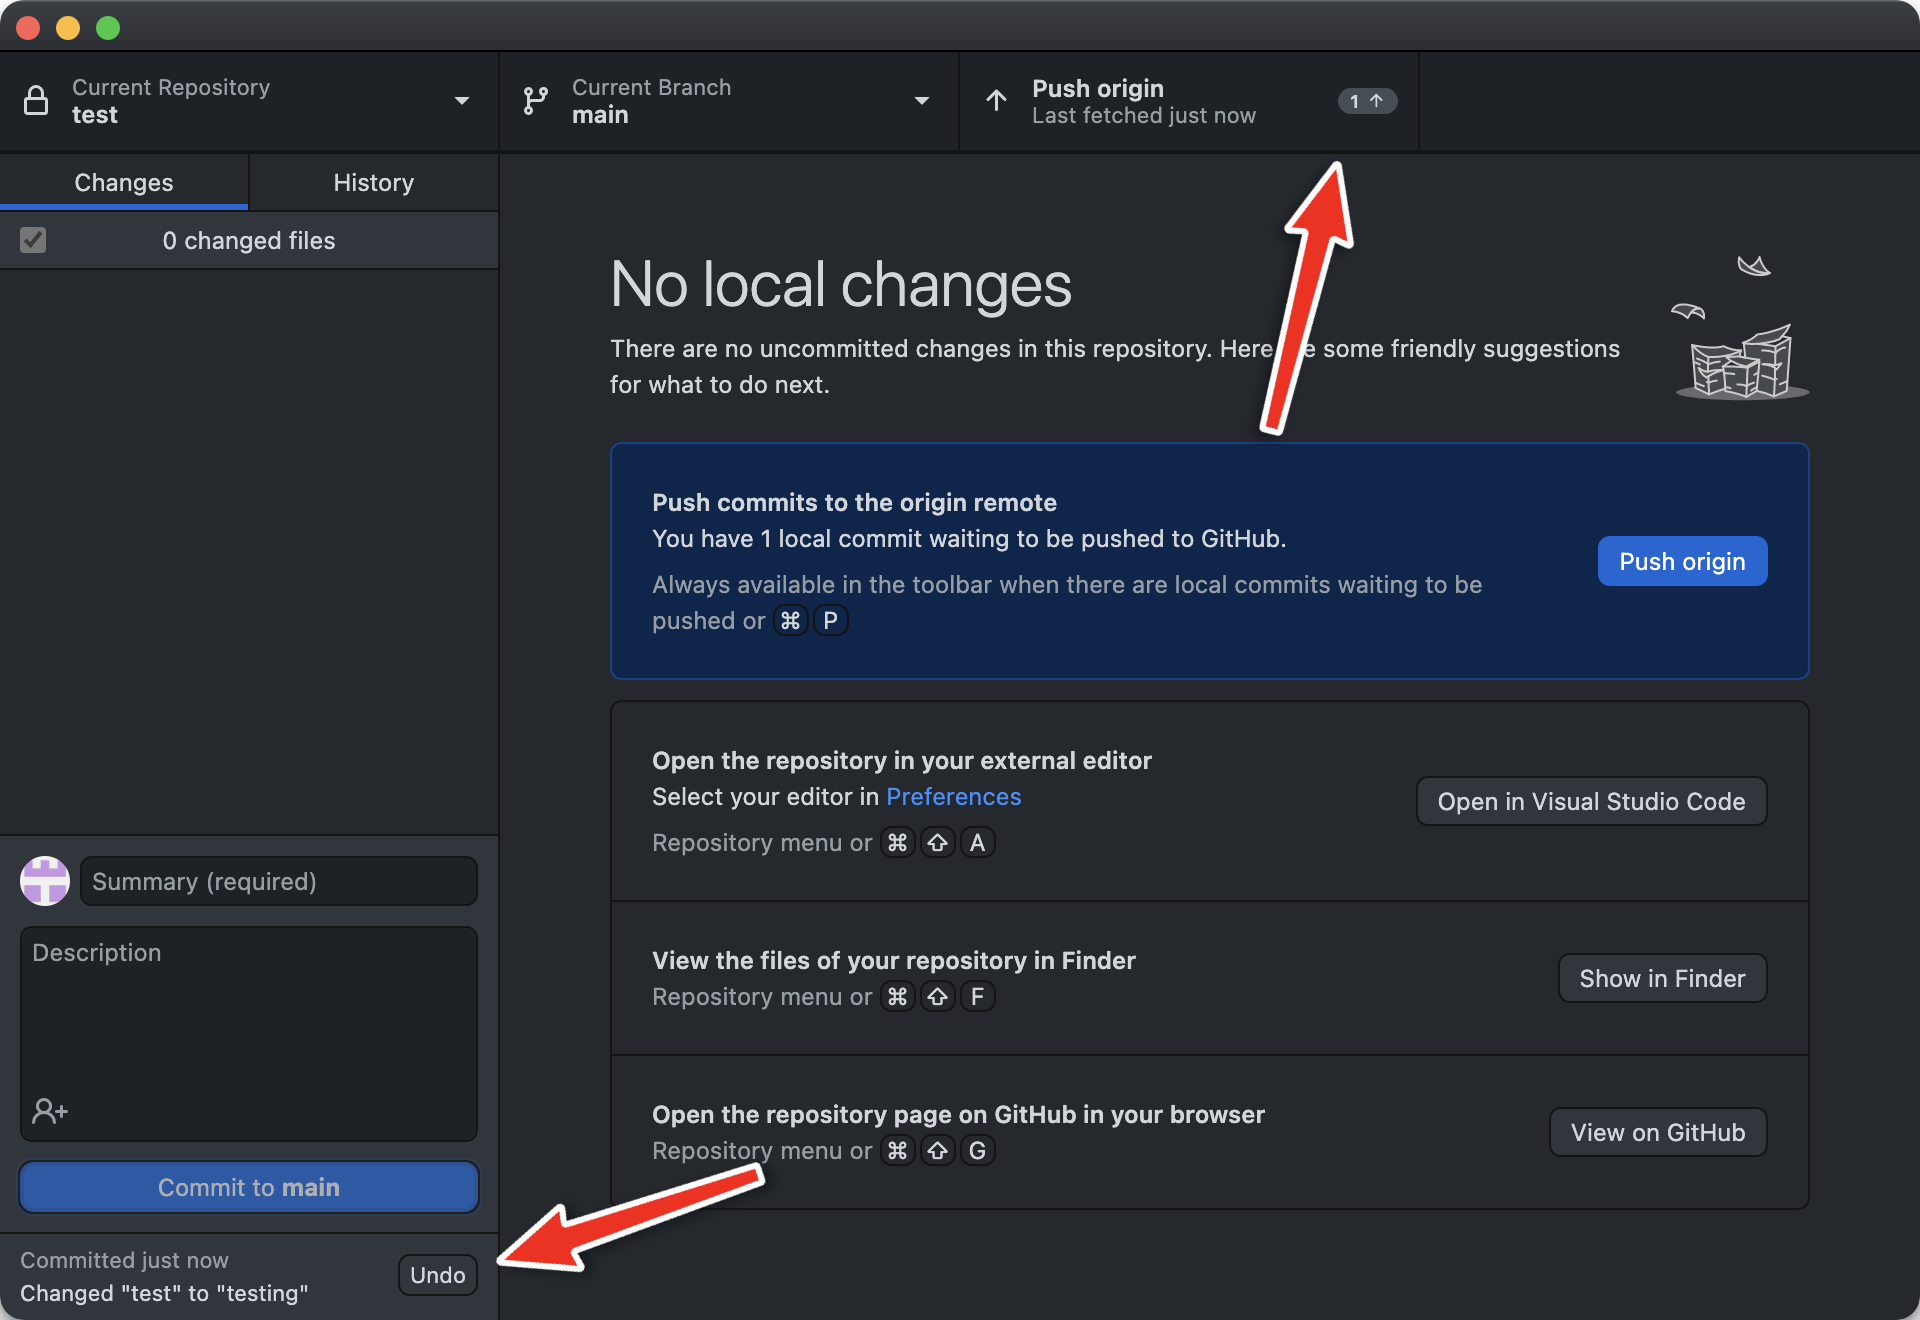
Ok now see, you have 2 indications that tell you have a local commit.
Commits are local until you push them to GitHub.
Until you push, you can undo a commit. After you push, you can’t (easily) undo a commit.
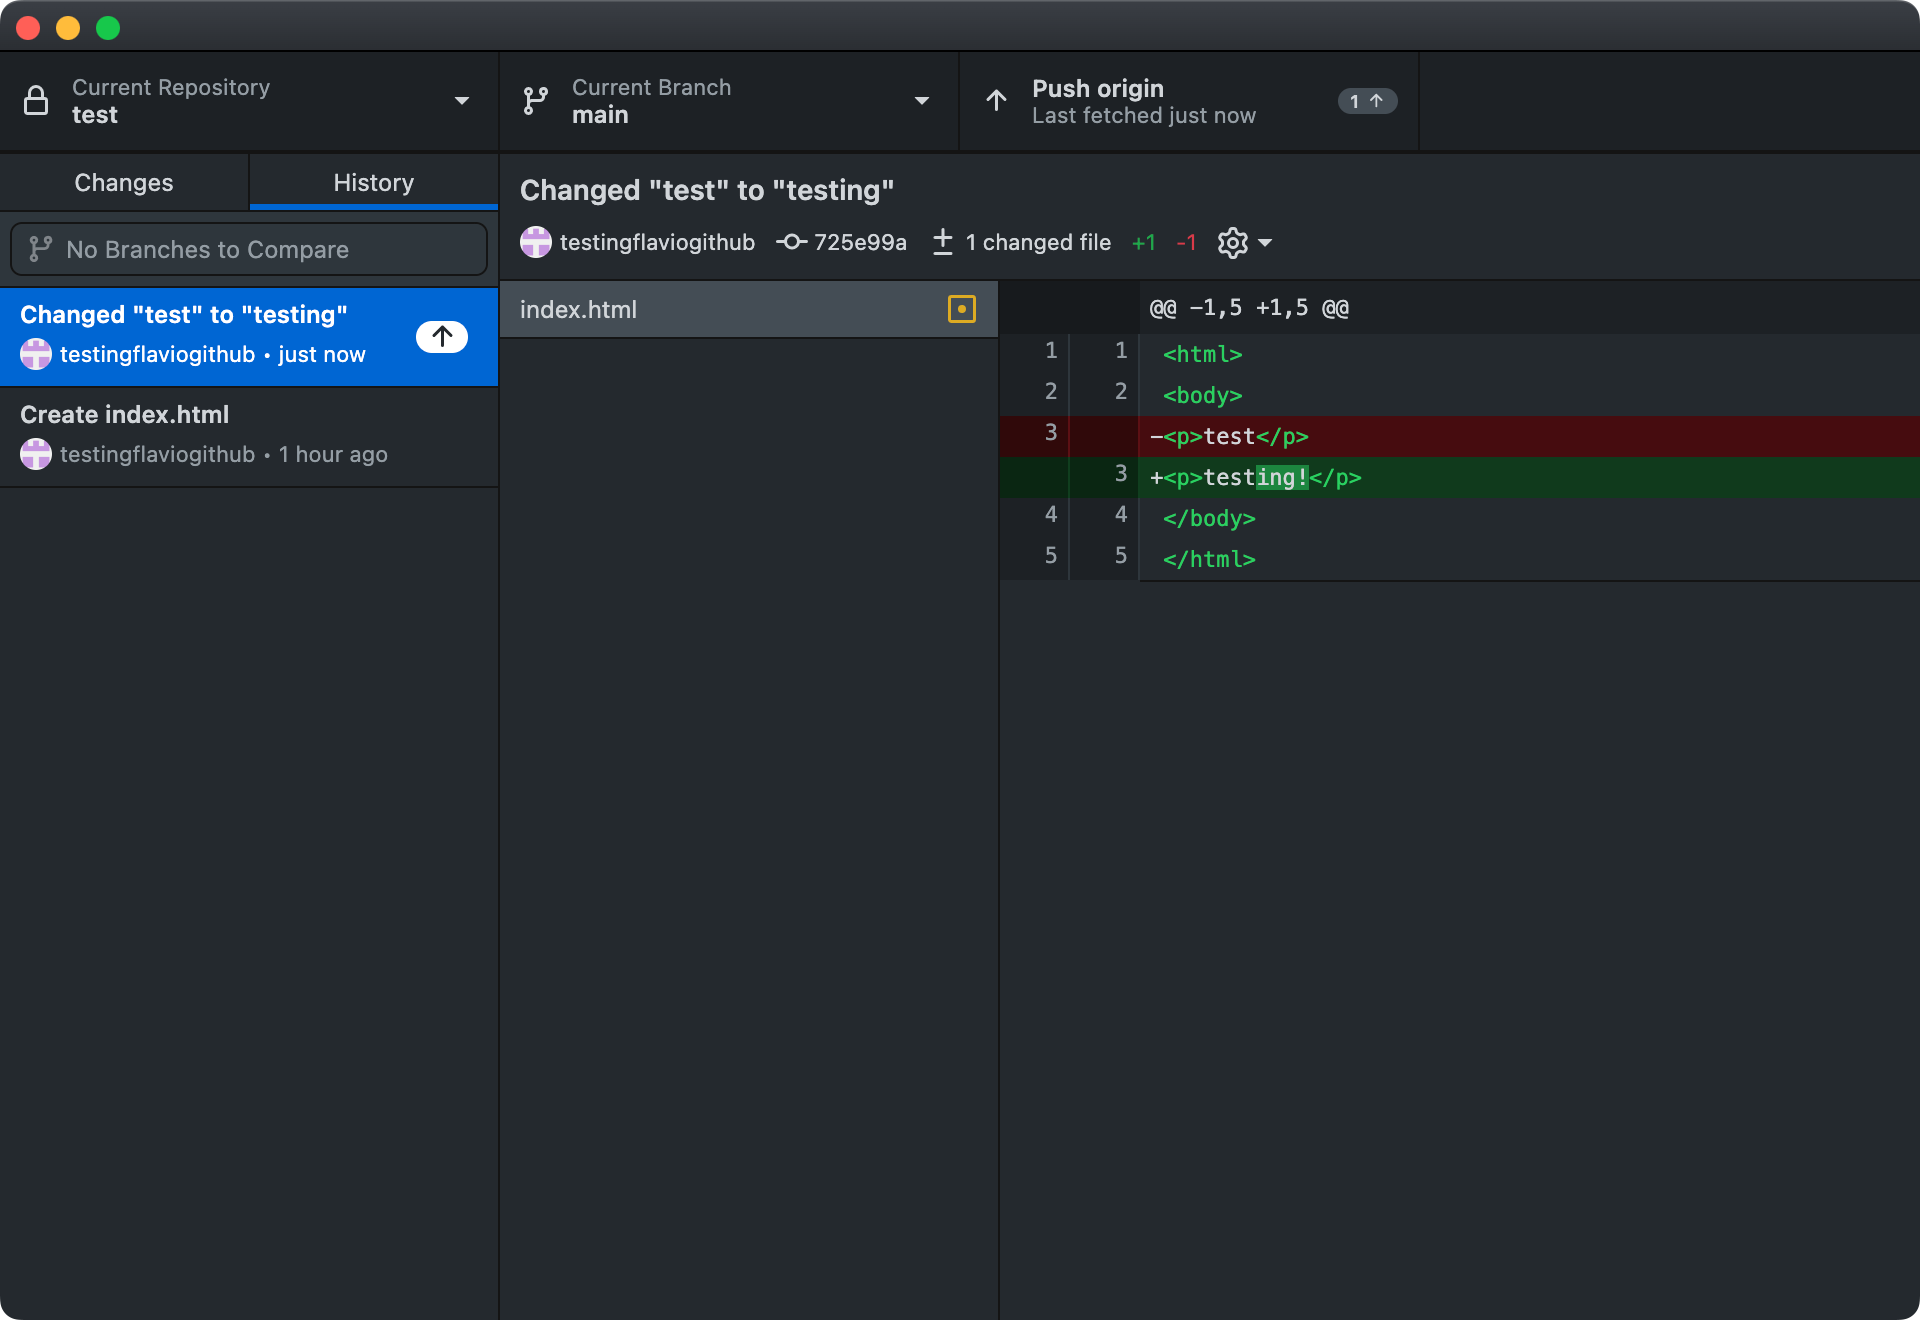
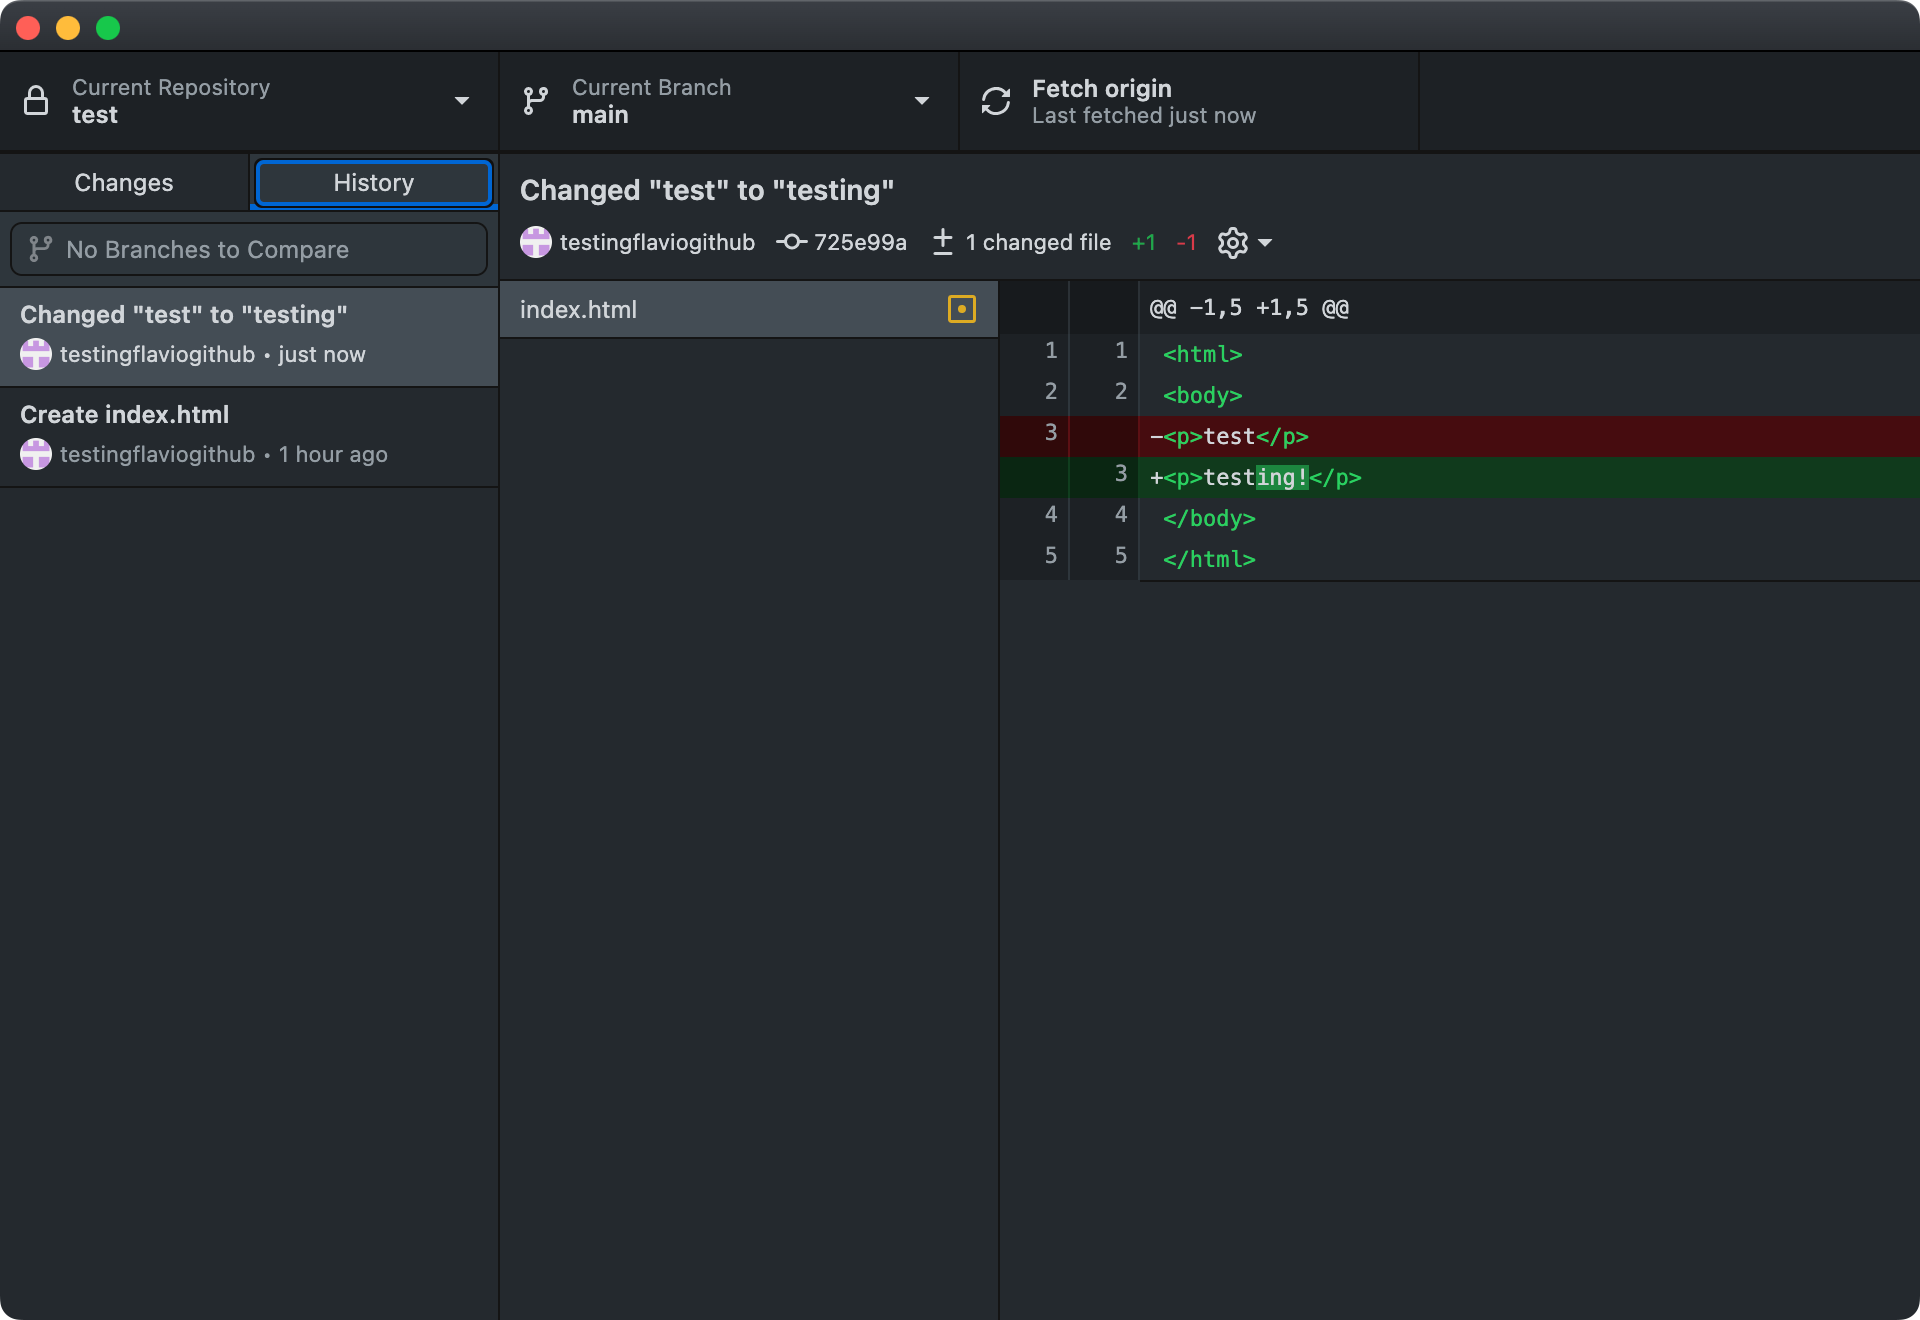
If you switch to the History tab in the sidebar, you’ll see the new commit shown, with the changes you did:
Now click “Push origin” to push the commit to GitHub.
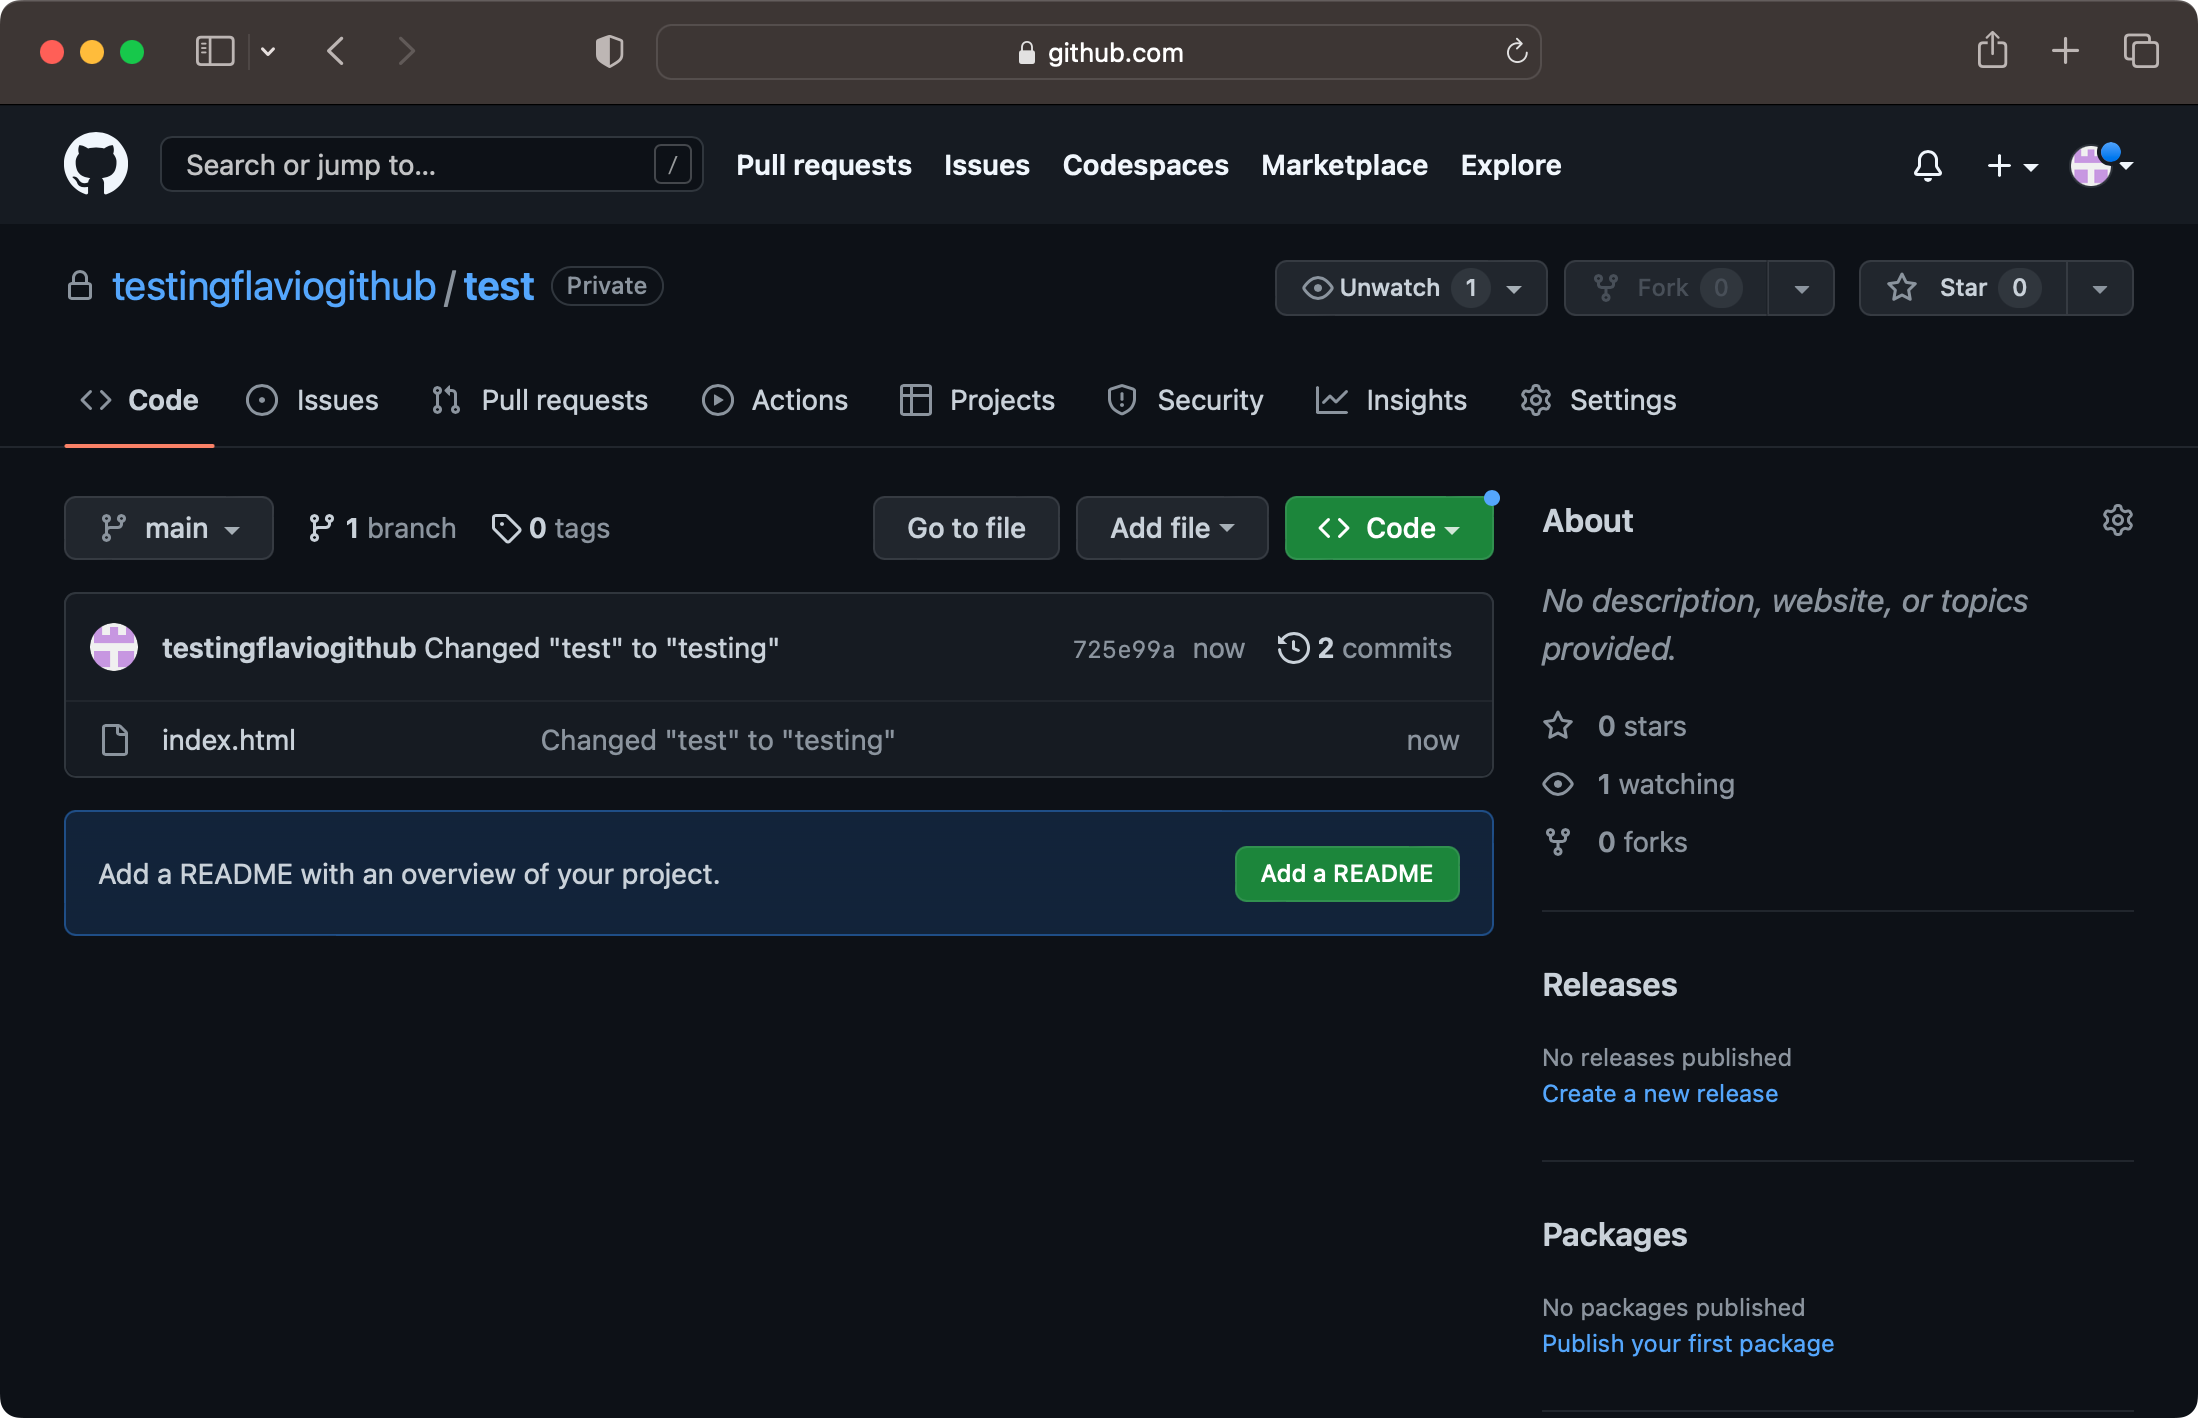
The commit is now pushed and live on GitHub, and you can see it there:
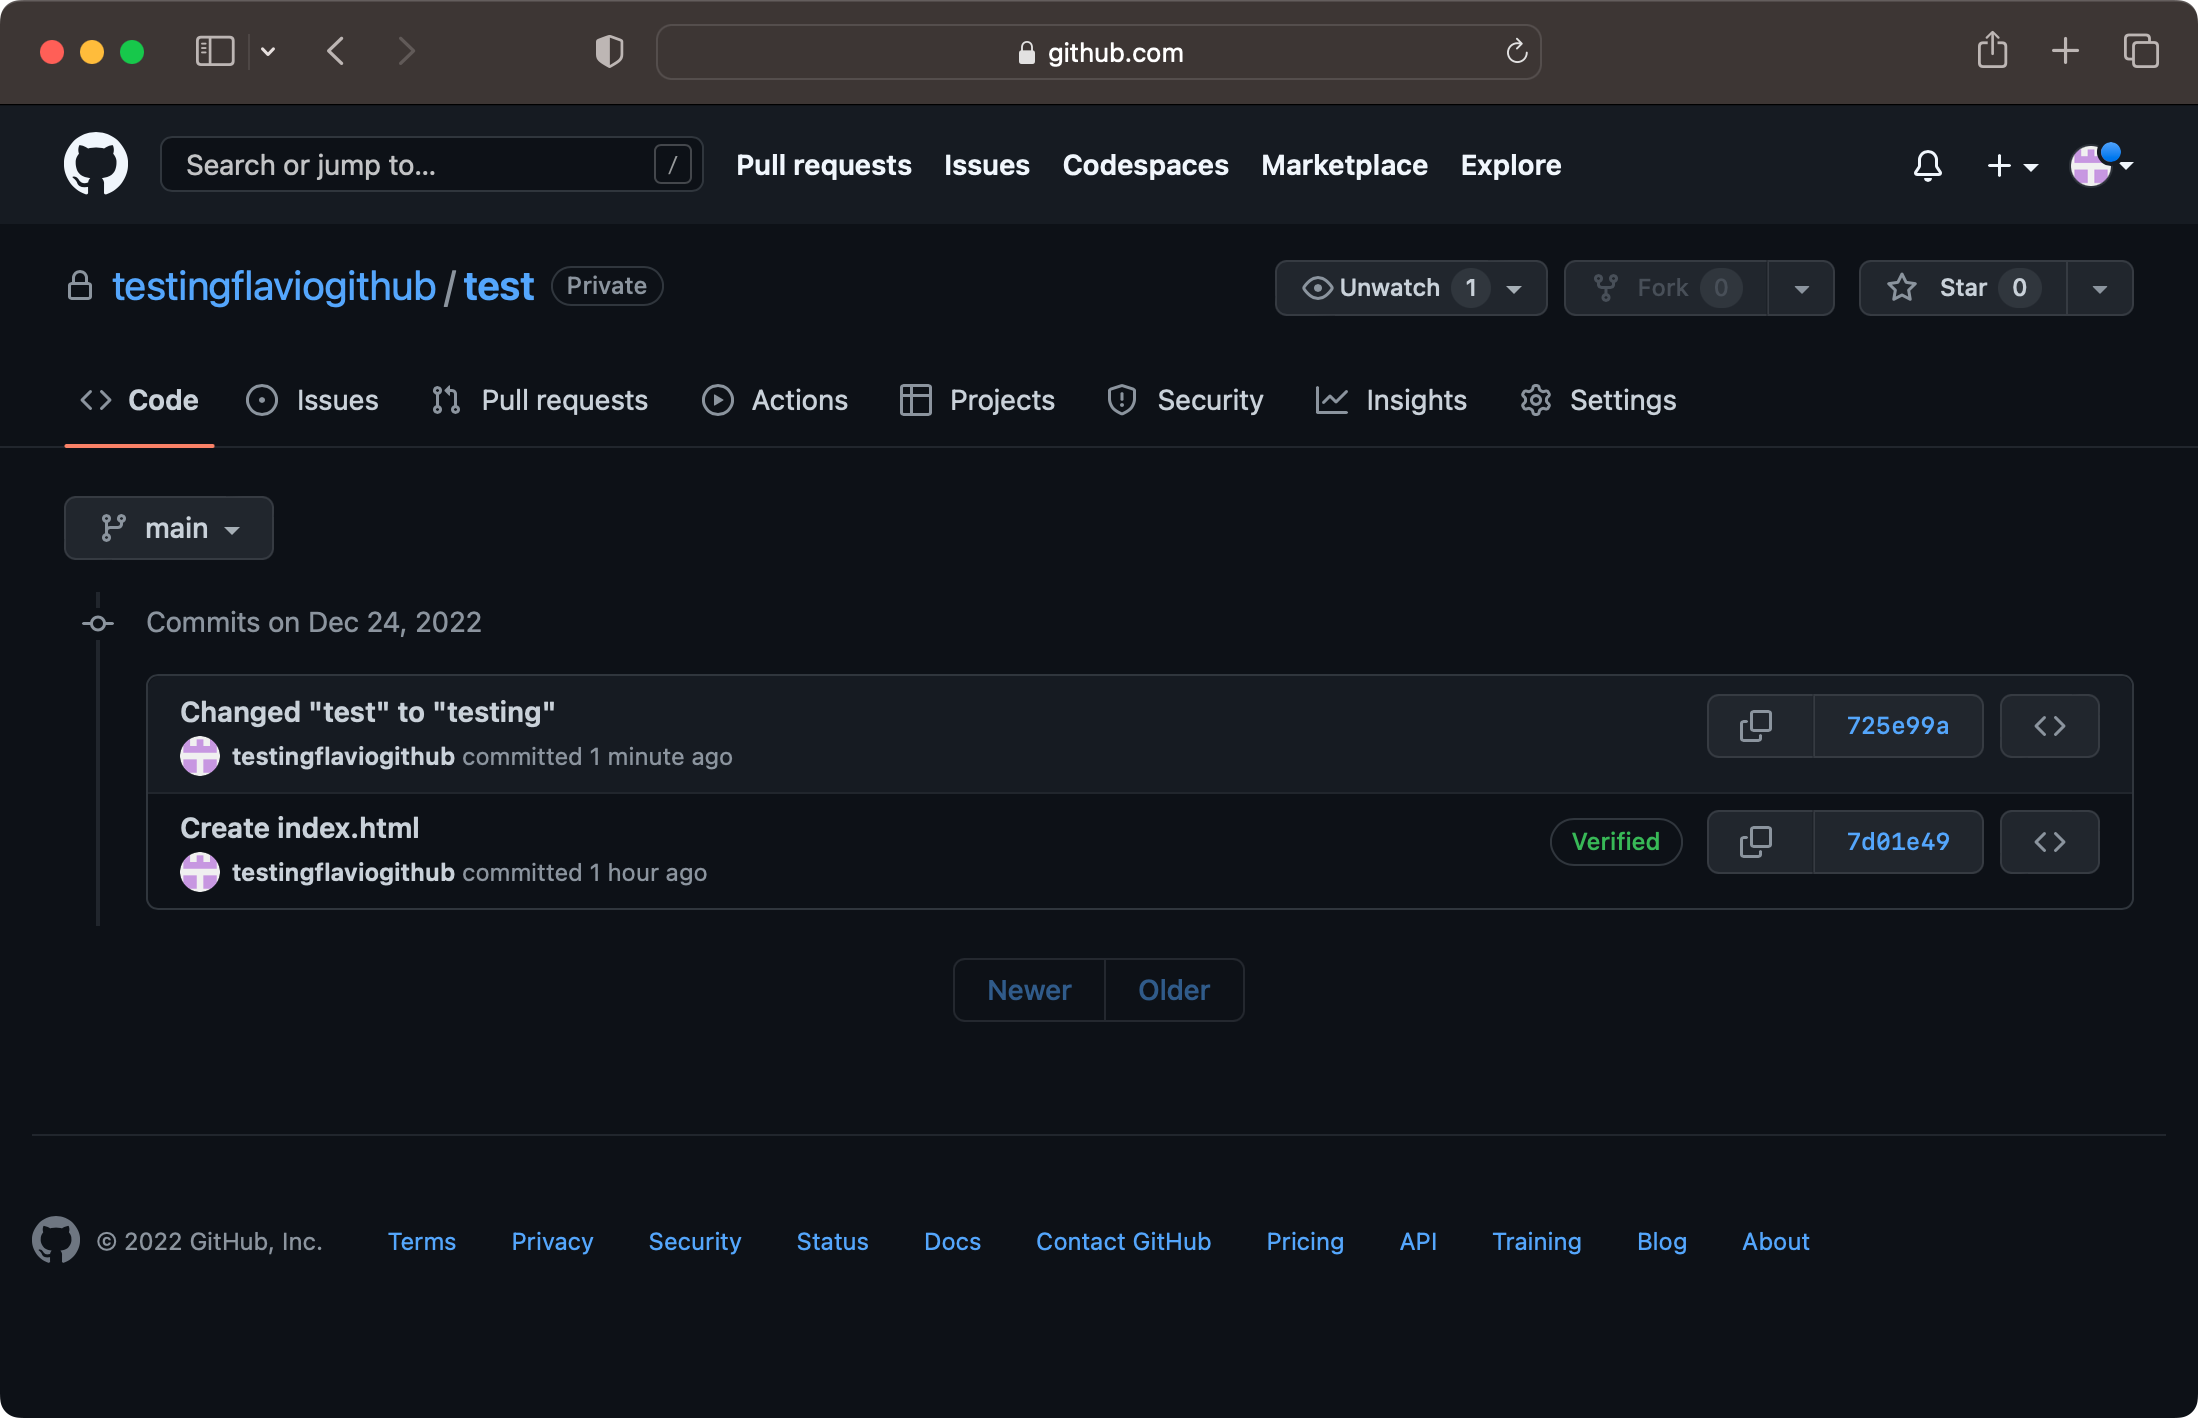
Click the “2 commits” link to see all the commits on the main branch:
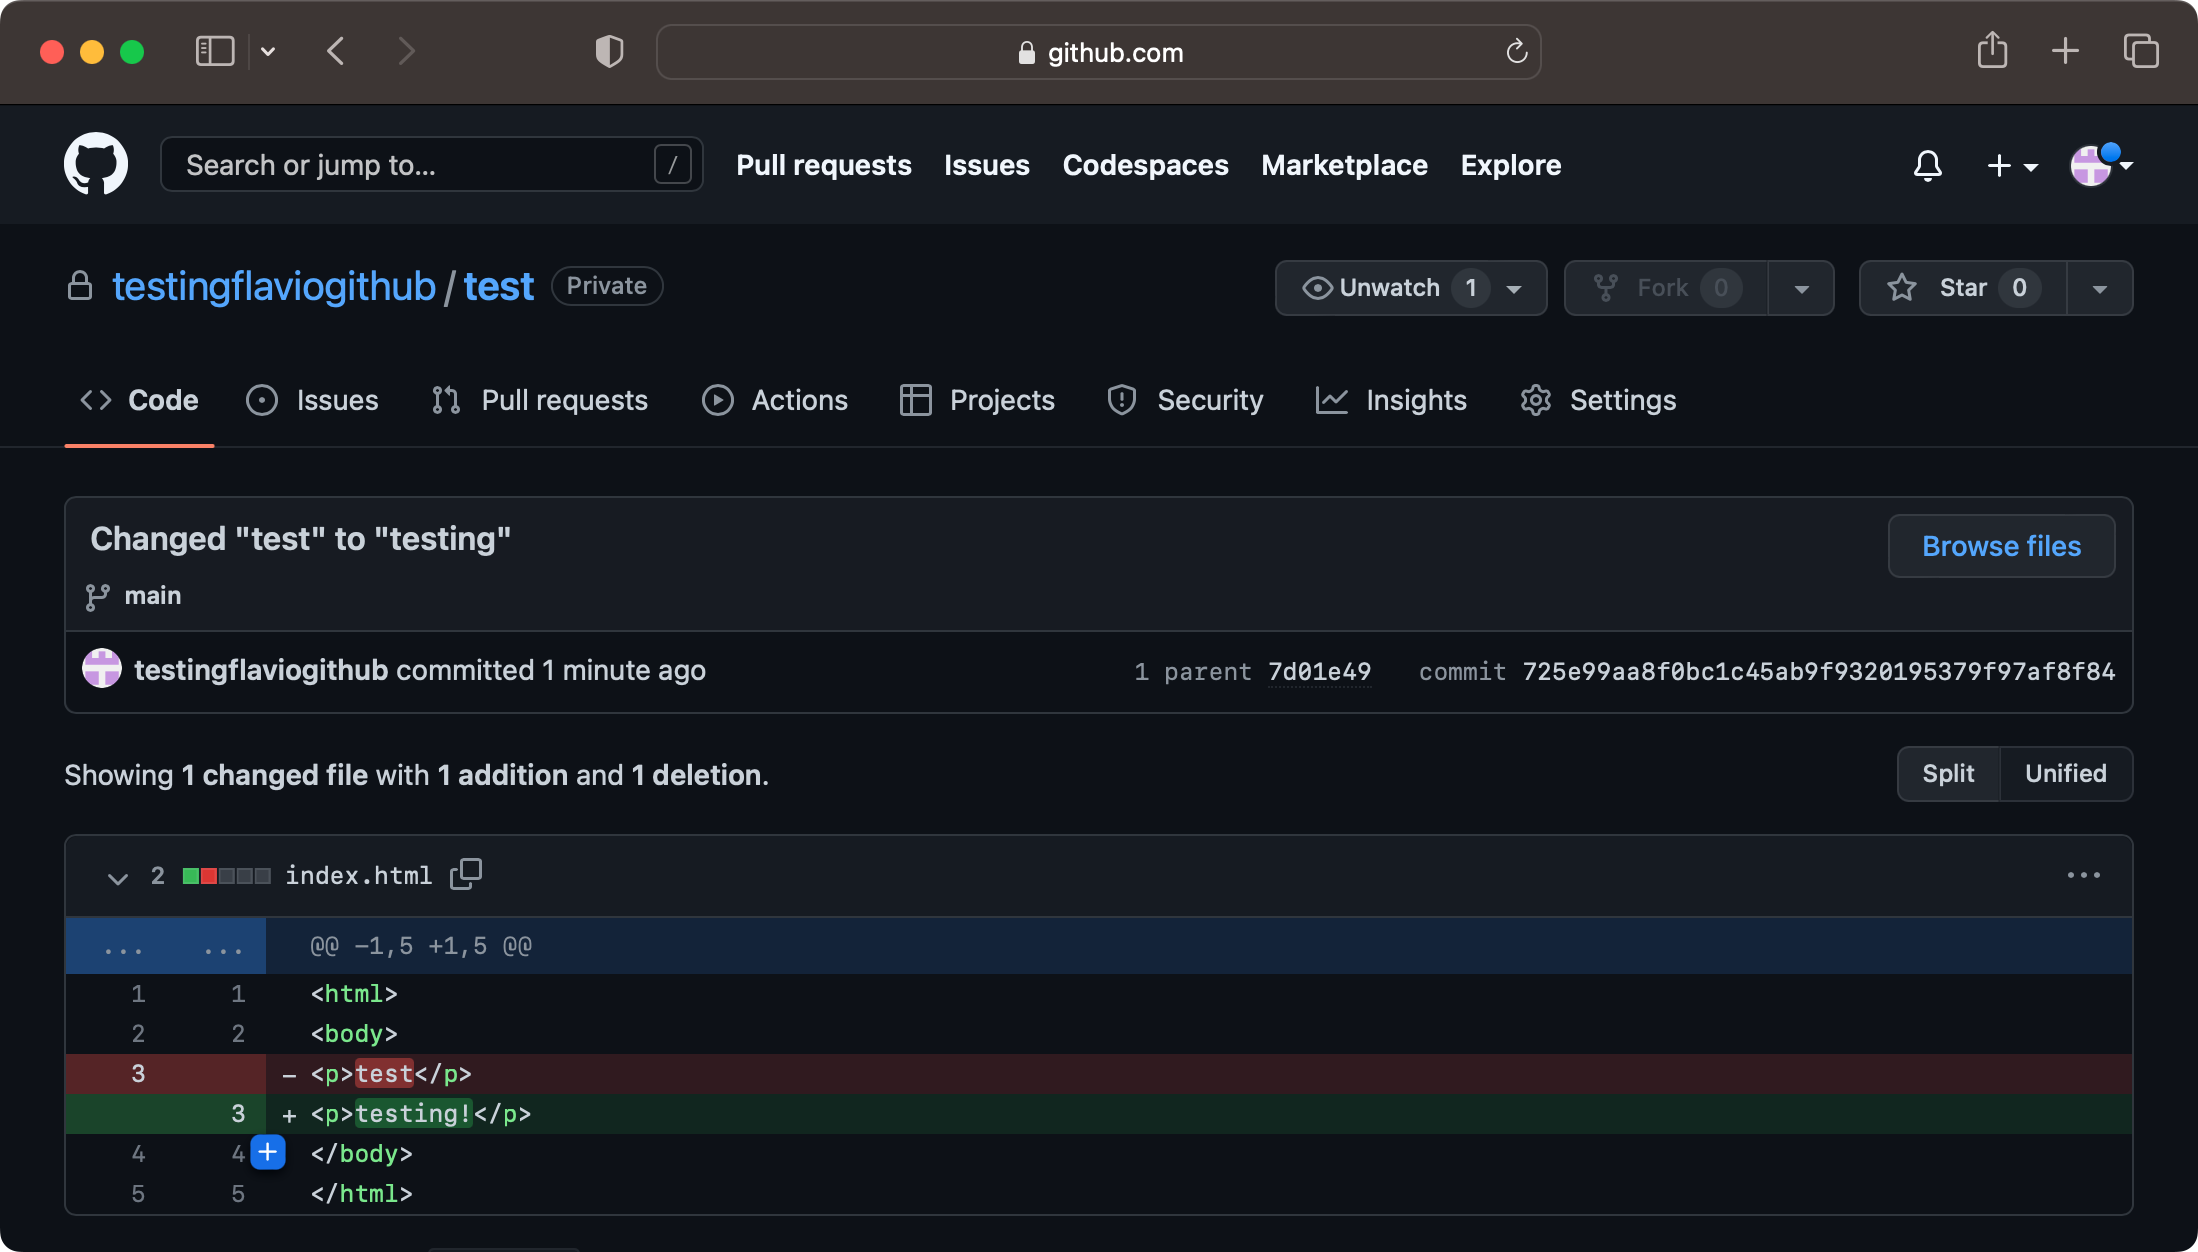
And you can click the commit message to see more details about the change:
Now if other people were working on the repository with you, as a team, everyone would see the change and they would be able to update their local repositories to include your change.
And as we’ll see later, pushing a new commit to a site that is deployed on a platform like Netlify or Vercel with automatic integration with GitHub will cause them to deploy a new version of the site that includes your newly pushed changes.
Lessons in this unit:
| 0: | Introduction |
| 1: | GitHub issues |
| 2: | Social coding |
| 3: | Pull requests |
| 4: | Project management |
| 5: | Comparing changes |
| 6: | Webhooks and integrations |
| 7: | What happens after pushing |
| 8: | DEMO Create a GitHub account |
| 9: | ▶︎ DEMO Using GitHub desktop |
| 10: | DEMO Using Git in VS Code |